Tilt experiments with Kipon Tilt adapter for Nikon lenses on Sony NEX cameras

Kipon manufactures an adapter which enables you to mount any lens with a Nikon F-mount to your Sony NEX camera. Additionally the adapter can be tilted in any direction. Tilting in this context means, that the lens is pivoted out of the optical axis of the lens.

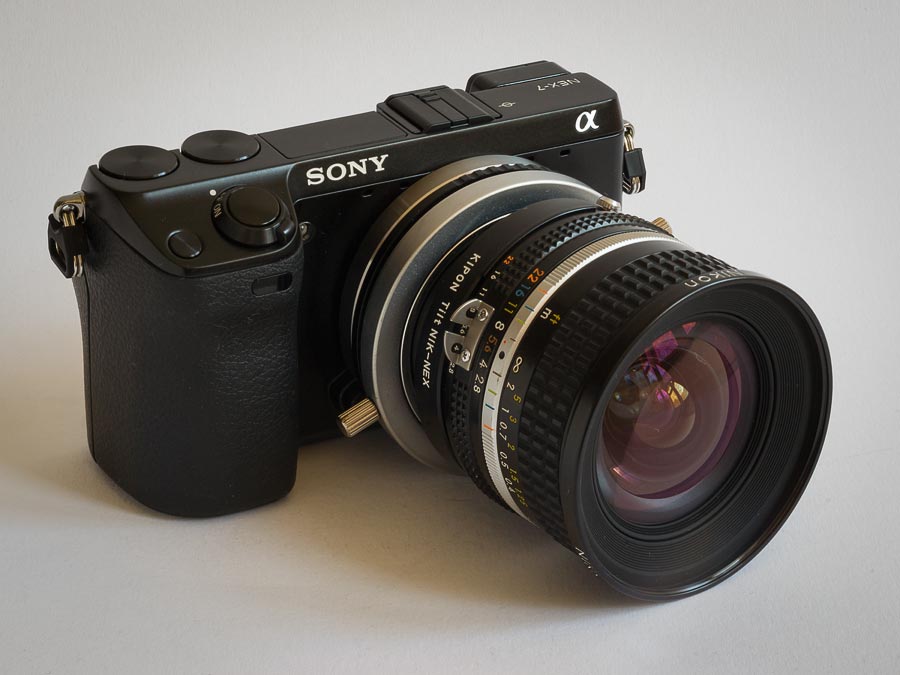
The two following images illustrate this concept. In the first image the lens was tilted to the right (from the photographers point of view). In the second image the lens was tilted to the left (from the photographers point of view).
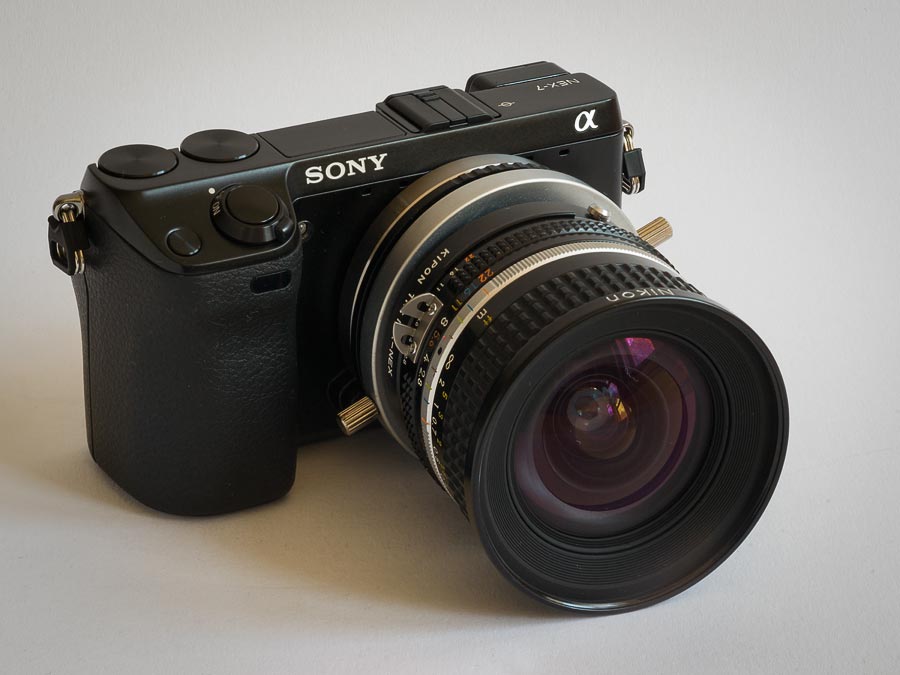
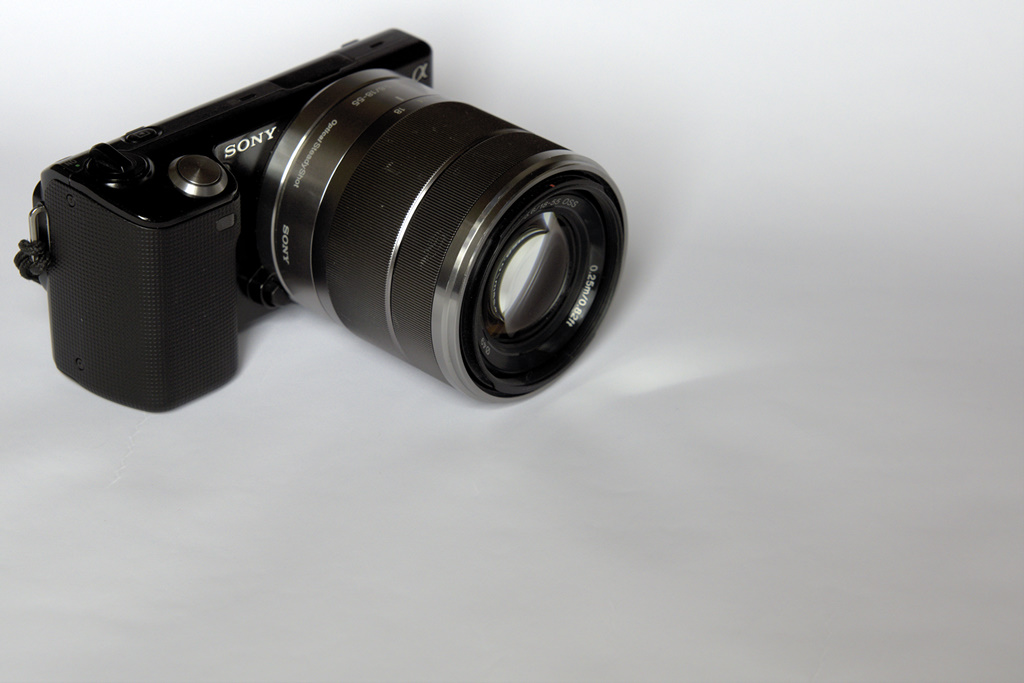
Nikon Nikkor 20mm/2.8 AI-s on Sony NEX-7 (tilted right)
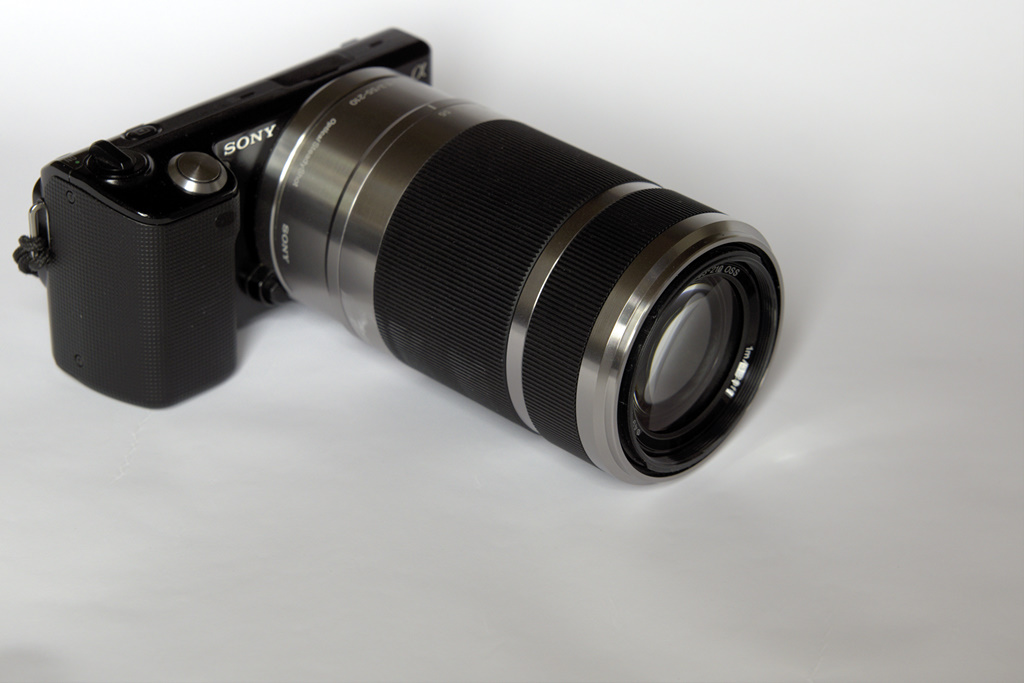
Nikon Nikkor 20mm/2.8 AI-s on Sony NEX-7 (tilted left)

You can use a tilted lens to orient the plane of focus of your optical system in special ways. Normally you use a tilting lens so that the plane of focus is oriented in a way which maximizes the visually sharp areas of your image. Theodor Scheimpflug was the first person who described these facts and therefore the priciple is called the Scheimpflug principle.

But in the following example I tilted the lens in order to orient the plane of focus in a way which minimized the sharp areas of the image. As this looks nearly identical to a very shallow depth of field, the observer mostly gets the impression, that he is only looking on a photographed mock-up of a landscape rather than a real landscape.
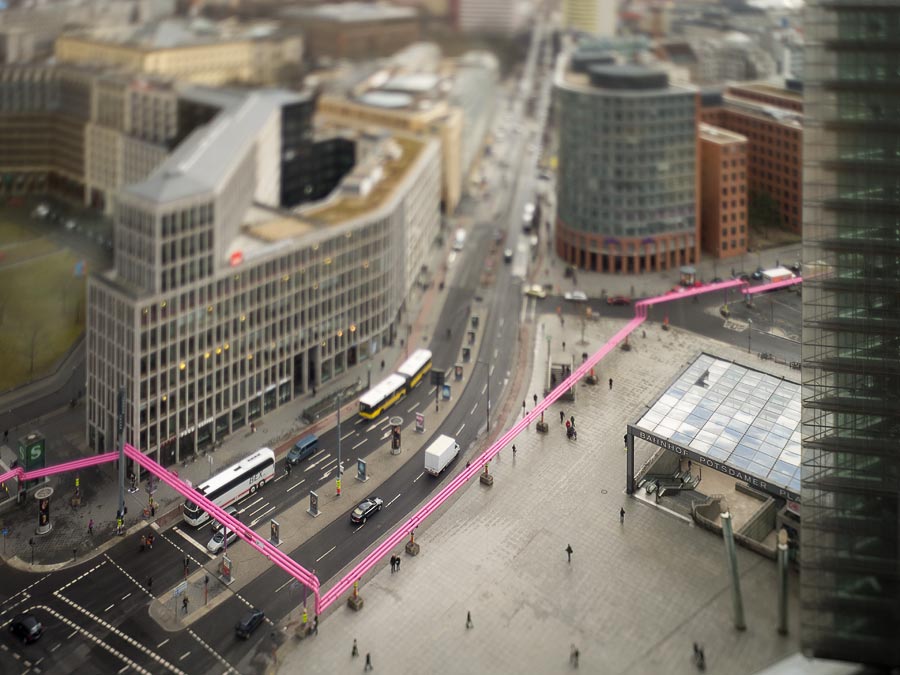
Tilt experiment with Kipon NIK-NEX adapter and Nikon Nikkor 20mm/2.8 AI-s on Sony NEX-5

In order to get this image, the lens was tilted and the camera was pointed down. Back at home, the vertical lines of the buildings were brought back to vertical alignment. In other words I tilted in the real world and shifted in the digital world…
Wireless remote control and panorama setup for Sony NEX-7

Markus already wrote two articles about controlling the NEX-5 with a wireless remote control. The first article presented the code and the schematics. In the second article he wrote about the final ‘product’, a boxed version of his Arduino.

Inspired by his design I tried to reduce the size. Therefore I didn’t implement the infrared receiver part and I also used a Arduino Nano instead of a regular Arduino. And I also used a smaller radio receiver. I finally had these components.

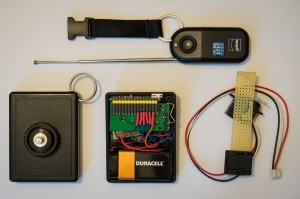
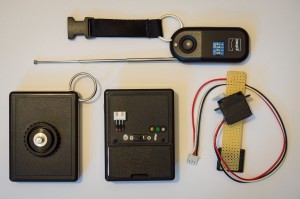
Radio transmitter, opened controller-box, trigger

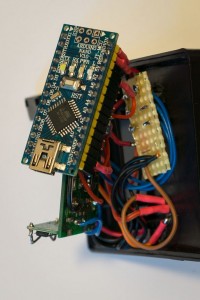
The next image shows a detailed view of the guts inside the box. With all the connecting cables and the two circuit boards there is not much space left.

Arduino Nano, radio receiver, cables

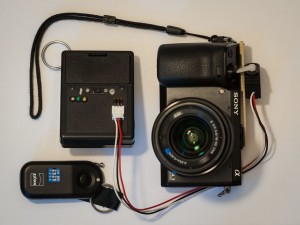
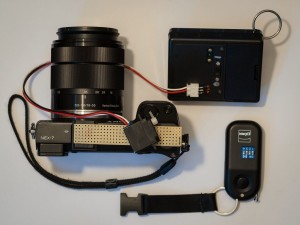
The next images are showing the final setup. The trigger is attached to the camera. The controler box is connected to the trigger. The radio transmitter is ready to fire.

Sony NEX-7 with attached trigger, controller box, radio transmitter

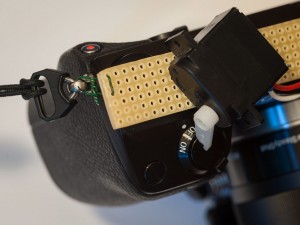
The following image shows a detail of the mounted trigger on the Sony NEX-7. I used some florist wire to attach the circuit board to the connector of the hand strap. On the other side the circuit board is glued to an hotshoe adapter which connects to the hotshoe of the camera.

Sony NEX-7 with attached trigger (detail)

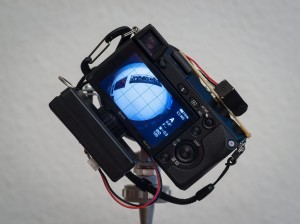
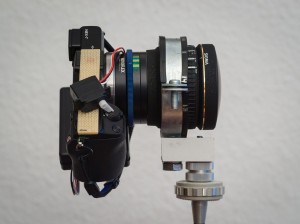
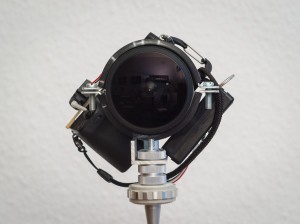
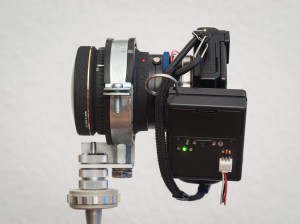
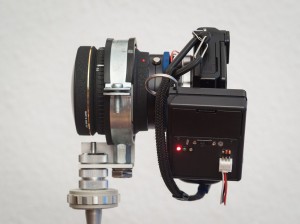
And finally some images of the complete panorama setup, including a custom made lens bracket (in fact it’s a simple pipe clamp from the hardware store), a Novoflex Alpha- to E-Mount adapter and a Sigma 8mm/4.0 fisheye. For panoramic photography this setup is used on top of a double-monopod construction.

The weigtht of the shown setup is 1145 g (2 lb 8 oz). My old setup (Sony Alpha 900 with shaved Sigma 10mm/2.8) has 1710 g (3 lb 12 oz). In both cases this includes camera, lens, adapter, bracket, trigger, controller box, batteries and memory card.

Both setups delivers equirectangulars with the same size (10.000 x 5.000) and with both setups I shoot 4 around and mostly no up and no down shot.

Complete setup (back view)
Complete setup (right view)
Complete setup (front view)
Complete setup (left view, wake up)
Complete setup (left view, trigger)

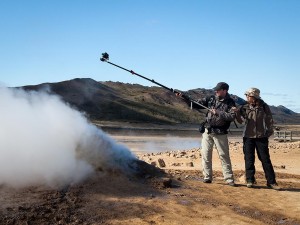
And here is the new setup in action.

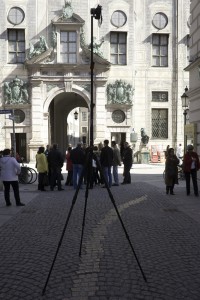
Shooting a horizontal pole panorama

Click here to view some panoramic images which were taken with this setup.

Unpacking a Sony Cyber-shot DSC-RX100

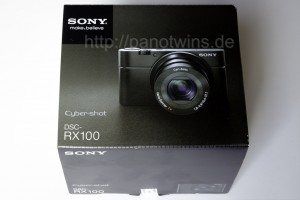
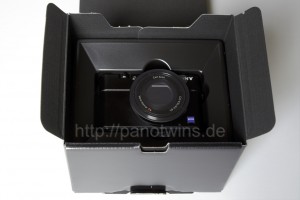
The PanoTwins camera family got a new offspring: The Sony Cyber-shot DSC-RX100. I did not expect the camera to be available before August. However several posts on different blogs talked about the availability of the camera. So I visited the home page of my local camera dealer – not expecting the sign: In stock. I headed for the store immediately, because I wanted to see it for real. I bought the camera 5 Minutes after talking it the first time into my hand. And now I can show you some unpacking images:

On the side of the box you can read about the sensor size: 1.0 type (13.2mmx8,8mm) CMOS Sensor 20.2 Mega pixels. I did not find the sensor informaion on the box of the Sony Alpha 77 😉

Sony Cyber-shot DSC-RX100 Box

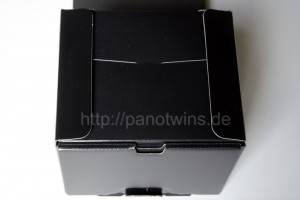
After opening the box you find a second box containig a multilingual (15 languages: GB, FR, IT, ES, PT, DE, NL, PL, CZ, HU, SK, SE, FI, NO and DK) “Digital Still Camera / Instruction Manual”. Each language has roughly about 33 pages in the manual. No CD is included, but a leaflet stating: “PC software is in the camera. See instruction Manual or User Guide for details.”

Sony Cyber-shot DSC-RX100 Box Open

After removing the second box the camera is revealed.

Sony Cyber-shot DSC-RX100 Box Open Camera

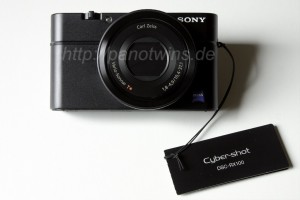
The camera has several protecting covers and a small identification plate attached to it. This is the view from the front with the lens still closed.

Sony Cyber-shot DSC-RX100

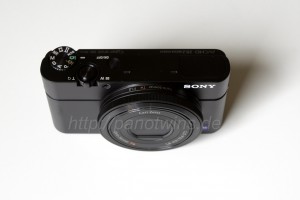
Top view of the camera.

Sony Cyber-shot DSC-RX100 Top

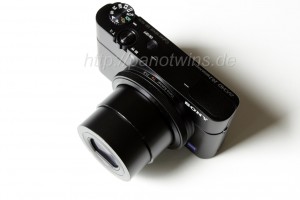
First time with extended lens, that spans a 35mm equivalent range of 28-100mm with F1.8-4.9.

Sony Cyber-shot DSC-RX100 Lens Extended

After removing the camera tray you find the accessories on the bottom of the box.

Sony Cyber-shot DSC-RX100 Box Accessories

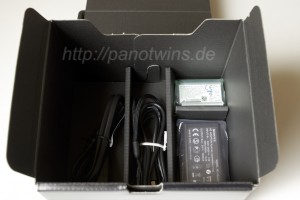
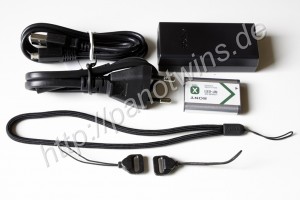
The accessories include a rechargeable battery, that has to be loaded inside the camera by connecting a supplied USB cable. The included transformer has an USB connector that fits this cable. Furthermore you find three straps, that can be attached to the camera. However the shoulder strap is an optional accessory and is not included! You’ll only find a wrist strap and two short straps for attaching a shoulder strap.

Sony Cyber-shot DSC-RX100 Accessories

Voigtländer Super Wide Heliar 15mm/4.5 attached to Sony NEX-7 via Novoflex NEX/LEM

In a recent article I described, why the E-mount of the Sony ILCE-7 is so interesting for people with legacy lenses and how to configure your Sony ILCE-7 to assist when taking pictures with these lenses. In another article I also described, how to get rid of the magenta cast in the corners when you are using ultra wide lenses on the Sony NEX-system.

And here is another example of a legacy ultra wide lense adapted to the E-mount.

Voigtländer Super Wide Heliar 15mm/4.5 attached to Sony NEX-7 via Novoflex NEX/LEM

Originally this lens was constructed for the M39 screw-mount of early Leica cameras. So you could either use an Novoflex NEX/LEI adapter or you use an M-Bayonet Adapter and the Novoflex NEX/LEM adapter. Depending on your other lenses one of this options should suit your needs. Personally I use the second option and I don’t have any problems while focusing.

If you’d like to read an intensive review of the lens then take a look at this page.

Sony NEX-7 and the use of legacy ultra wide lenses

In a previous article I wrote about the possibility of attaching nearly every interchangable lens to the NEX camera system via an appropriate adapter. And I already told you how you can configure your NEX so that it’s easier to work with your legacy lenses.

But there is still a problem when you use ultra wide lenses originally designed for the Leica-M camera system. Depending on the lens you get a strong coloured cast in the corners of your image. Meanwhile this problem is well described throughout the web. For example in an article of Luminous Landscape, the blog of Steve Huff or the blog of Jim Kasson.

My own experiences confirm these observations. Depending on the lens (and of course your subject) you get a strong coloured cast which you can’t ignore. The following example shows an image which was taken with the NEX-7 and the Voigtländer Ultra Wide Heliar 12mm/5.6. At the stage of post-processing I didn’t apply any correction for any of the known lens defects (like chromatic aberration or distortion) nor did I correct for coloured corners or vignetting.

Uncorrected example image taken with NEX-7 and the Voigtländer Ultra Wide Heliar 12mm/5.6.

But at the cost of additional post-processing there is a solution available which is based on the free software cornerfix (which is available for Mac and PC). At the stage of post-processing I didn’t apply any correction for any of the known lens defects (like chromatic aberration or distortion) but I did correct the coloured corners and vignetting with cornerfix.

With cornerfix corrected example image taken with NEX-7 and the Voigtländer Ultra Wide Heliar 12mm/5.6.

Before I corrected the corners I generated my own lens-correction-profiles. Therefore I followed these instructions. For the flat field reference file I took a picture through a matted glass panel.

Flat field reference image taken with NEX-7 and the Voigtländer Ultra Wide Heliar 12mm/5.6.

After that I followed the instructions for correcting images with cornerfix. I’m very pleased with the results and at the cost of some additional post-processing I get perfectly usable files from my legacy ultra wide lenses on my NEX-7. In the following example I corrected the coloured corners and vignetting with cornerfix and I corrected the lens defects (chromatic aberration, distortion) within Adobe camera raw. Some digital shifting, a crop to 3:4 and adding again some vignette completed the modifications of this image.

Image taken with NEX-7 and the Voigtländer Ultra Wide Heliar 12mm/5.6.

For the additional post-processing with cornerfix you need files in the DNG format. And to convert the Sony ARW files from the NEX-7 to DNG you will need at minimum the version 6.6 of the Adobe DNG converter. As my workflow was already based on the DNG format the additional post-processing is not much of an issue 🙂

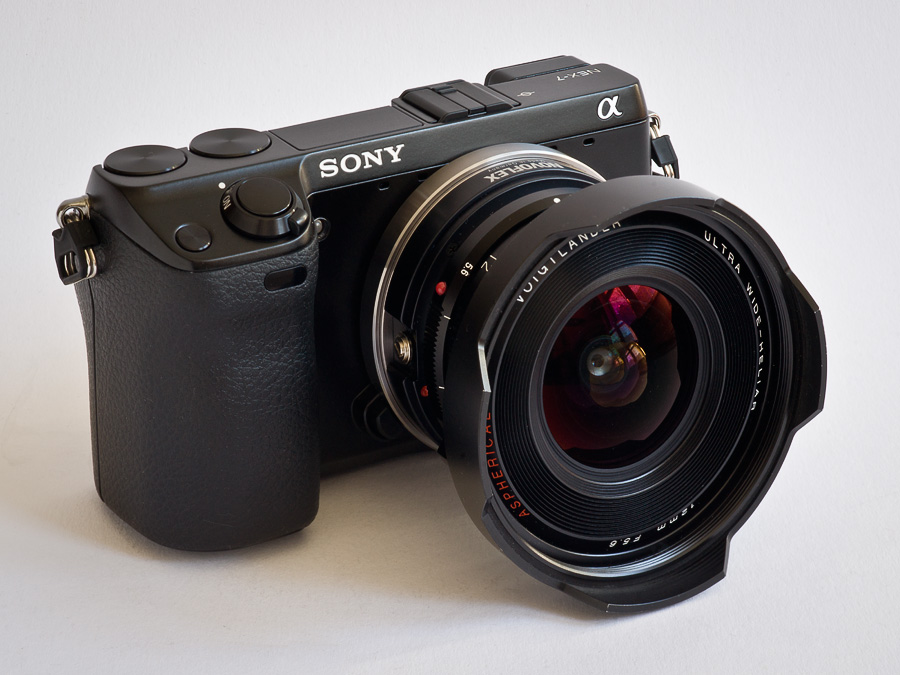
Voigtländer Ultra Wide Heliar 12mm/5.6 attached to Sony NEX-7 via Novoflex NEX/LEM

The lens mount of the Sony NEX camera system is called E-mount. The E stands for Eighteen, as the flange focal distance of the Sony NEX camera series is exactly eighteen millimeters. Most interchangeable lens systems use a longer flange focal distance and therefore you can adapt nearly every available lens to the E-mount of the Sony NEX camera system.

In this case I used the NEX/LEM adapter from Novoflex to adapt an Voigtländer Ultra Wide Heliar 12mm/5.6 to a Sony NEX-7. On a full frame sensor this setup equals to a focal length of 18mm.

Sony NEX-7 - Voigtländer Ultra Wide Heliar 12mm/5.6 and Novoflex NEX/LEM
Sony NEX-7 – Voigtländer Ultra Wide Heliar 12mm/5.6 and Novoflex NEX/LEM

You must be aware that this combination only allows manual control. But the Sony NEX camera system assists in the use of manual lenses if the camera is proper configured:

  1. Make sure you enable the shooting without a lens: Menu → Setup → Release w/o lens → Enable
  2. For the first generation NEX cameras (NEX-5 and NEX-3) make sure you have an actual firmware (≥ version 04) installed. Check this by using Menu → Setup → Version. When you have an older version installed then download the latest version from the Sony support site .
  3. Enable the MF Assist function using Menu → Setup → MF Assist → 2 Sec
    You can choose between No Limit — 2 Sec — 5 Sec.
  4. Enable the Peaking Level using Menu → Setup → Peaking Level → Mid
    You can choose between Low — Mid — High.
  5. Choose your Peaking Color using Menu → Setup → Peaking Color → Red
    You can choose between Yellow — Red — White.

Switch your camera to A- Mode (aperture priority) and use the MF Assist button to get a perfectly sharp picture even when shooting a fast lens wide open.

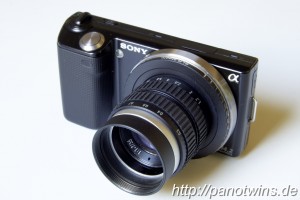
SLR Magic 35/f1.7 on Sony NEX 5

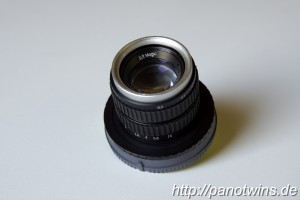
The SLR Magic 35mm/F1.7 is a manual lens and is available with an E-Mount, that fits on the Sony NEX camera series.
To be able to use it, you have to make sure you tweak some settings in your camera:

  1. Make sure you enable the shooting without a lens: Menu → Setup → Release w/o lens → Enable
  2. Before you continue make sure you have Firmware ≥ Ver. 04 installed! Check this using Menu → Setup → Version. When you have an older version installed download the latest version from the Sony support site here.
  3. Enable the MF Assist function using Menu → Setup → MF Assist → 2 Sec
    You can choose between No Limit — 2 Sec — 5 Sec.
  4. Enable the Peaking Level using Menu → Setup → Peaking Level → Mid
    You can choose between Low — Mid — High.
  5. Choose your Peaking Color using Menu → Setup → Peaking Color → Red
    You can choose between YellowRed — White.

Switch your camera to A- Mode (aperture priority) and use the MF Assist button to get a perfectly sharp picture even when shooting the lens wide open with f/1.7!

You find some example shots in this post.

See a very detailed review of the lens here.

SLR Magic 35/f1.7
SLR Magic 35/f1.7
SLR Magic 35/f1.7 on Sony NEX 5

Remote Trigger with Arduino, a Shield in a Box

After the prototype remote trigger I presented in my previous post has been tested succesfully I decided to make my own shield for the arduino and put the whole system in a box, that I could take with me for shooting panoramas. What you see in the following pictures is my attempt to make a portable system for all types of remote triggering my NEX 5. I called this project The Ultimate Trigger V1.

Creative Commons License The Ultimate Trigger V1 is licensed under a Creative Commons Attribution-ShareAlike 3.0 Unported License.

I tried to make the shield somehow modular in design. This means I can attach different types of servos, I can attach a different IR receiver and I can change the attached wireless RF receiver without using a soldering iron.

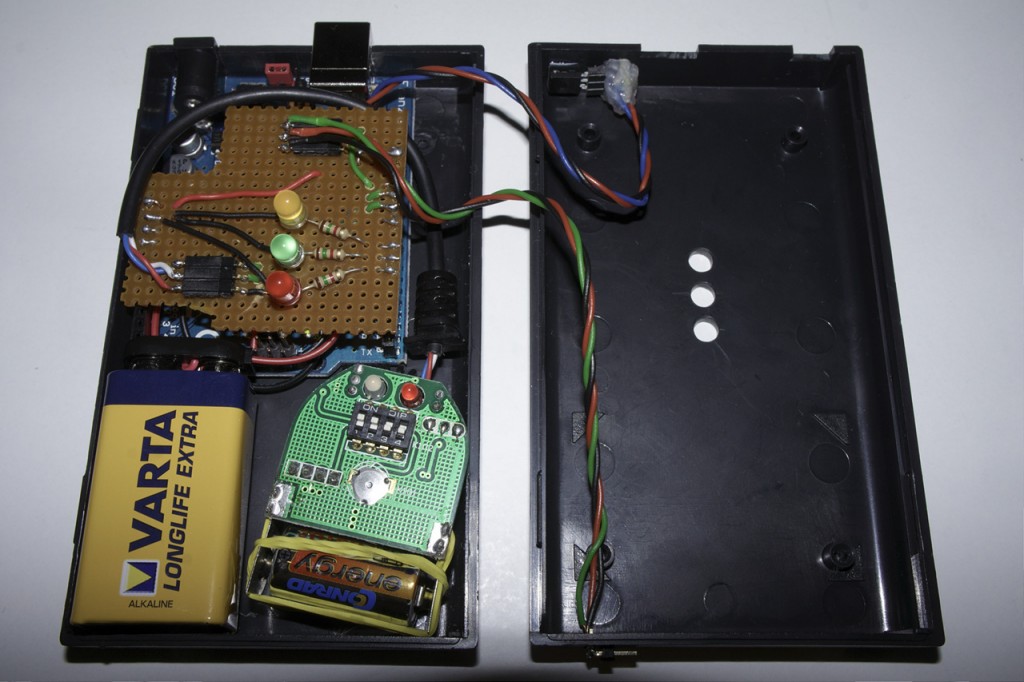
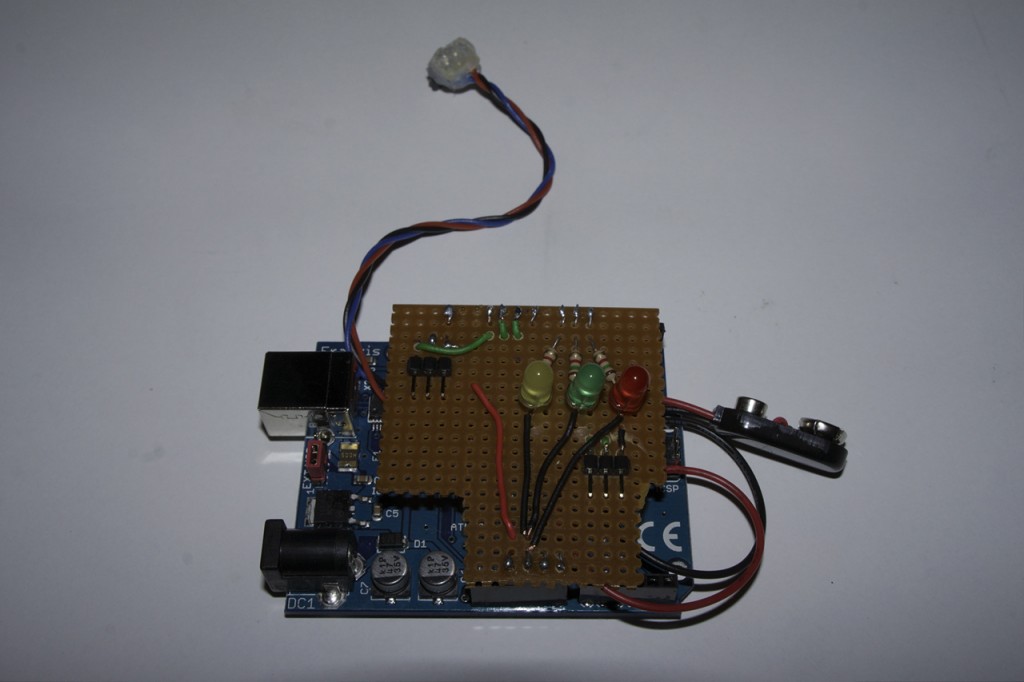
This image shows the guts of the whole system. On the left side from top to bottom:
The arduino board with the attached shield. Several items are connected via cables to the shield: The IR remote receiver with its red-black-blue cable going to the upper lid of the box on the right. The IR receiver itself is glued to the lid with instant adhesive. The servo can be connected via the red-black-green cable going towards the outside of the lid. The third party wireless RF remote receiver (dismantled compared to my last post) sits in the bottom right part of the left lid and is attached to the shild also via a cable. Last but not least you see the 9V battery powering the arduino and the shield. The wireless RF receiver has its own battery.

Ultimate Trigger V1 - Box Open

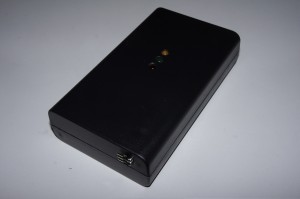
When the box is closed you see on the upper side (which is in my definition the side next to the camera and thus close to the servo) the three pins, where a servo can be attached. Furthermore you see on the side facing the operator the three LEDs showing the status of the device.

Ultimate Trigger V1 - Box Top

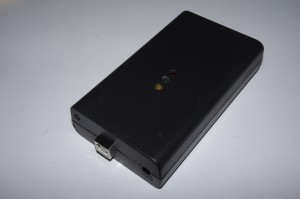
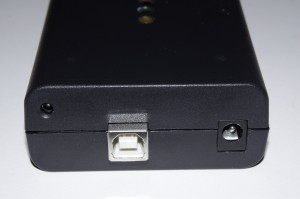
On the bottom side you see from left to right: The IR receiver, the arduino USB port and the arduino power port.

Ultimate Trigger V1 - Box Bottom

Like the image before this one shows the bottom part of the box (from left to right): The IR receiver, the arduino USB port and the arduino power port.

Ultimate Trigger V1 - Box Bottom Details

The following images show the system without the box. First the shield connected to the arduino. The battery, servo, RF receiver and IR receiver are all disconnected.

Ultimate Trigger V1 - Shield On Arduino

This image shows the top view of the plain shield.

Ultimate Trigger V1 - Shield Top

This image shows the bottom view of the plain shield.

Ultimate Trigger V1 - Shield Bottom
QR Code Business Card