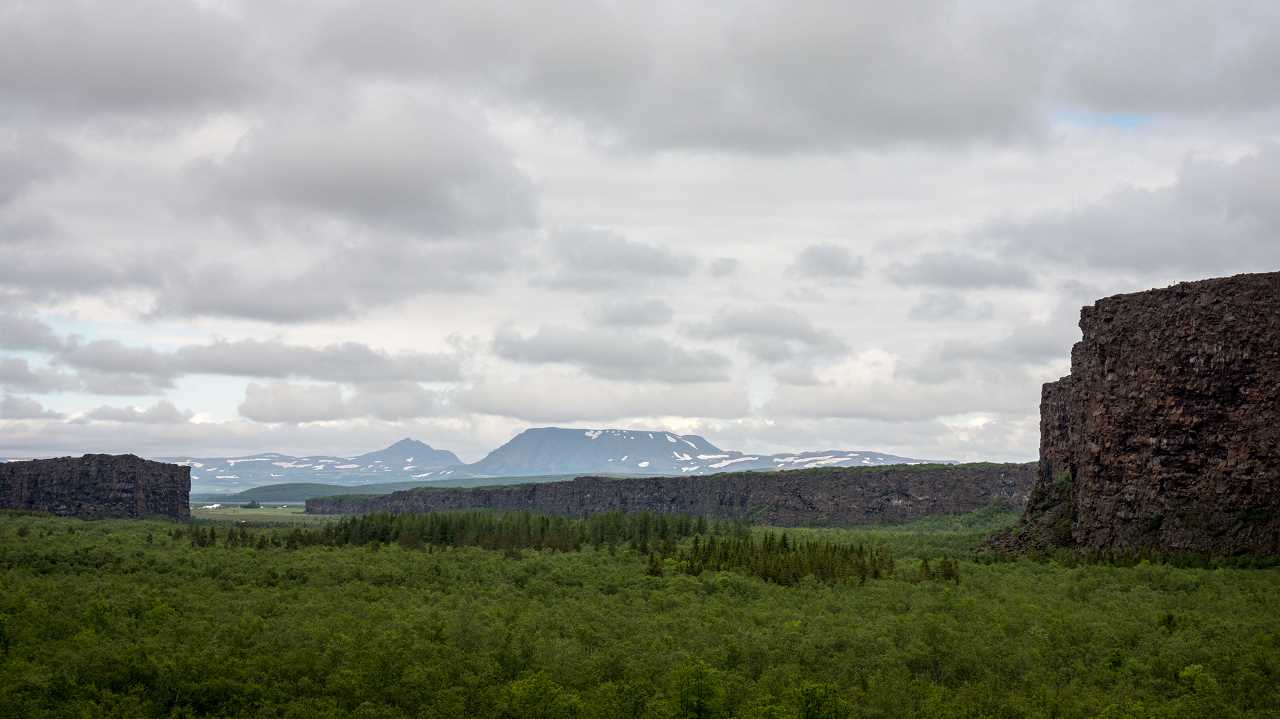
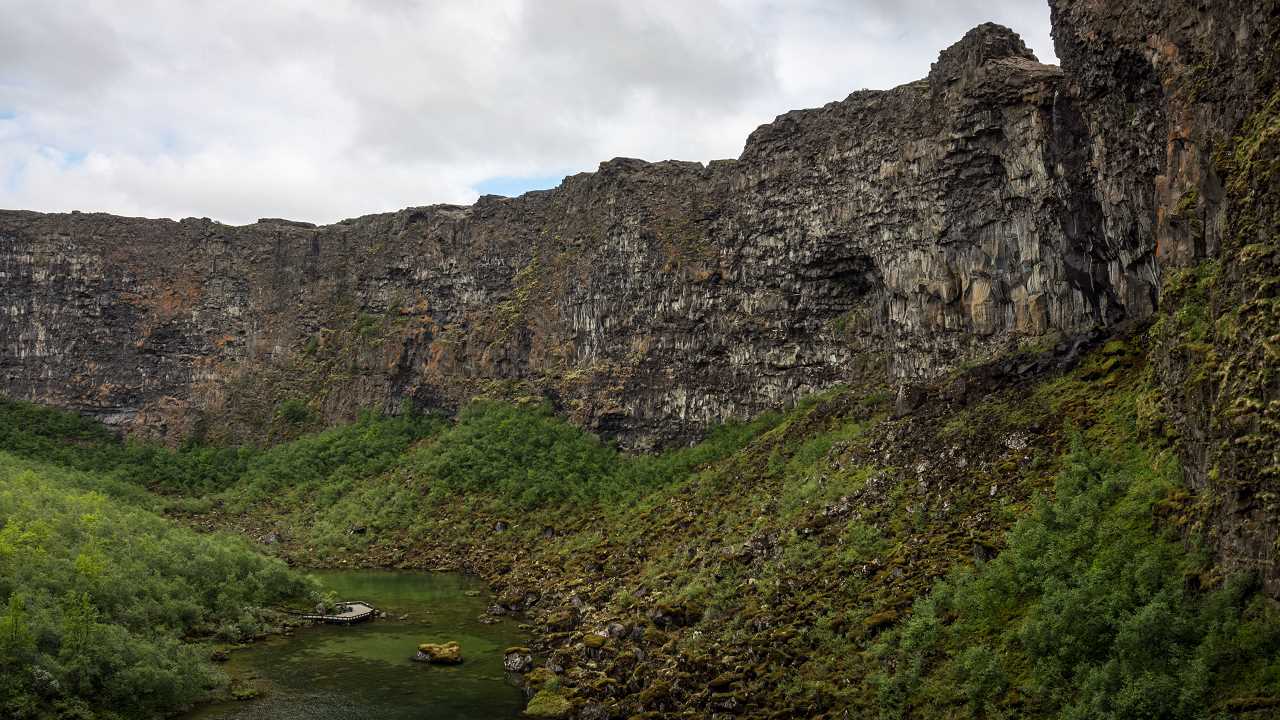
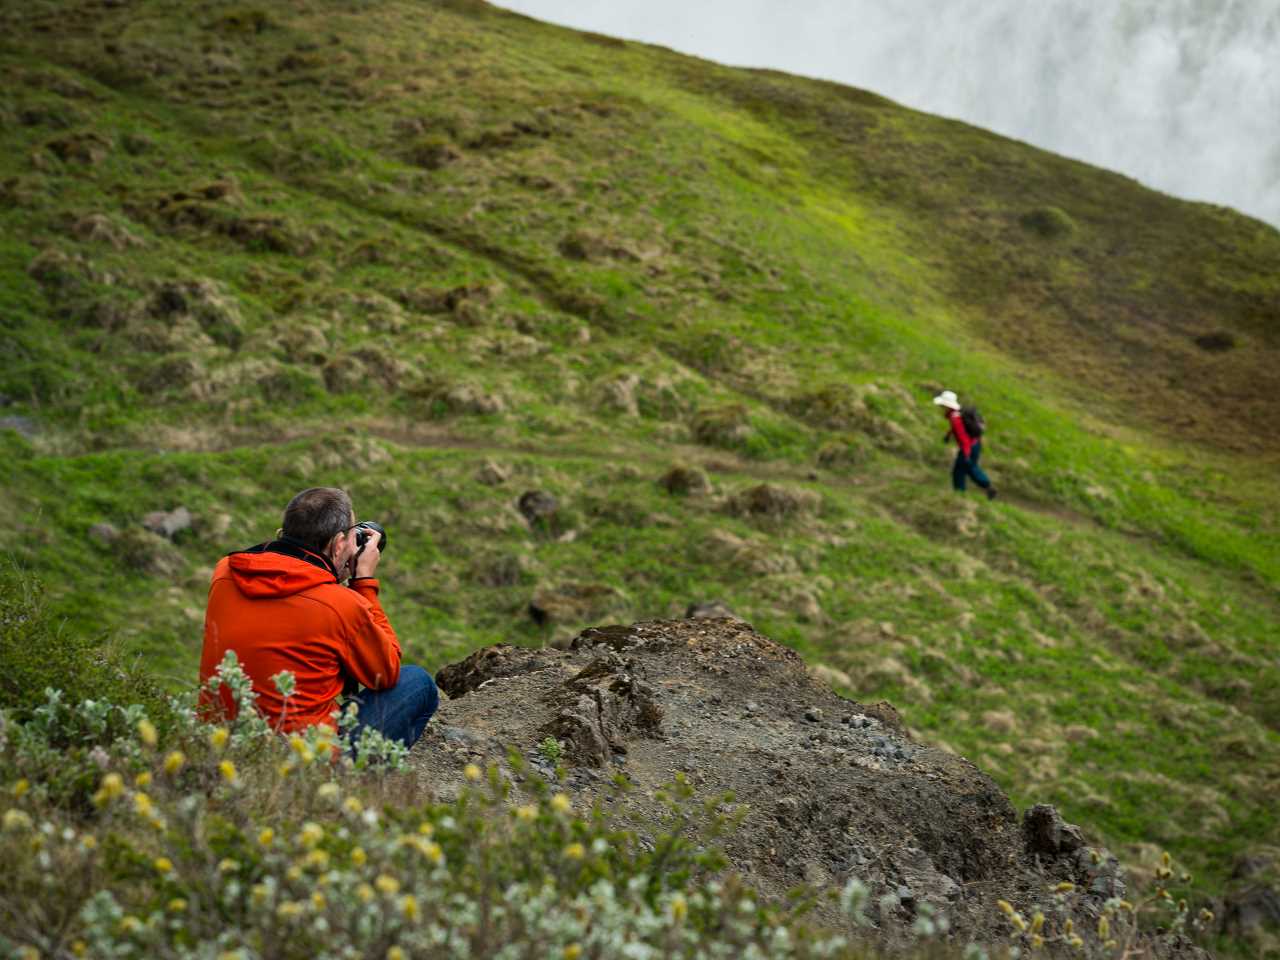
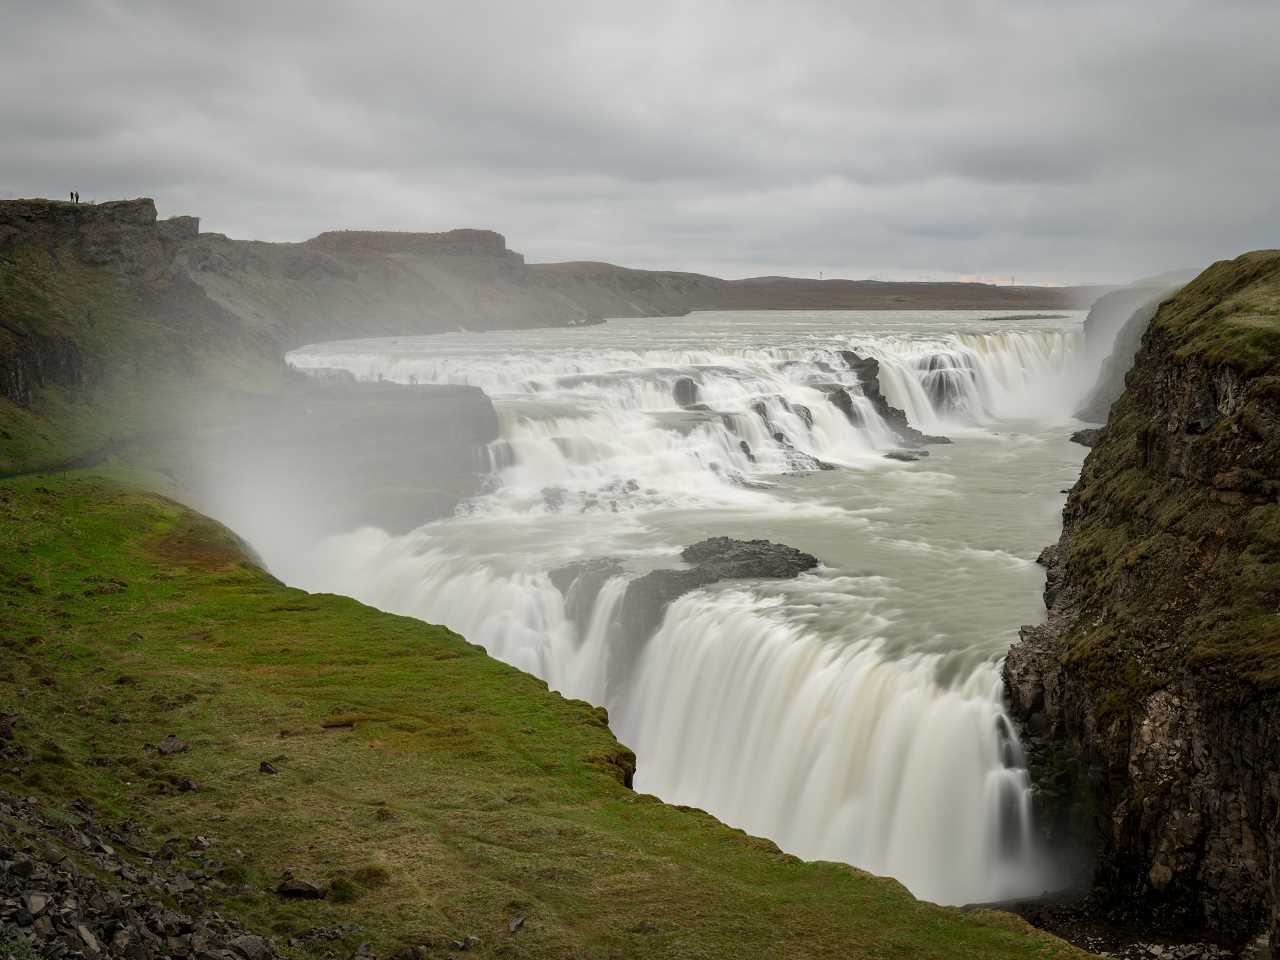
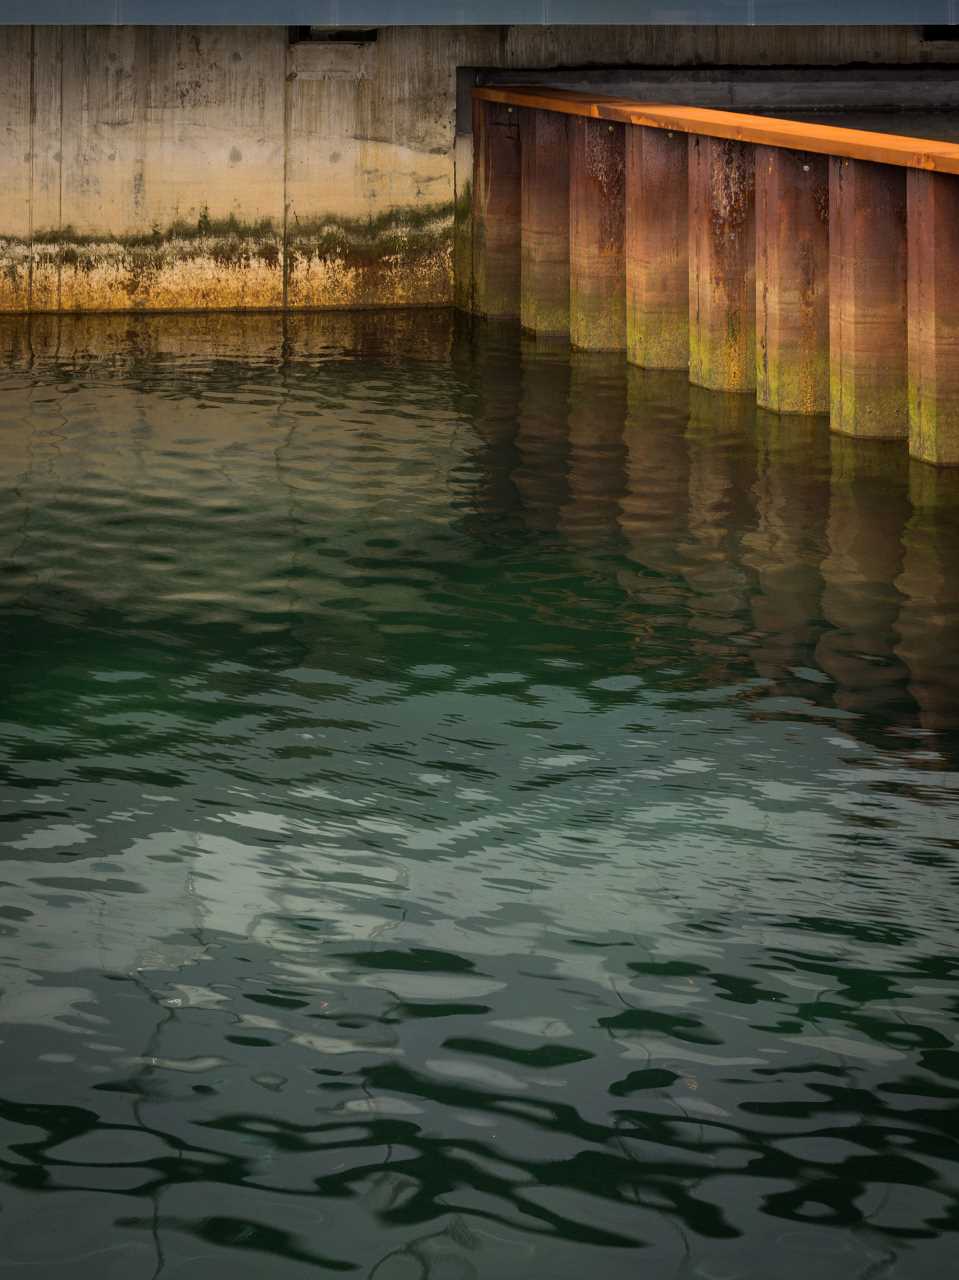
This post presents a little gallery from todays scenic landscapes.

This is the blog of the PanoTwins
On our website a conventional photographic image was taken with a single shot. In most cases the lens was a rectilinear lens.
This post presents a little gallery from todays scenic landscapes.
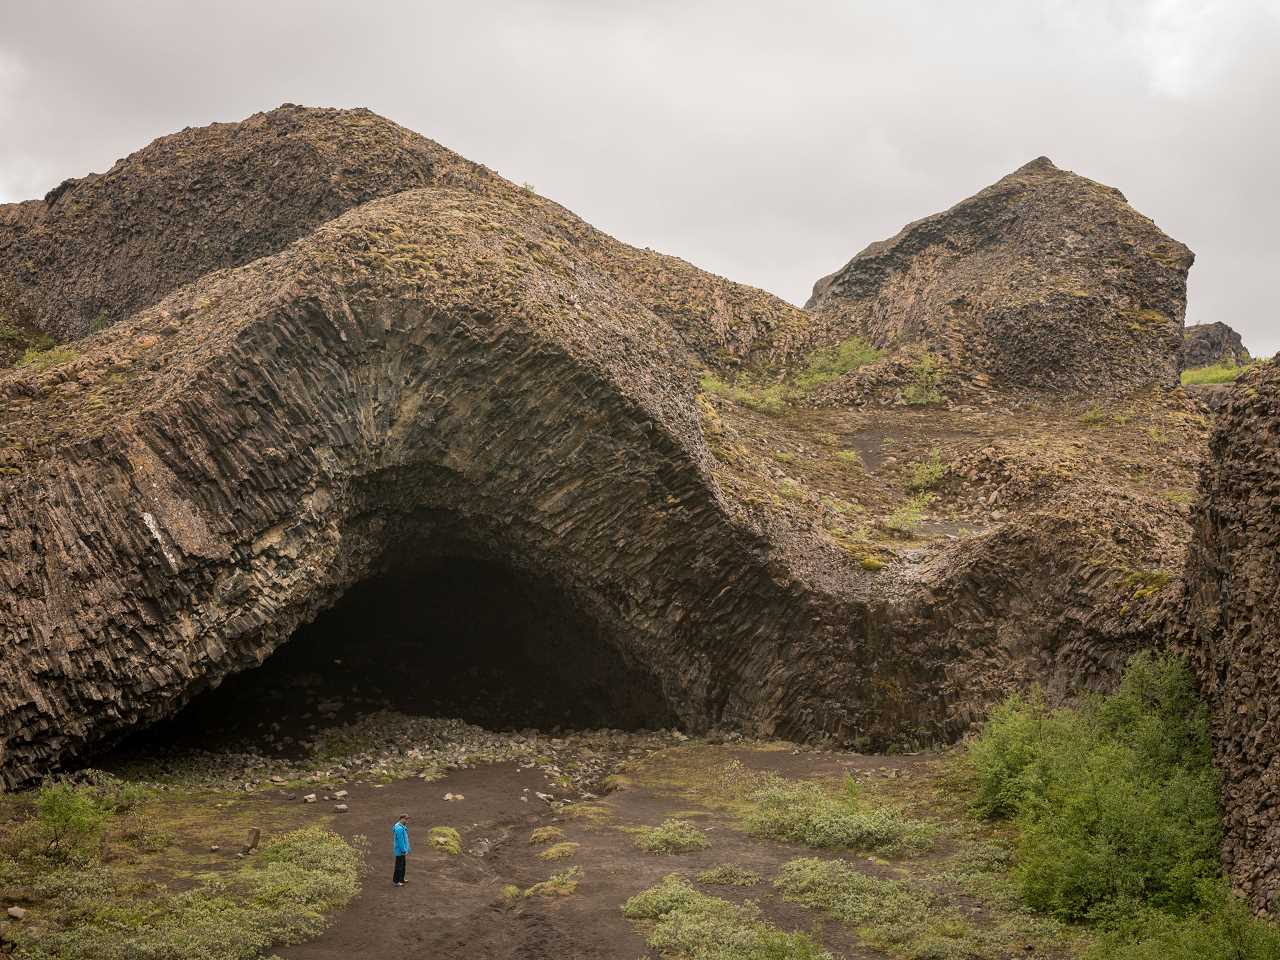
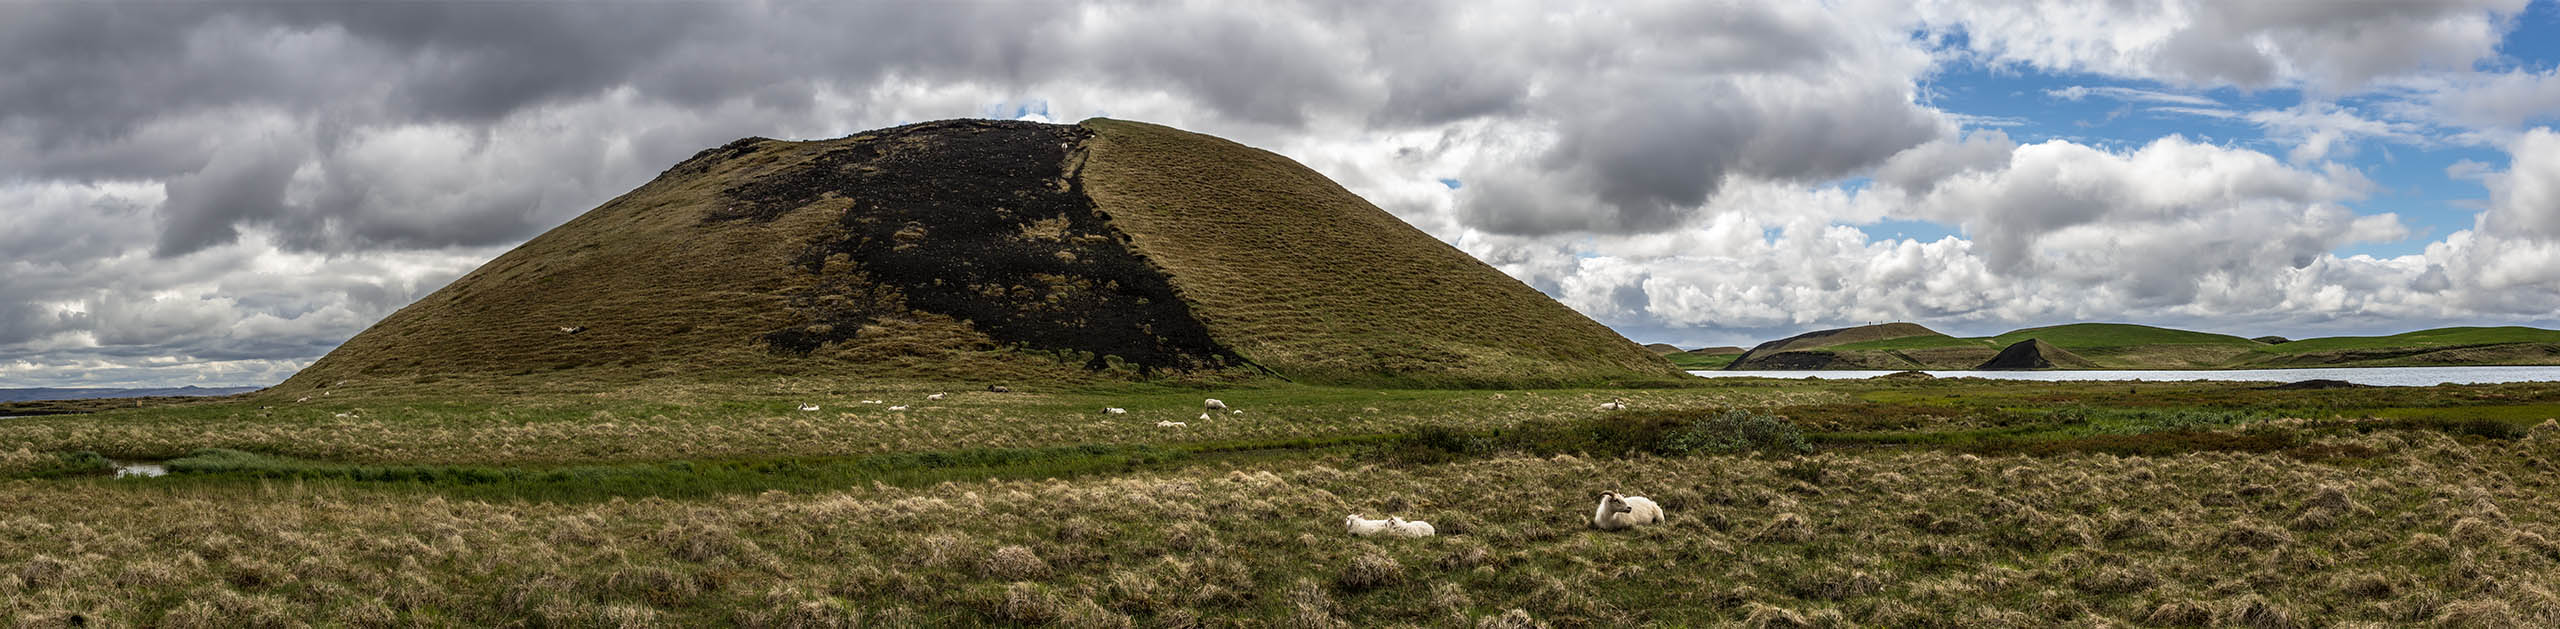
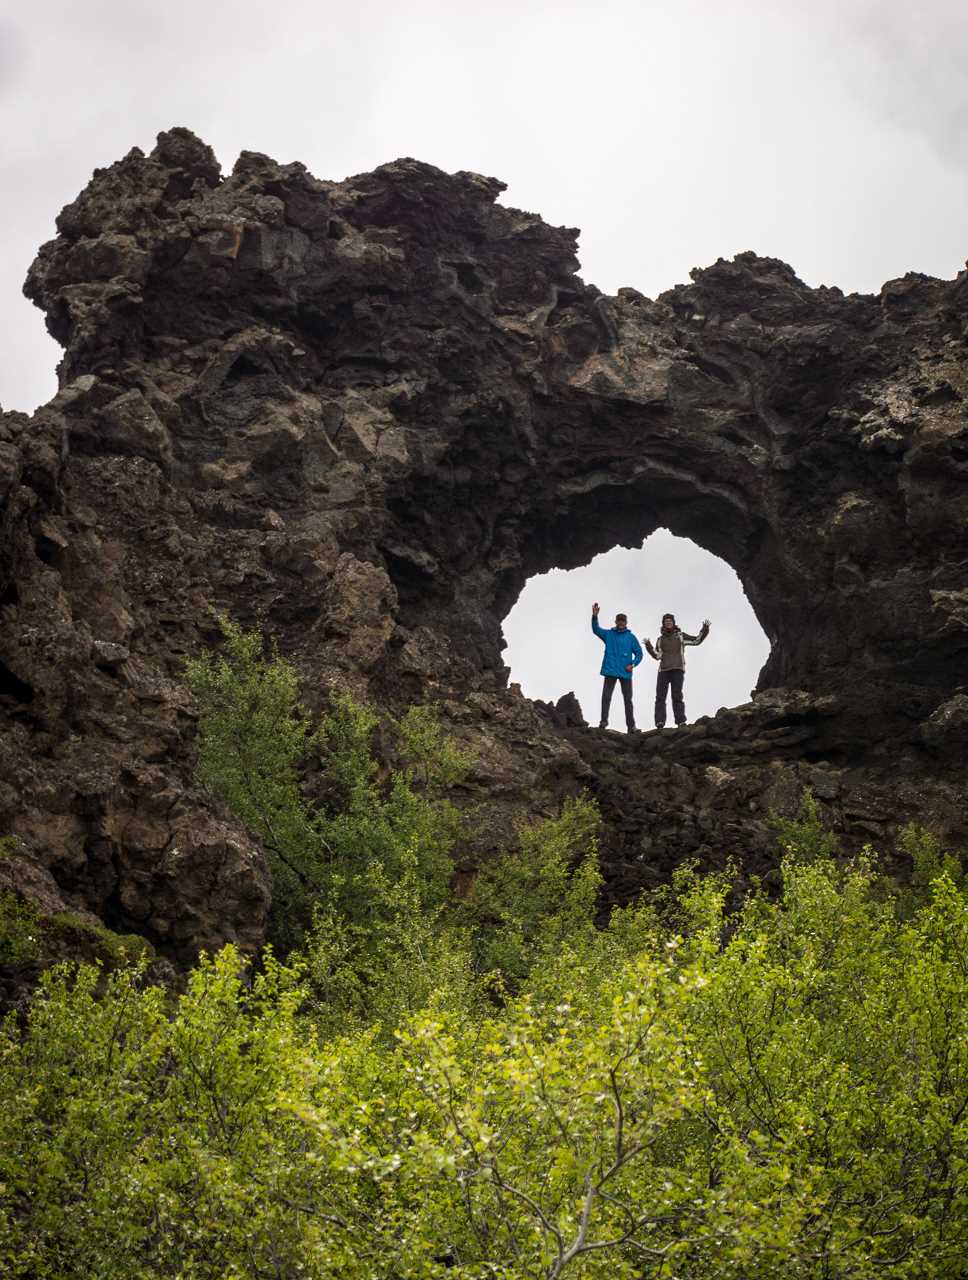
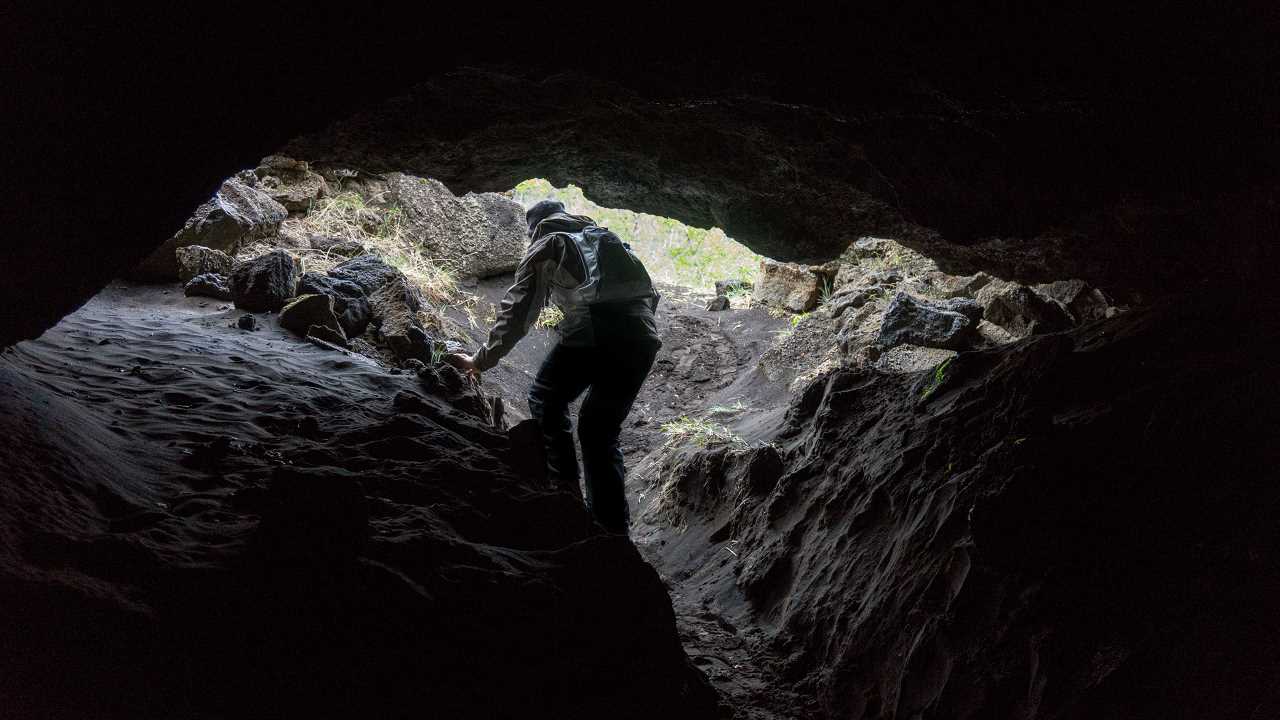
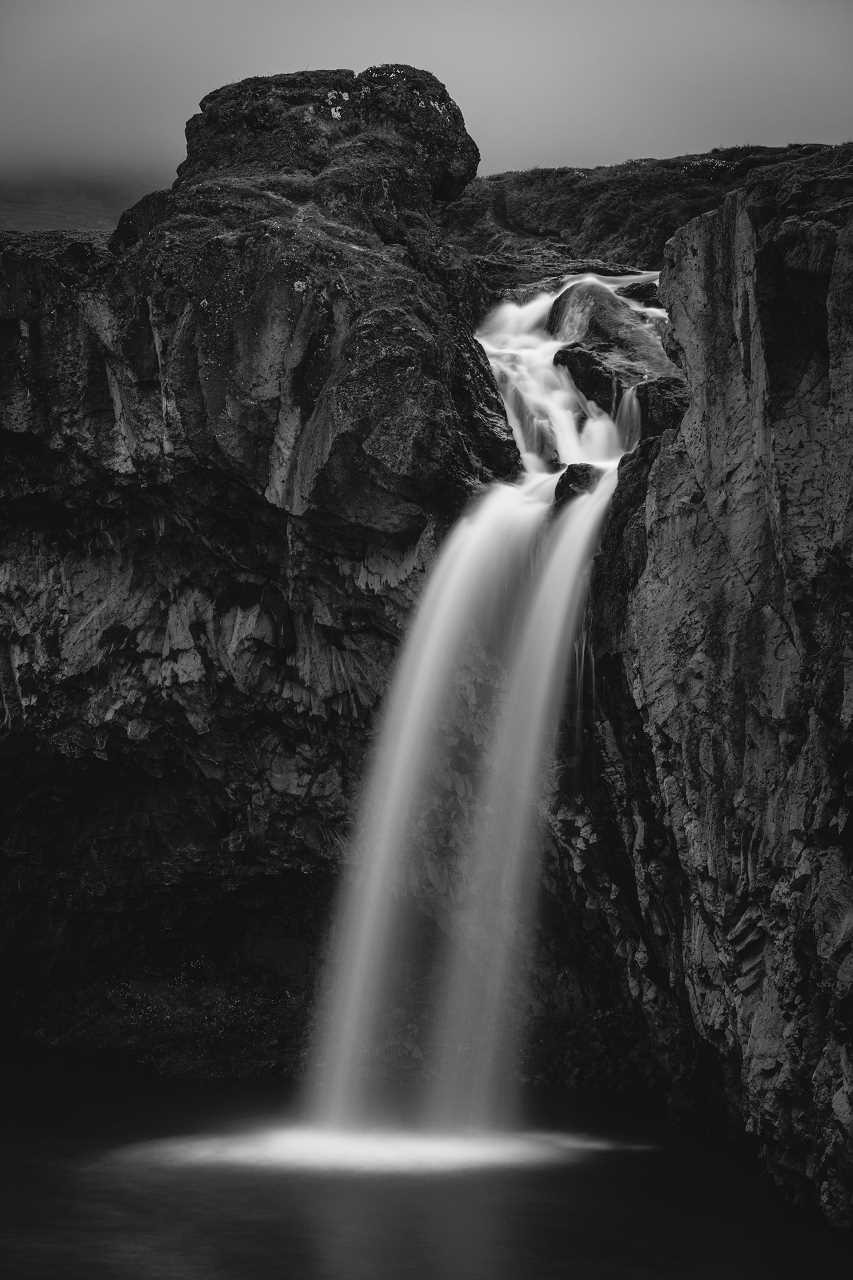
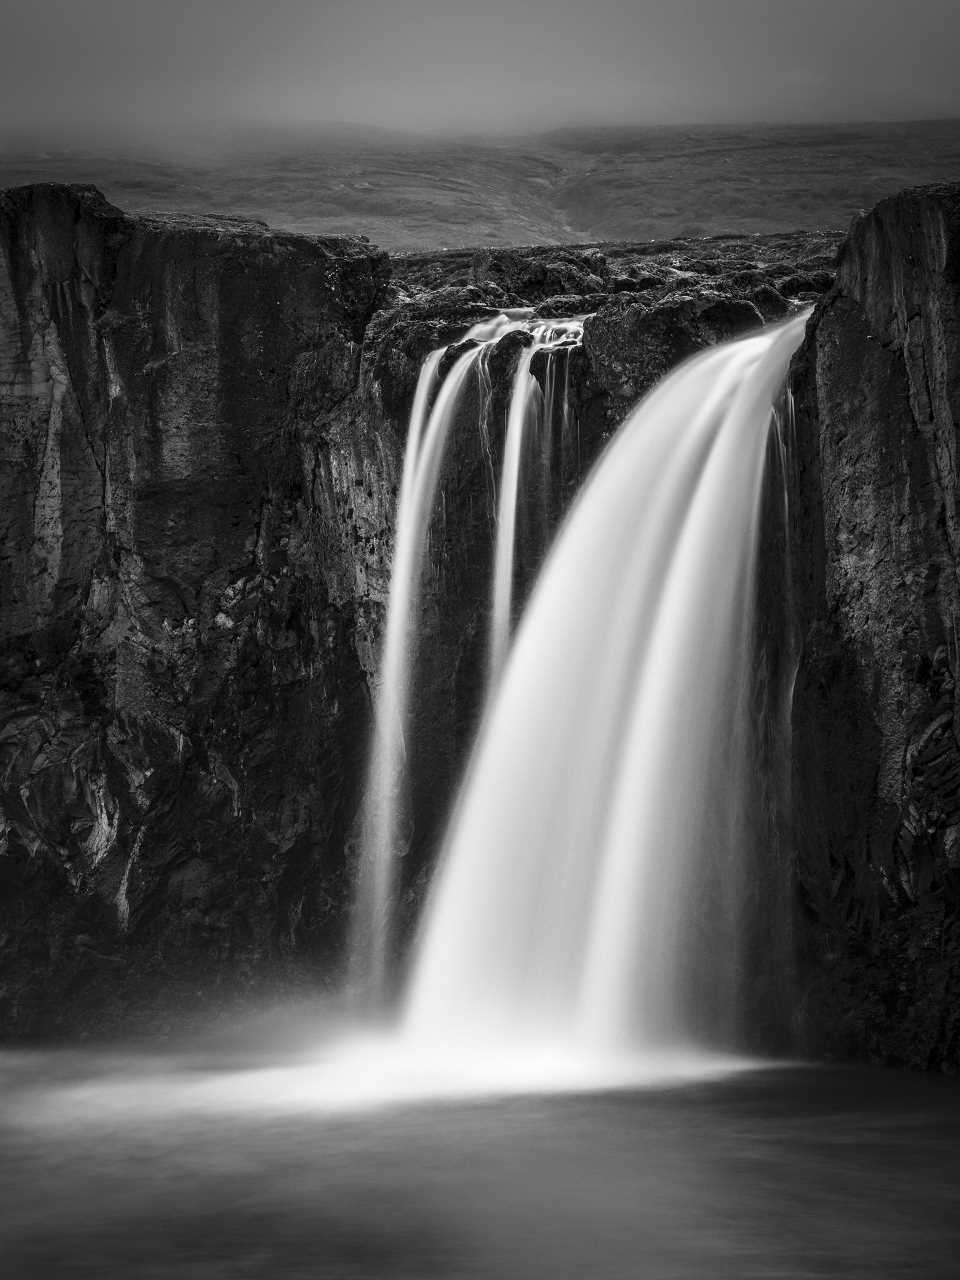
This gallery shows some impresions from Goðafoss, lake Myvatn and Dimmuborgir.

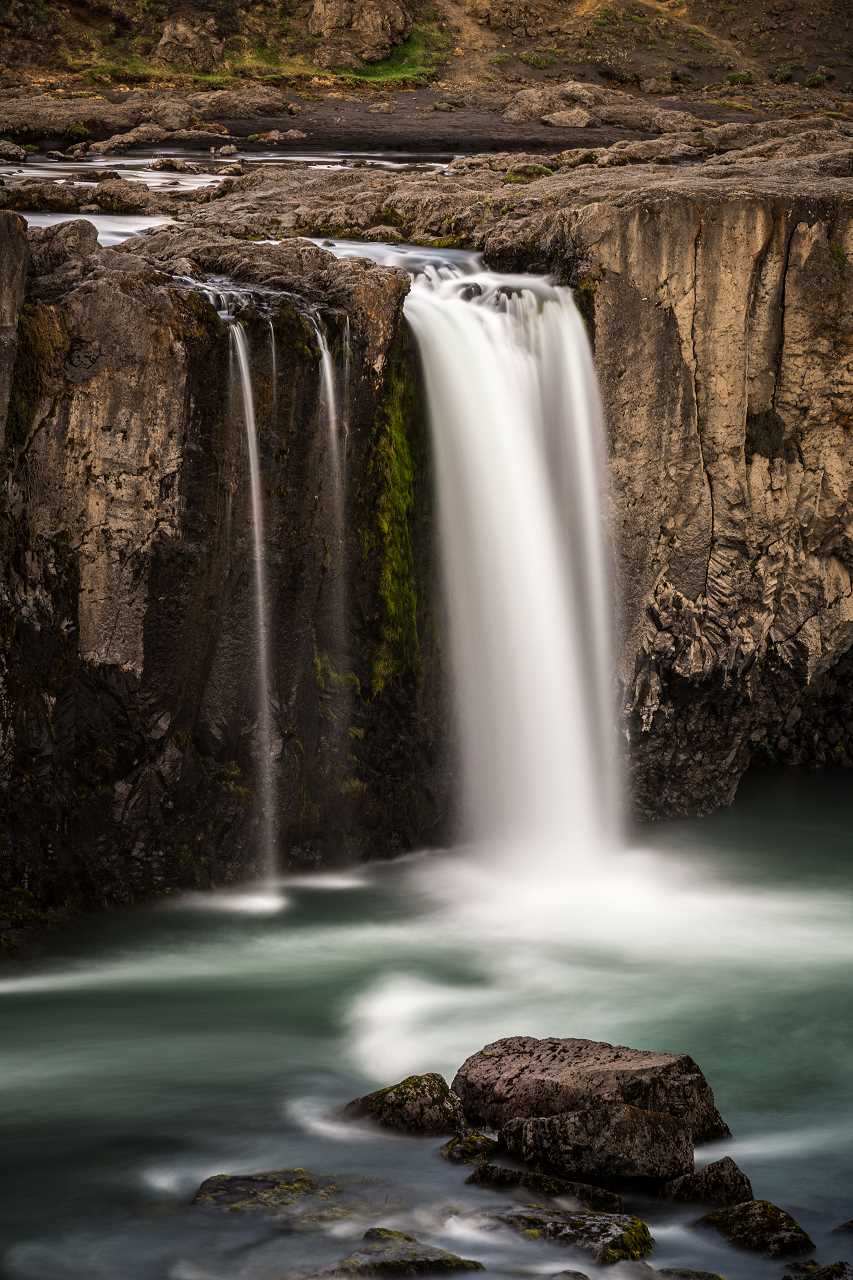
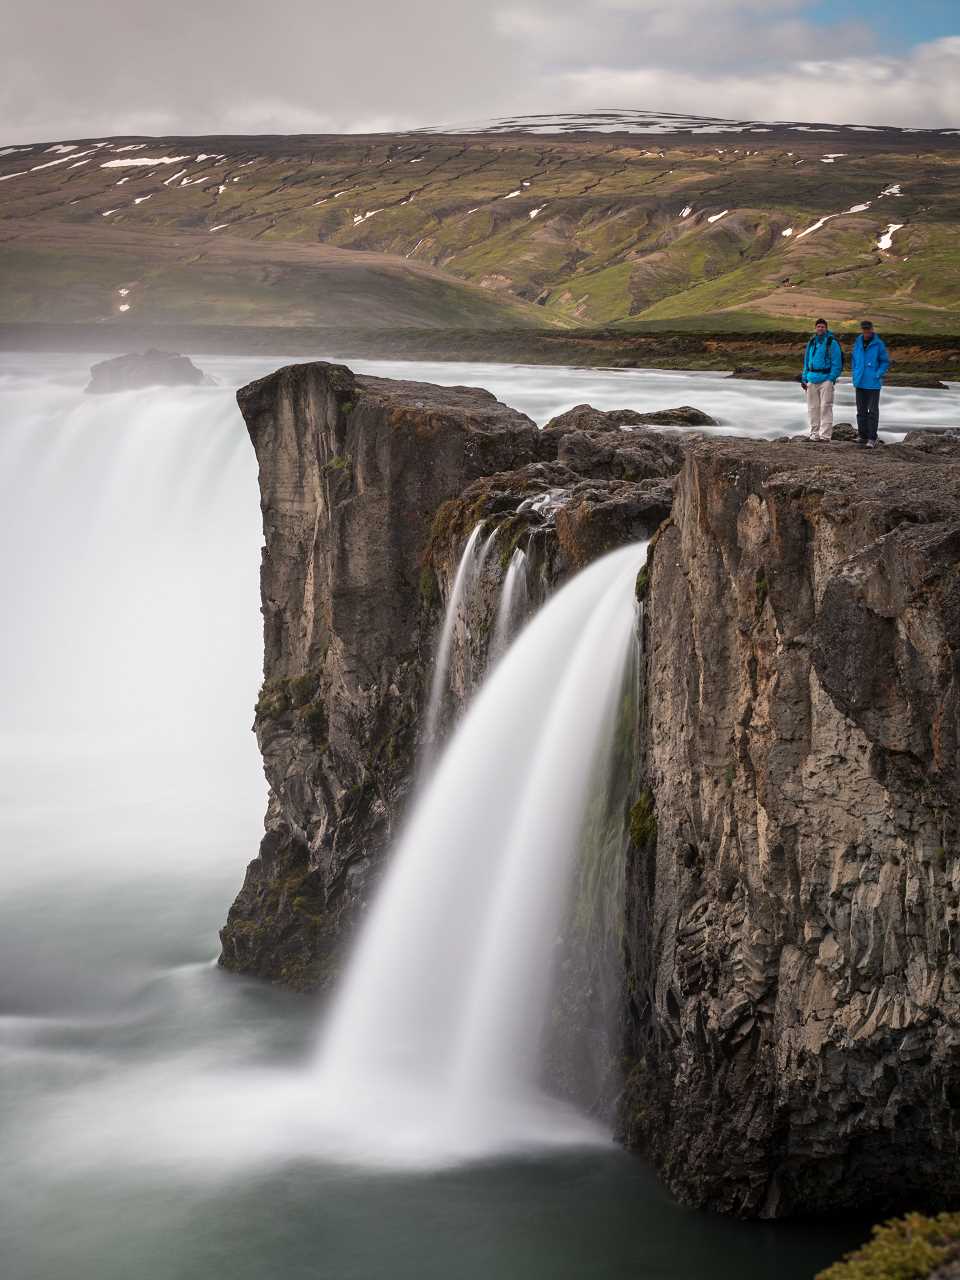
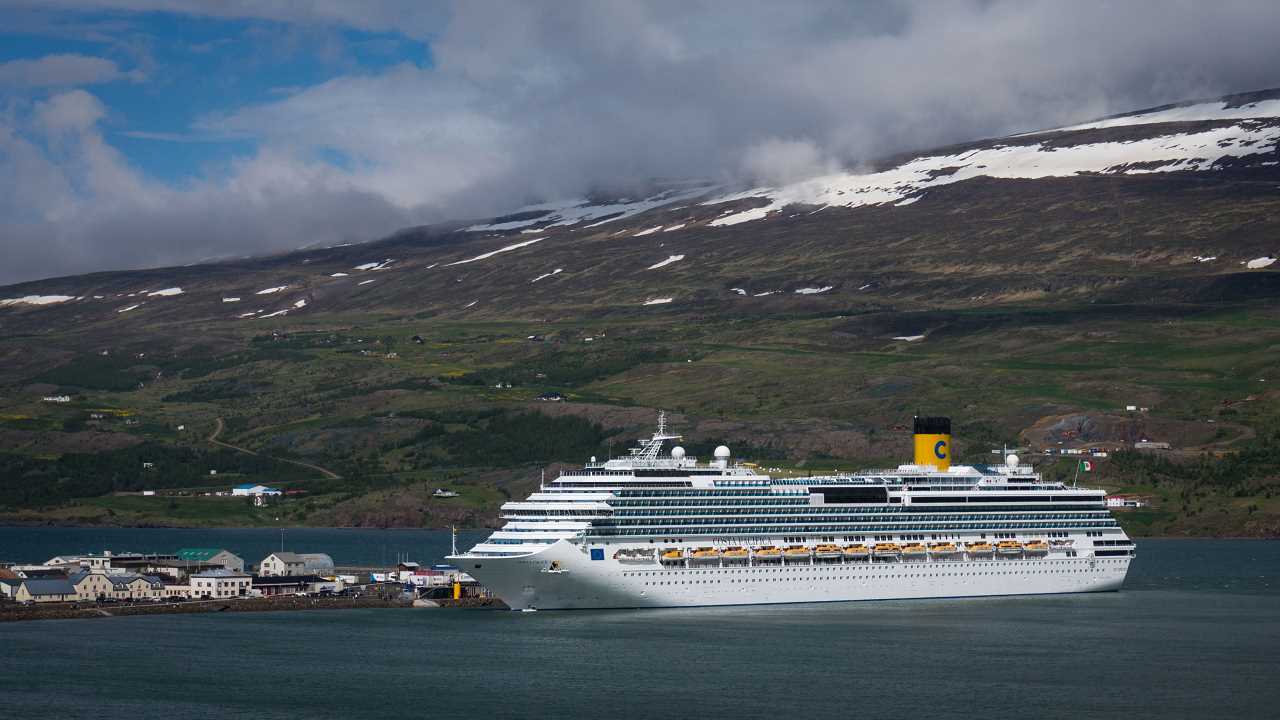
This gallery shows some impressions from Akureyri and Goðafoss
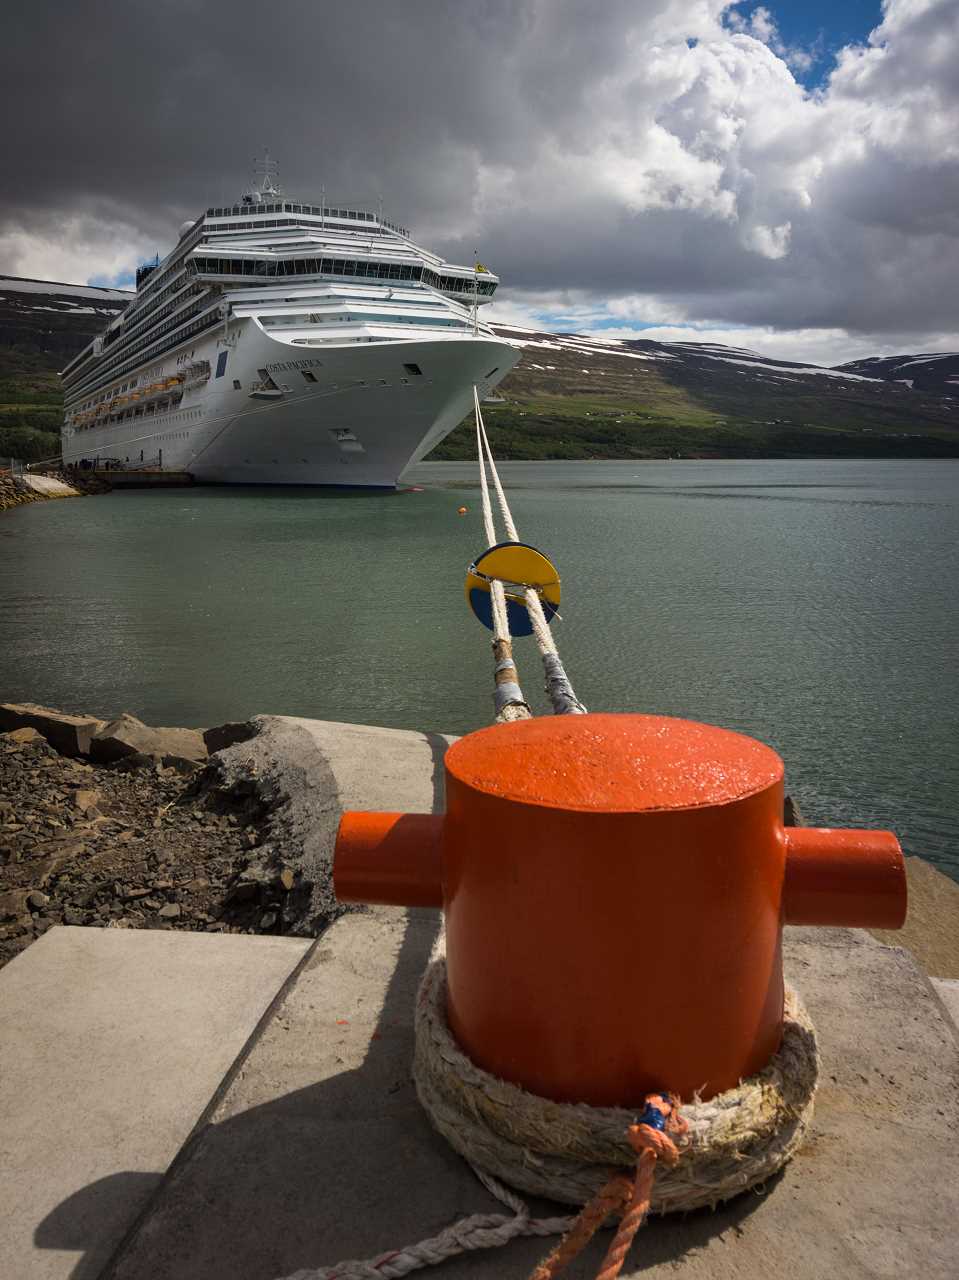
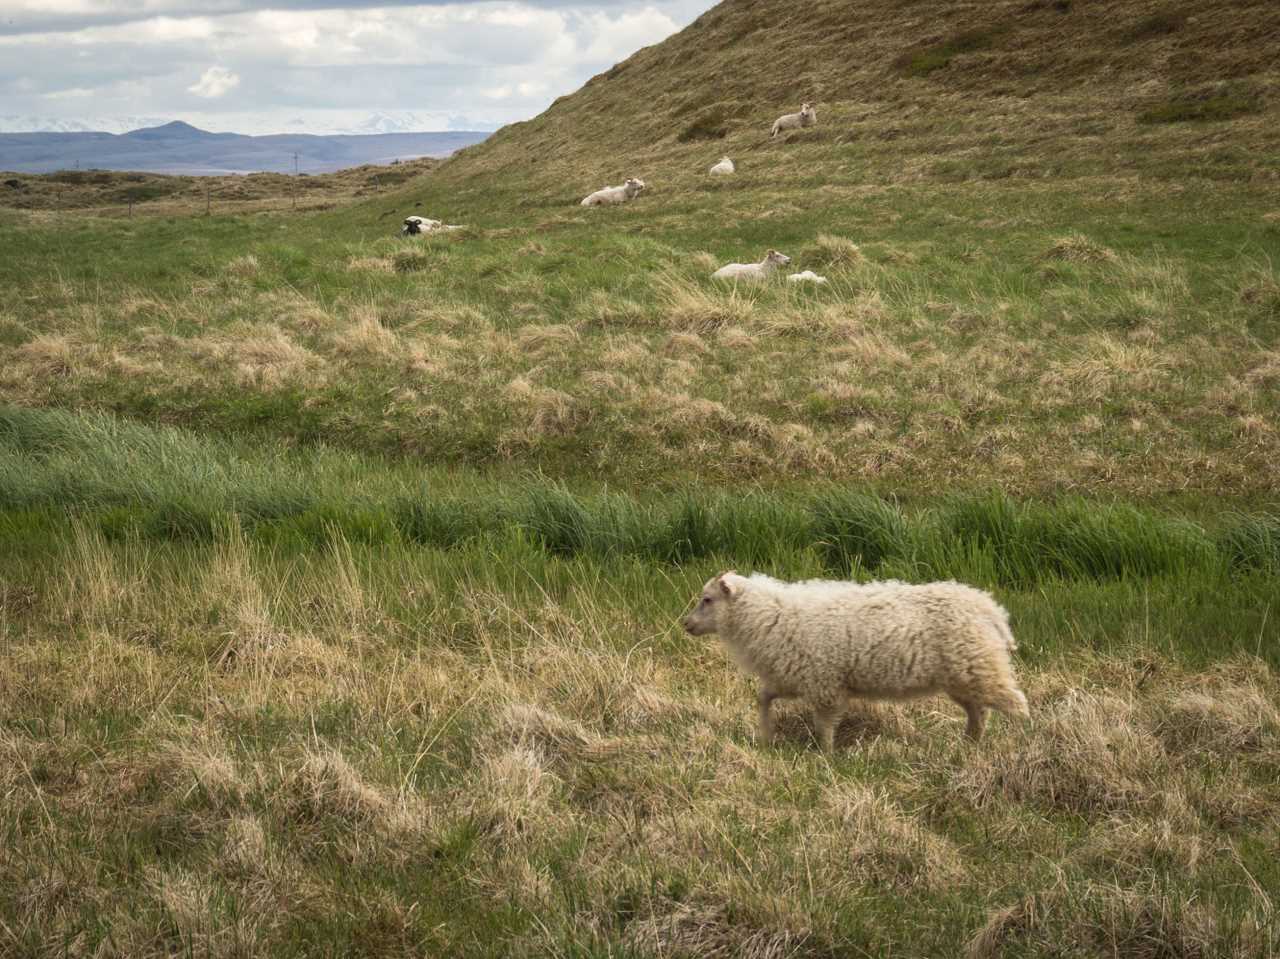
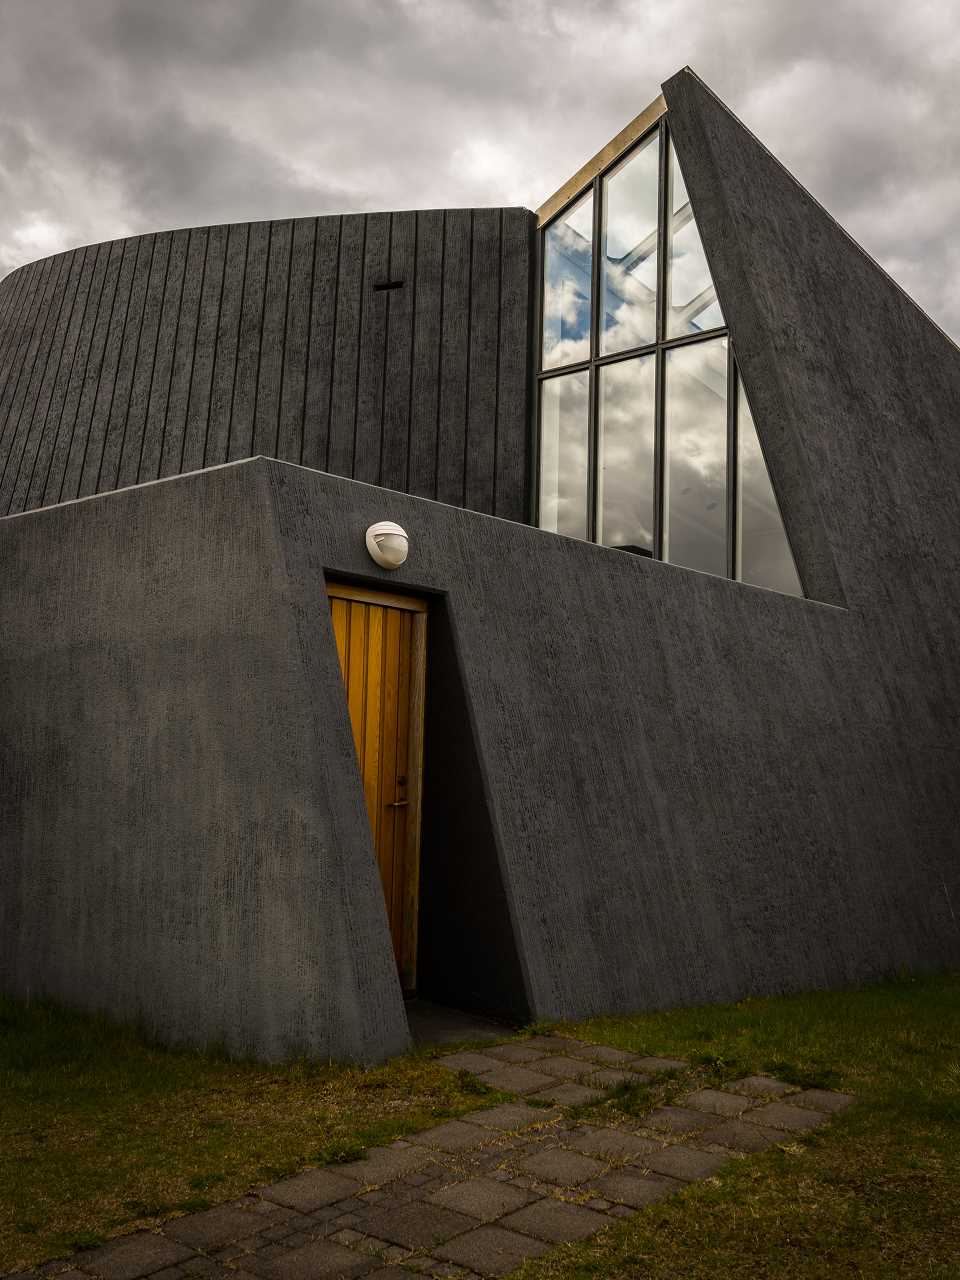
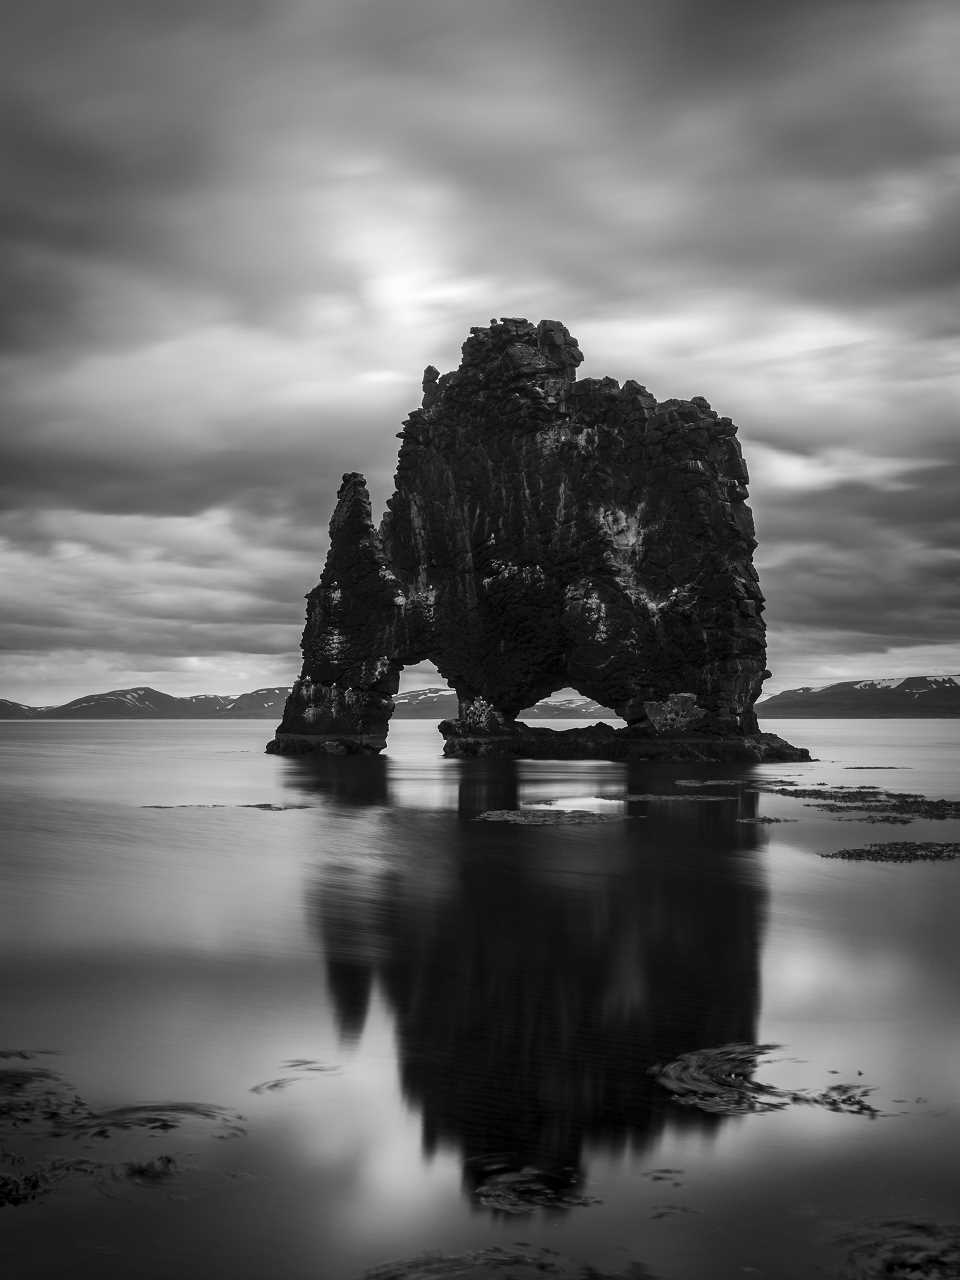
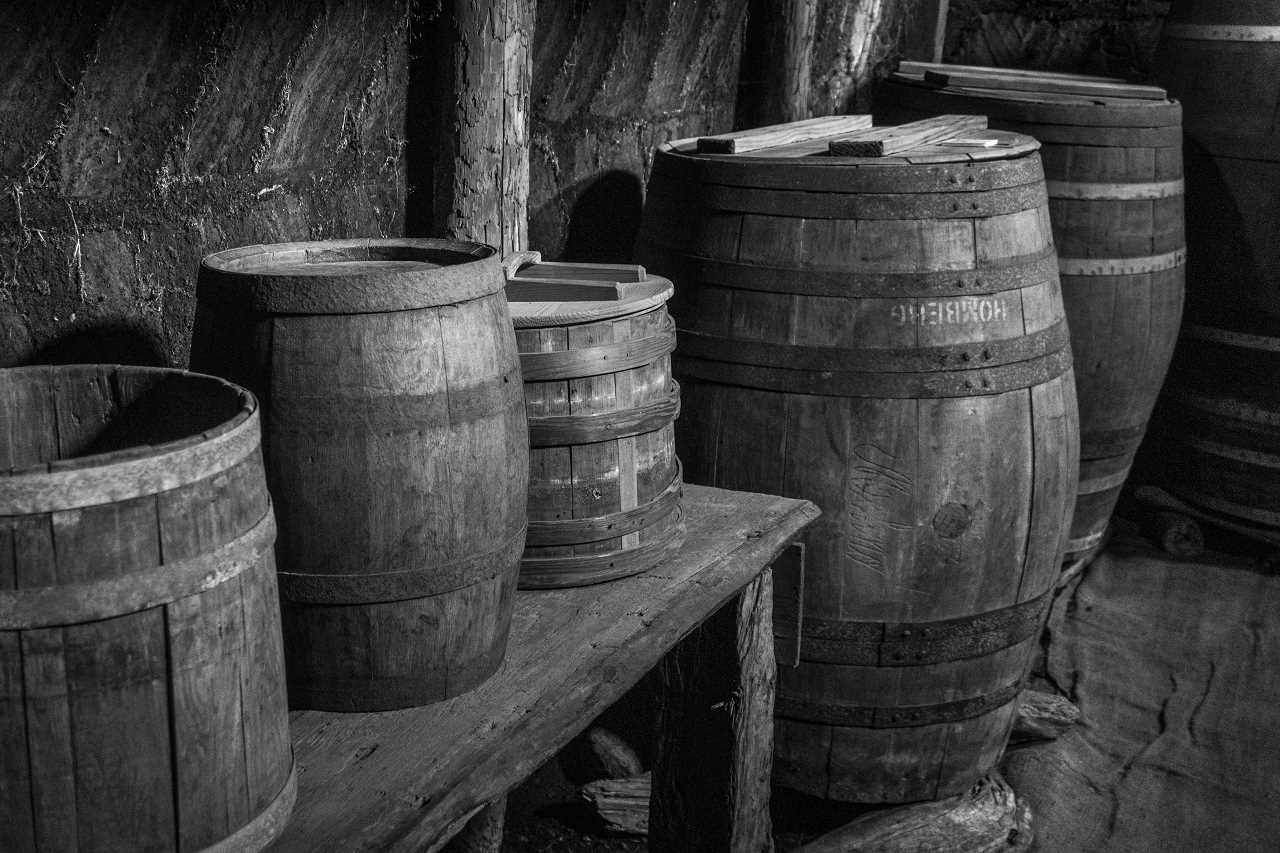
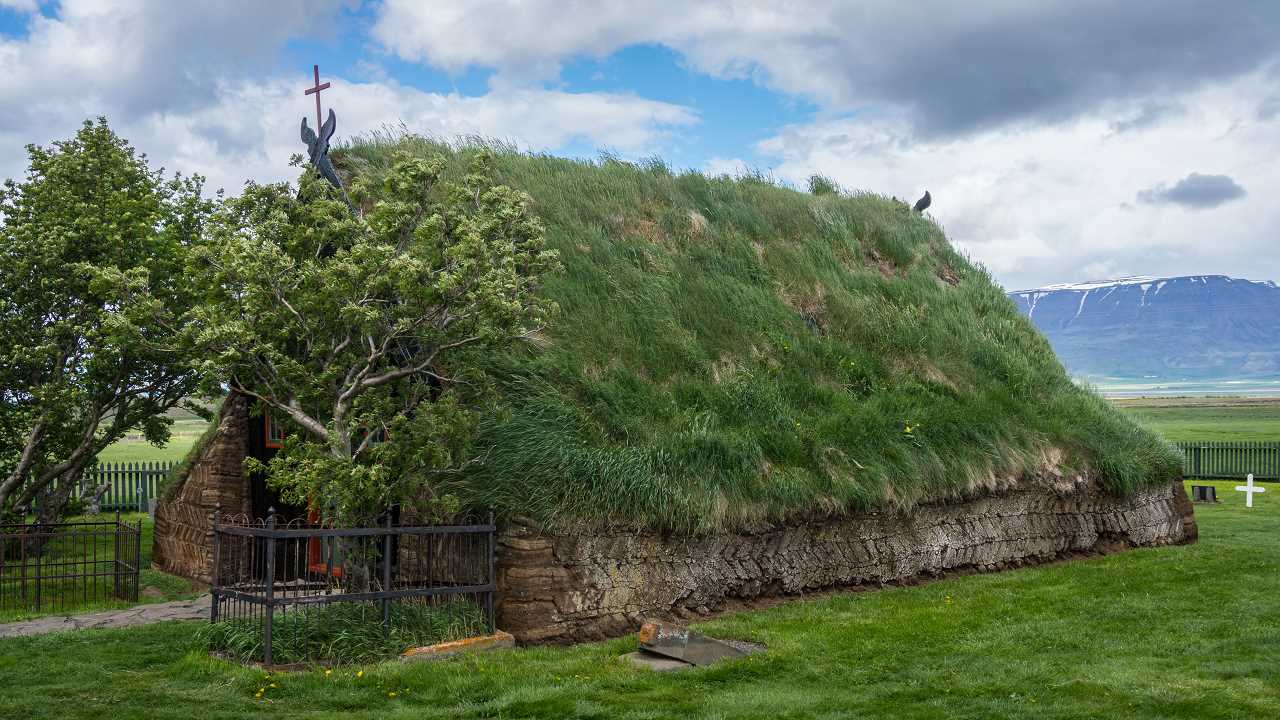
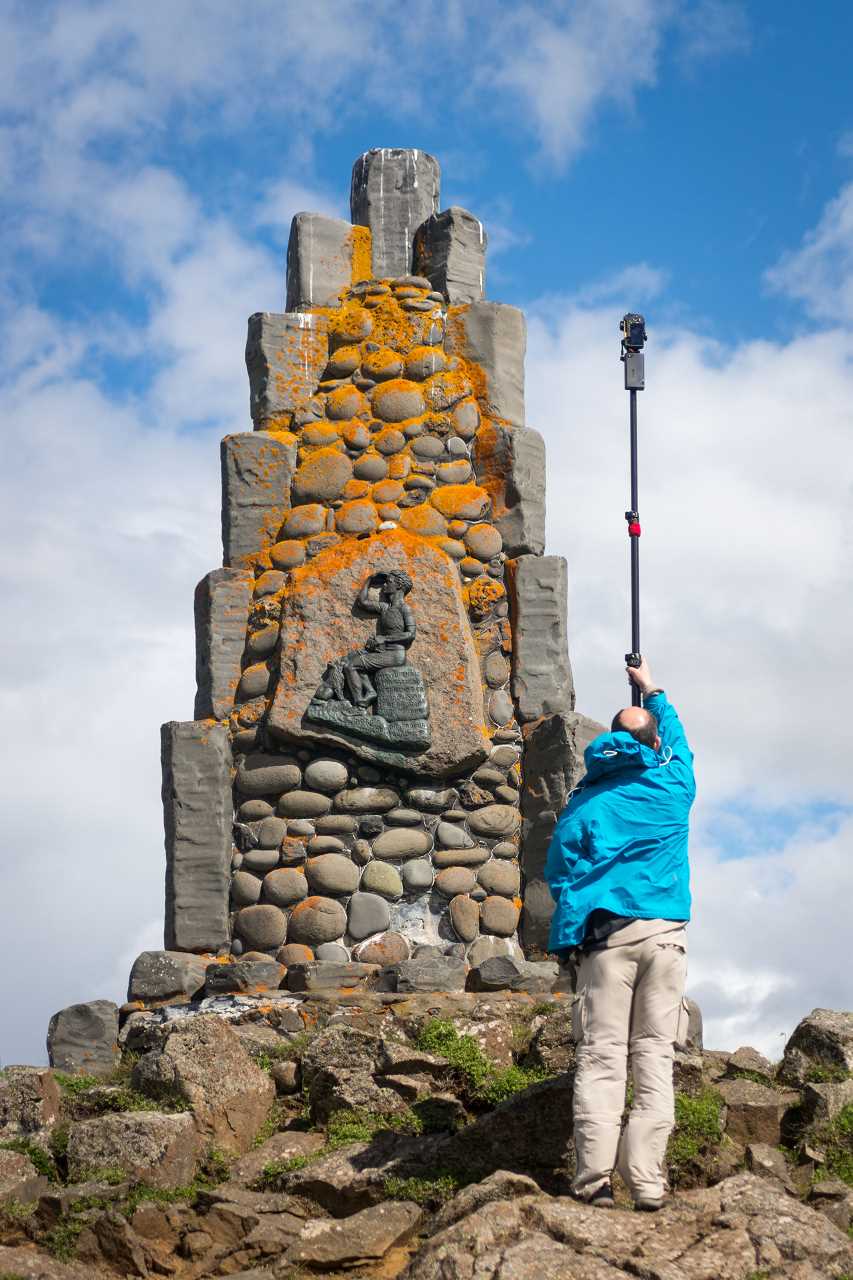
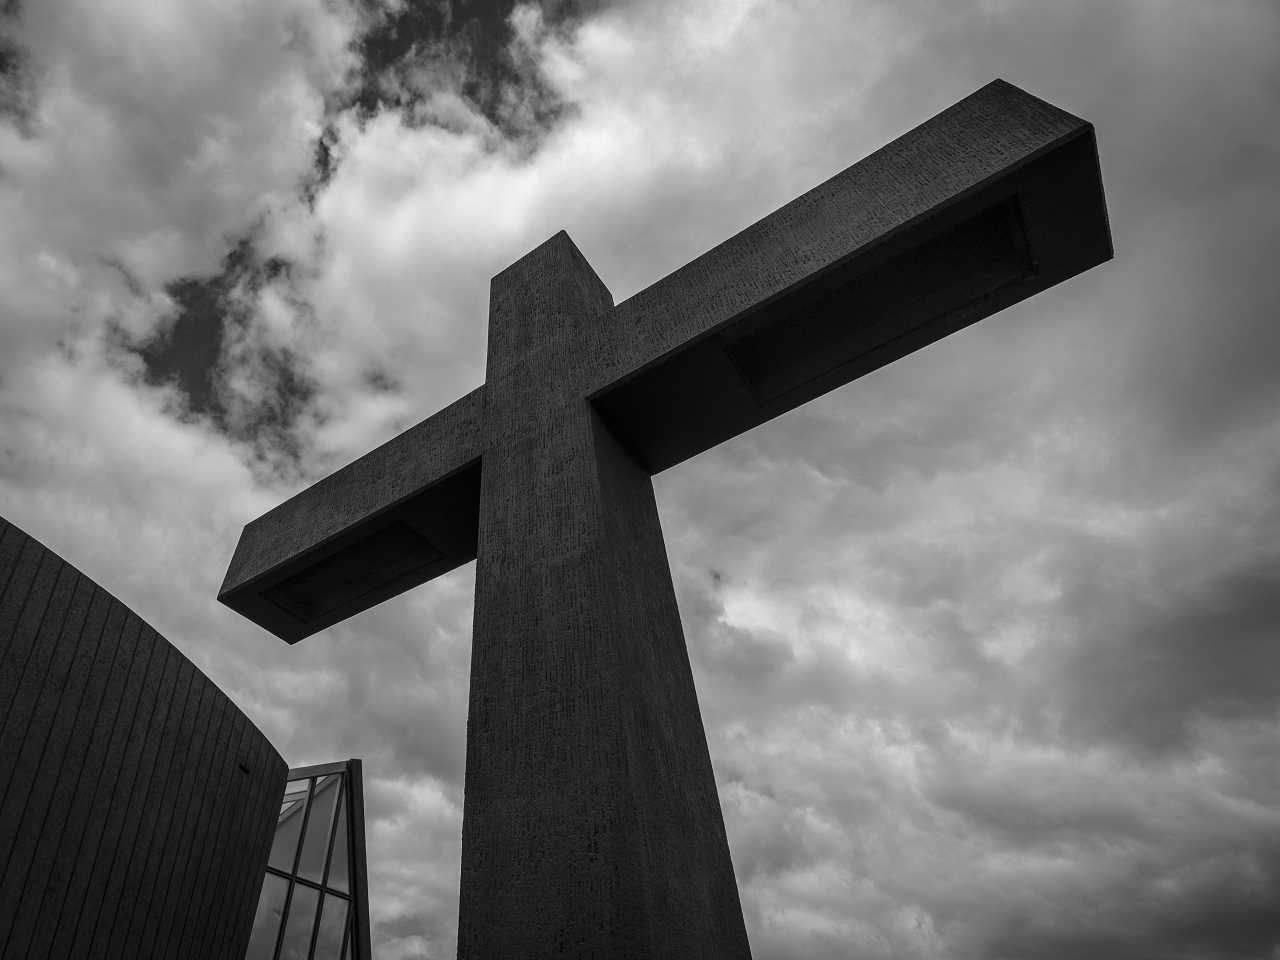
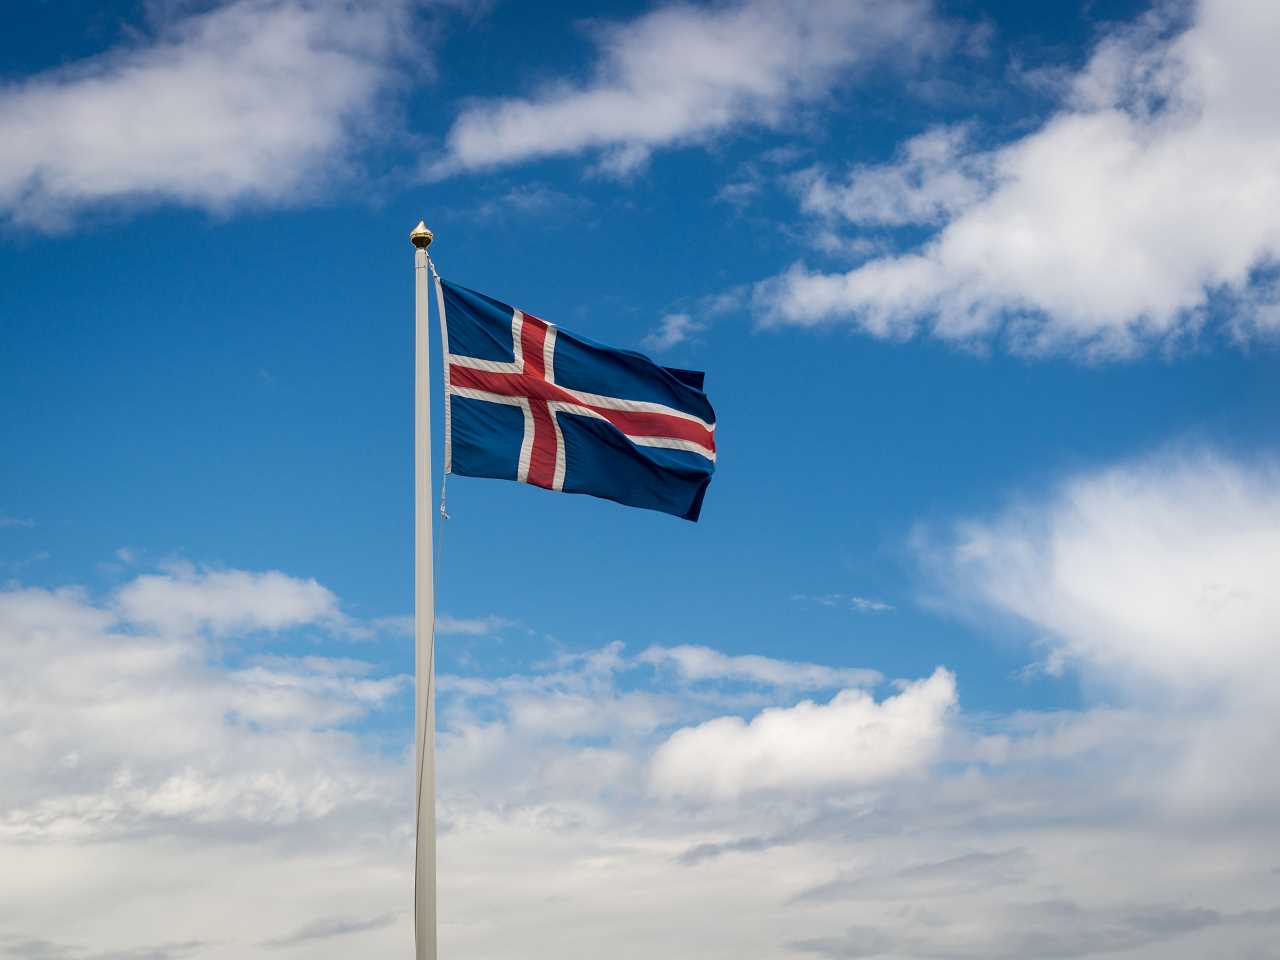
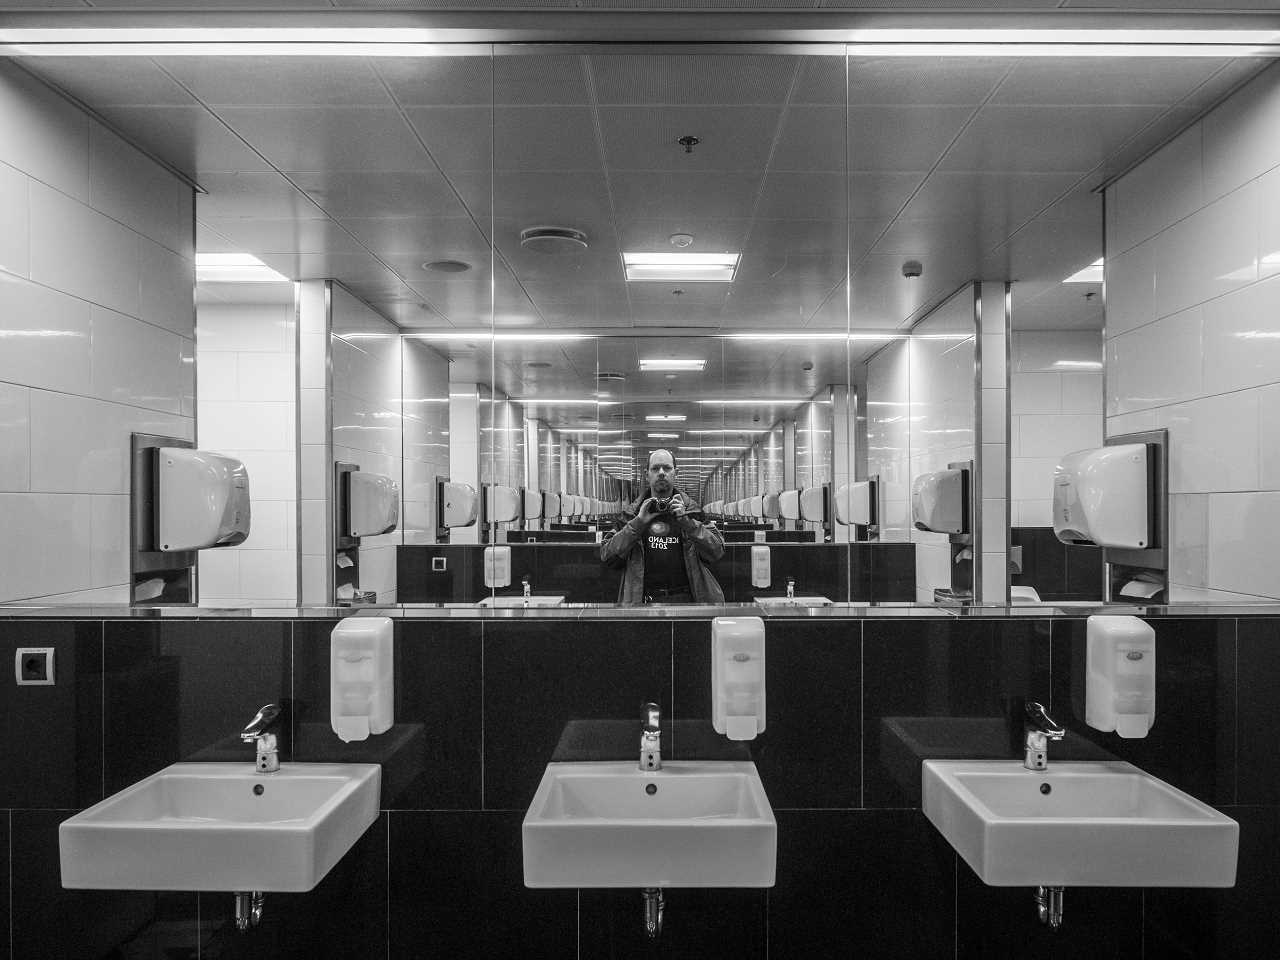
This little gallery shows some of the icelandic stereotypes which we encountered on todays journey.
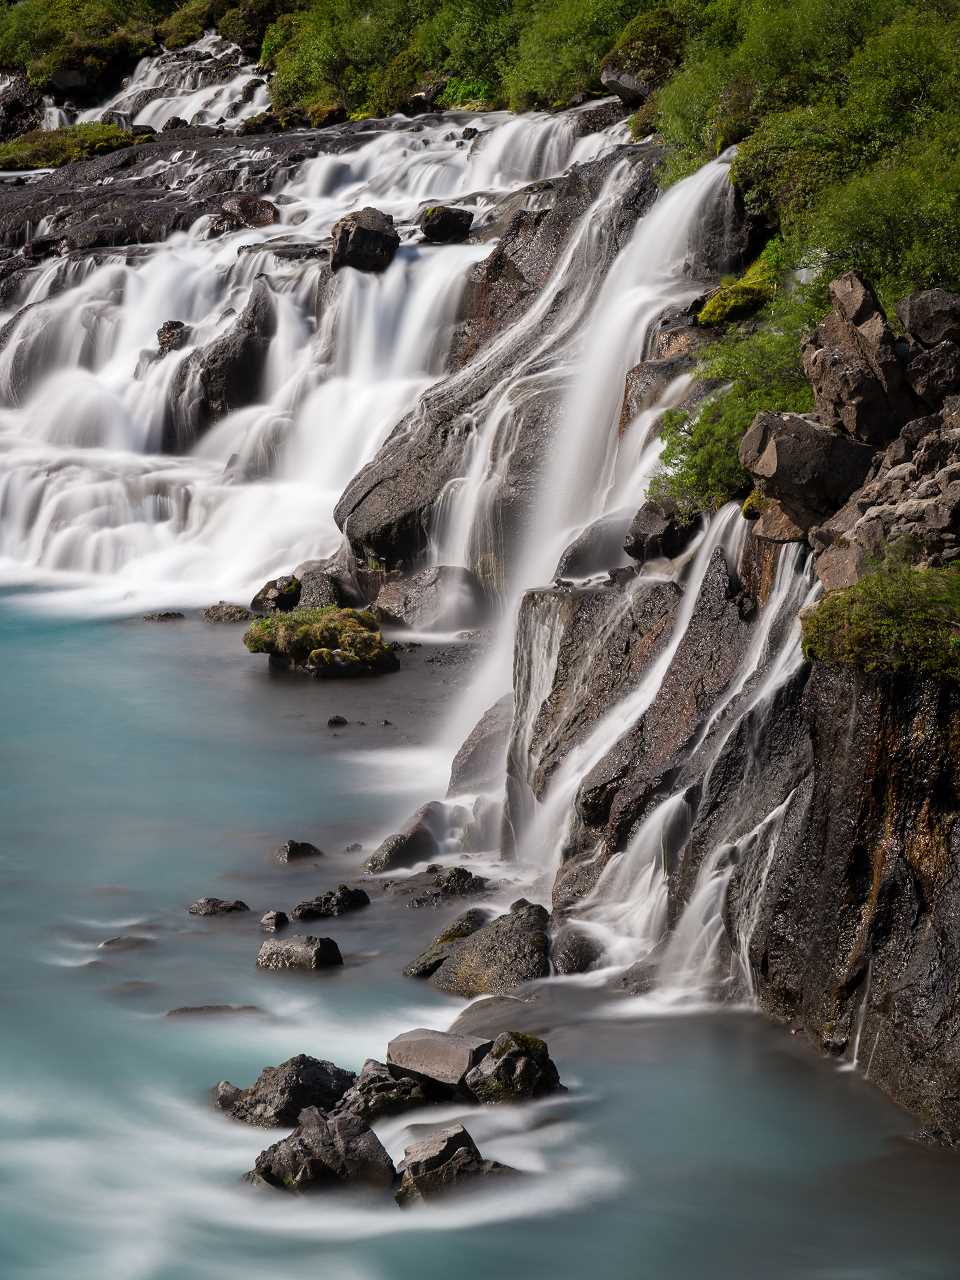
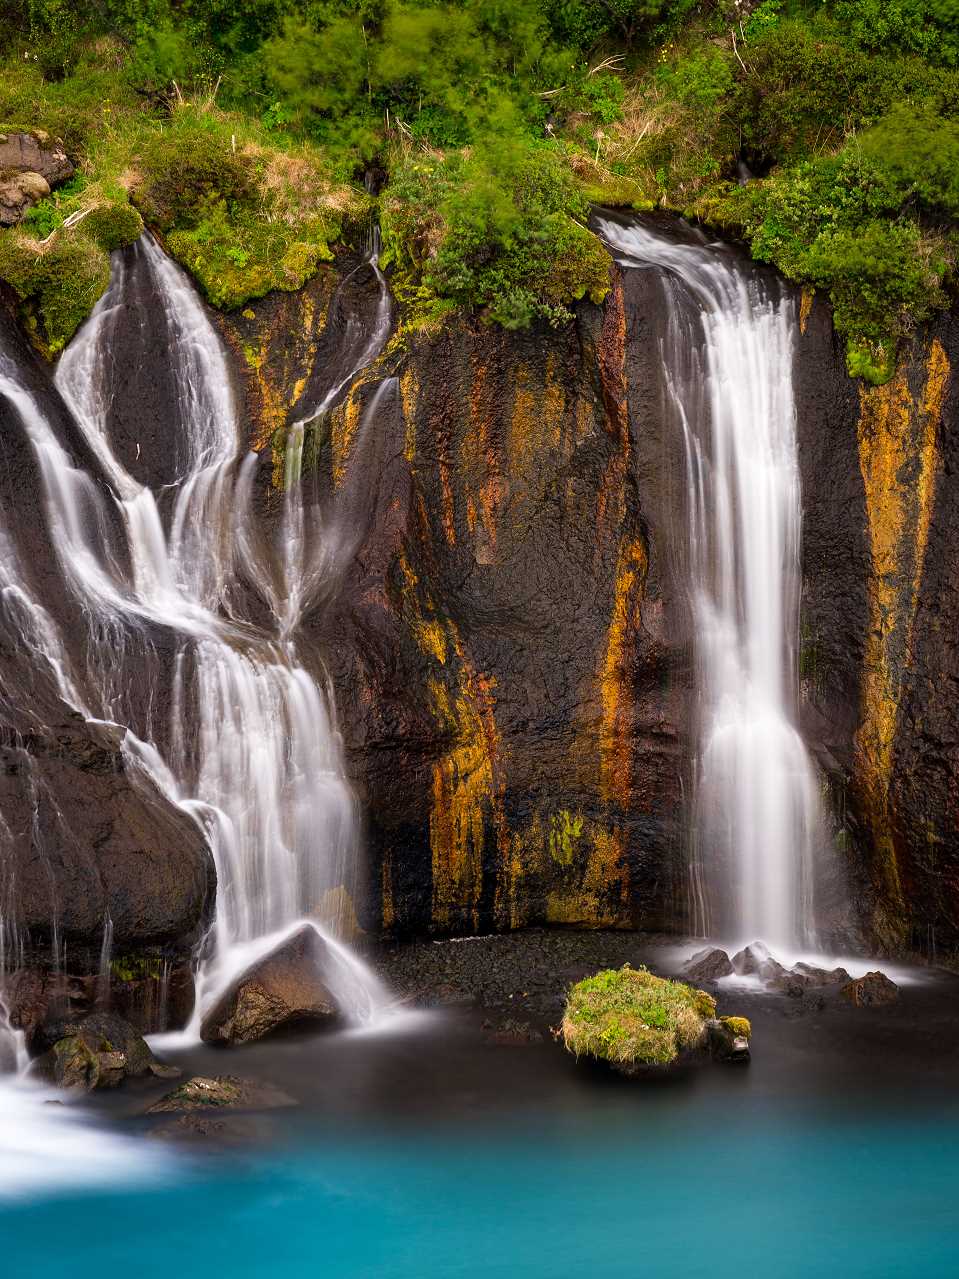
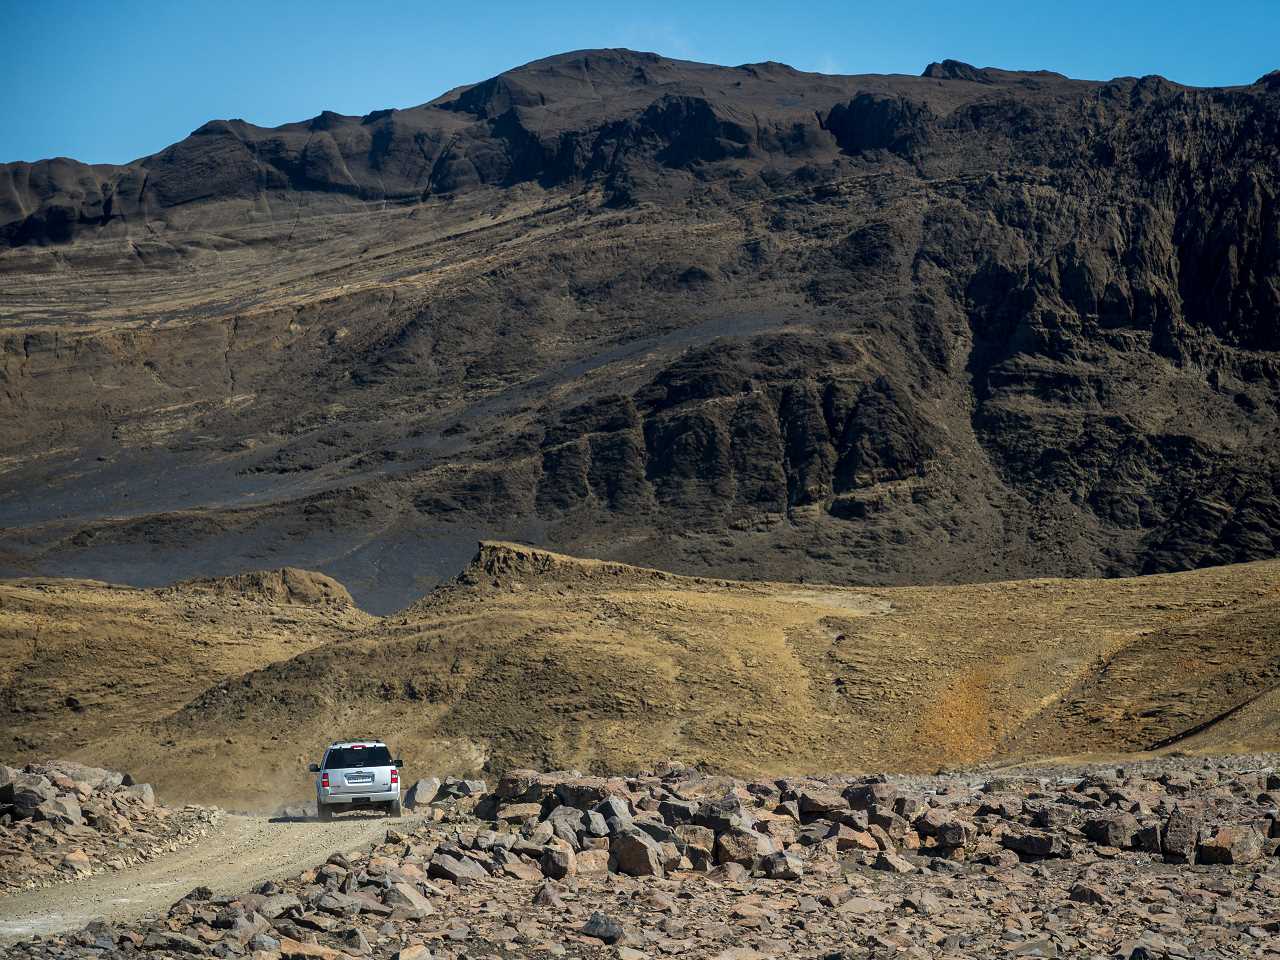
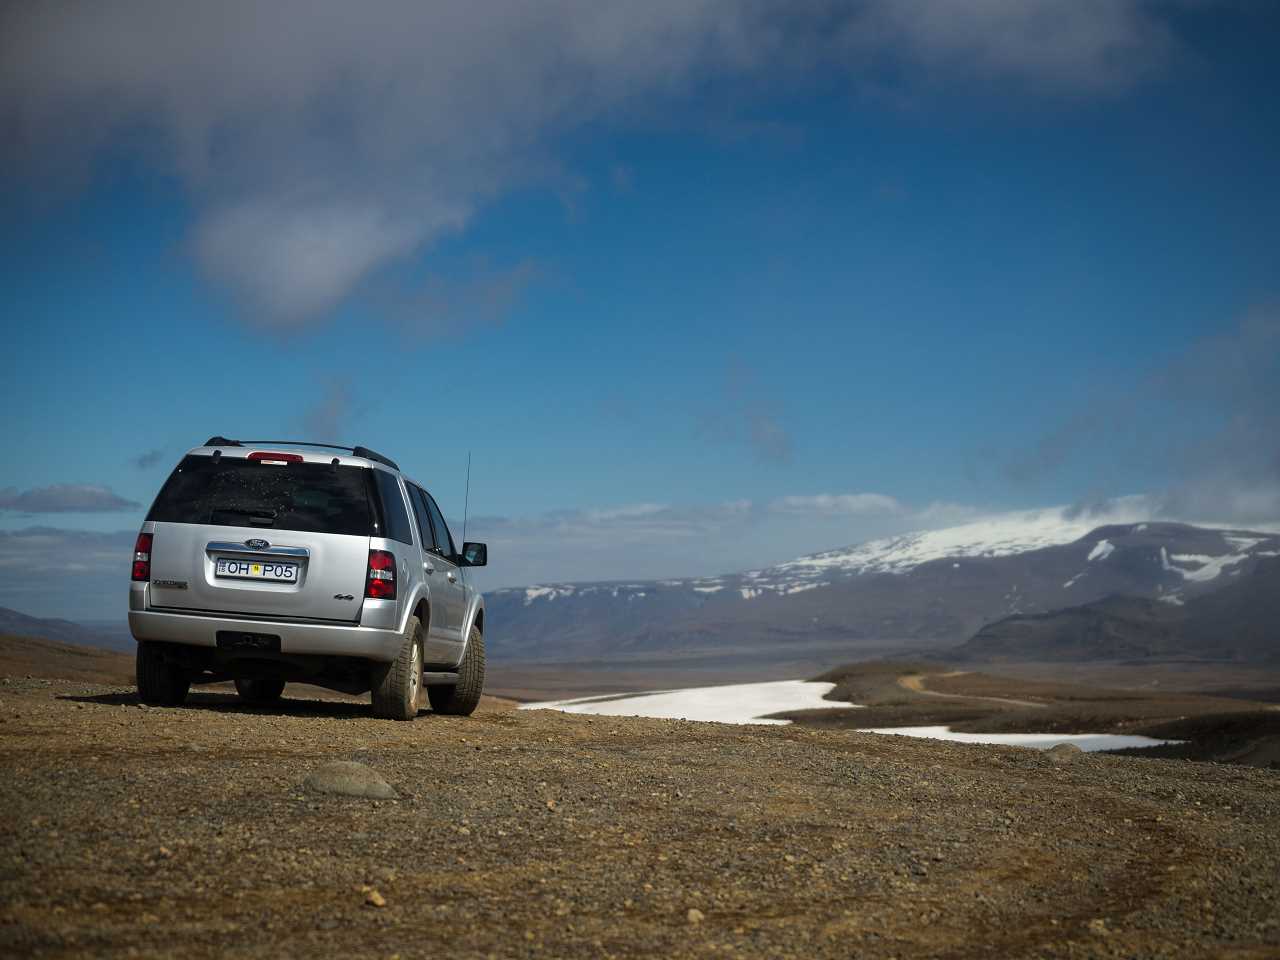
Today we were driving from Laugarvatn through Kaldidalur to Hraunfossar and Barnafoss.


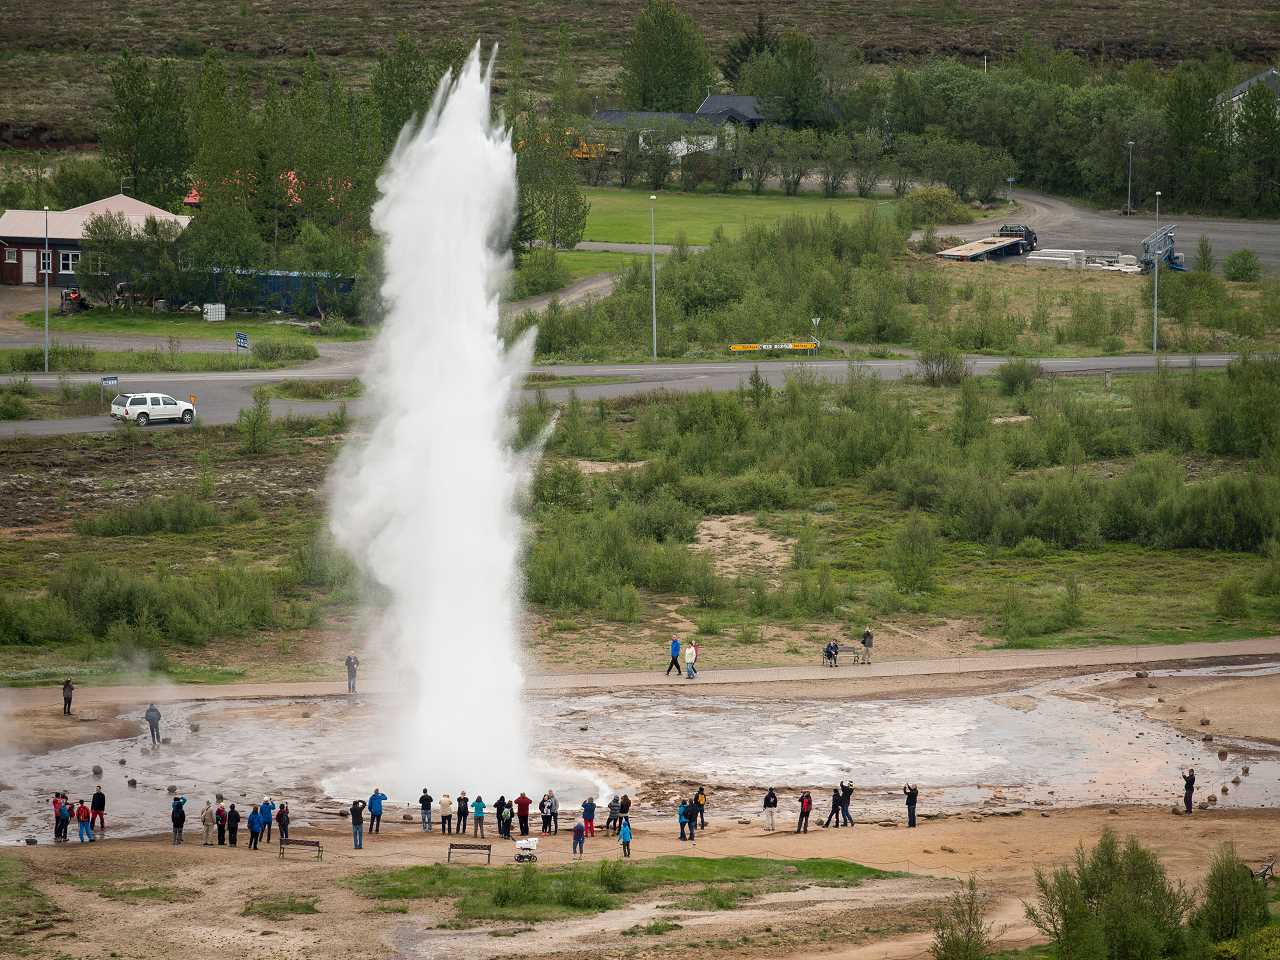
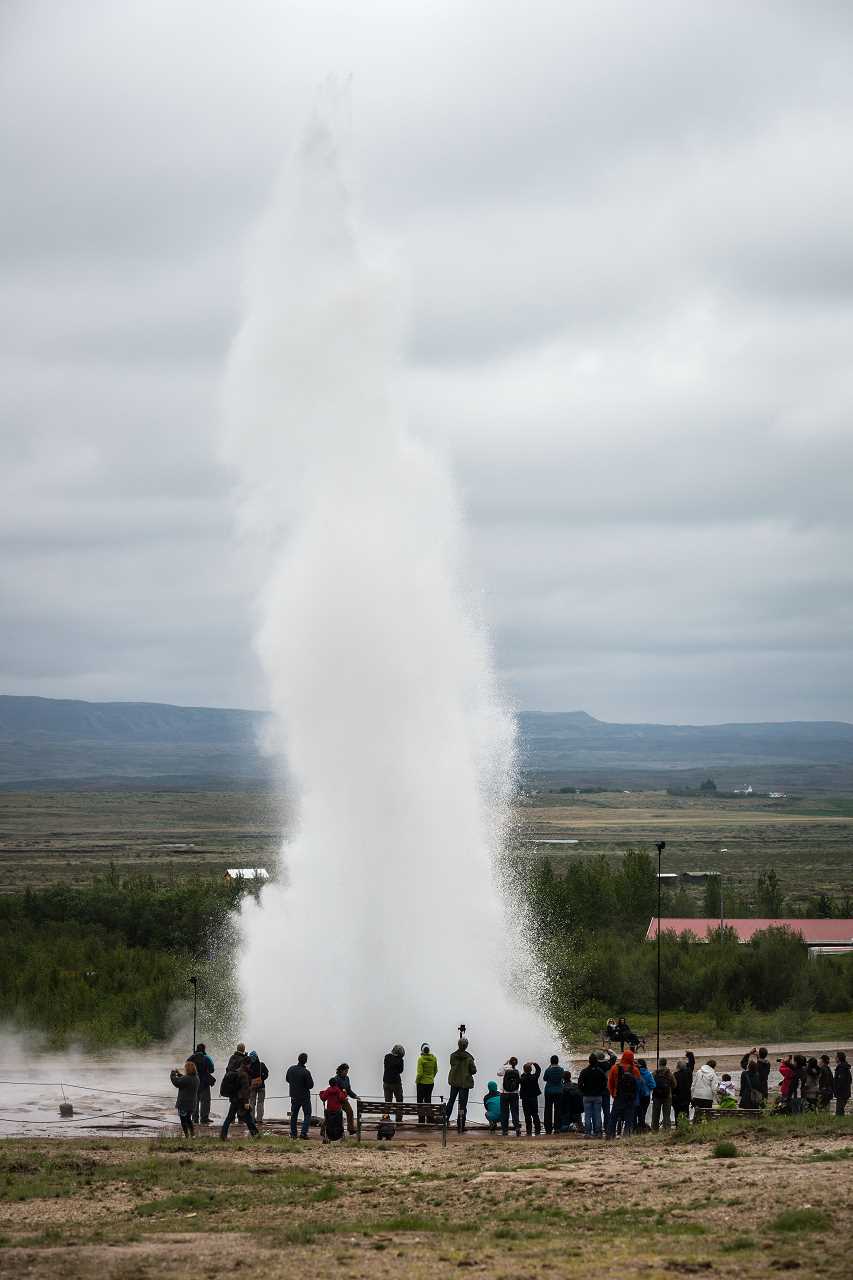
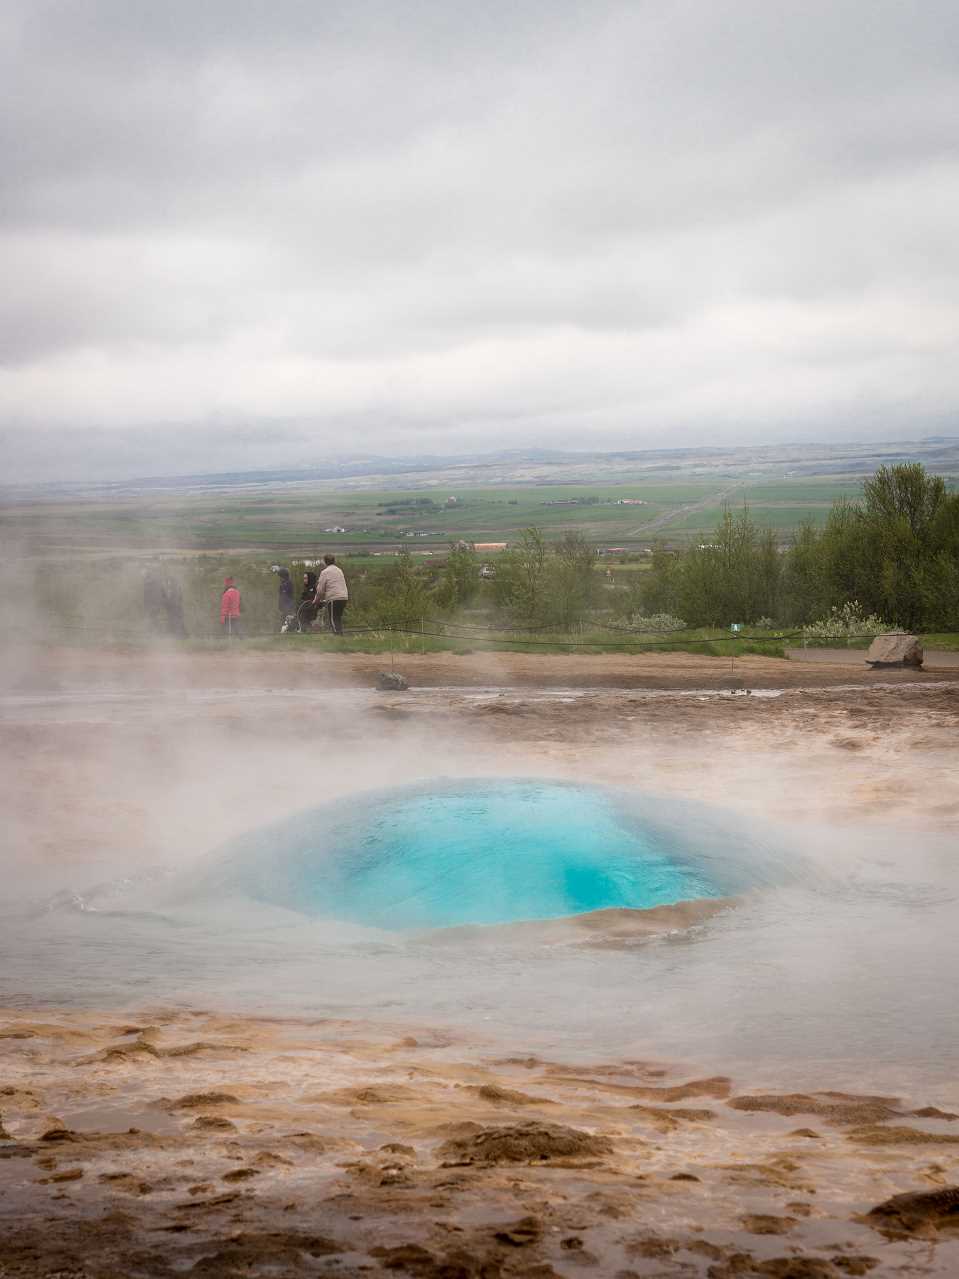
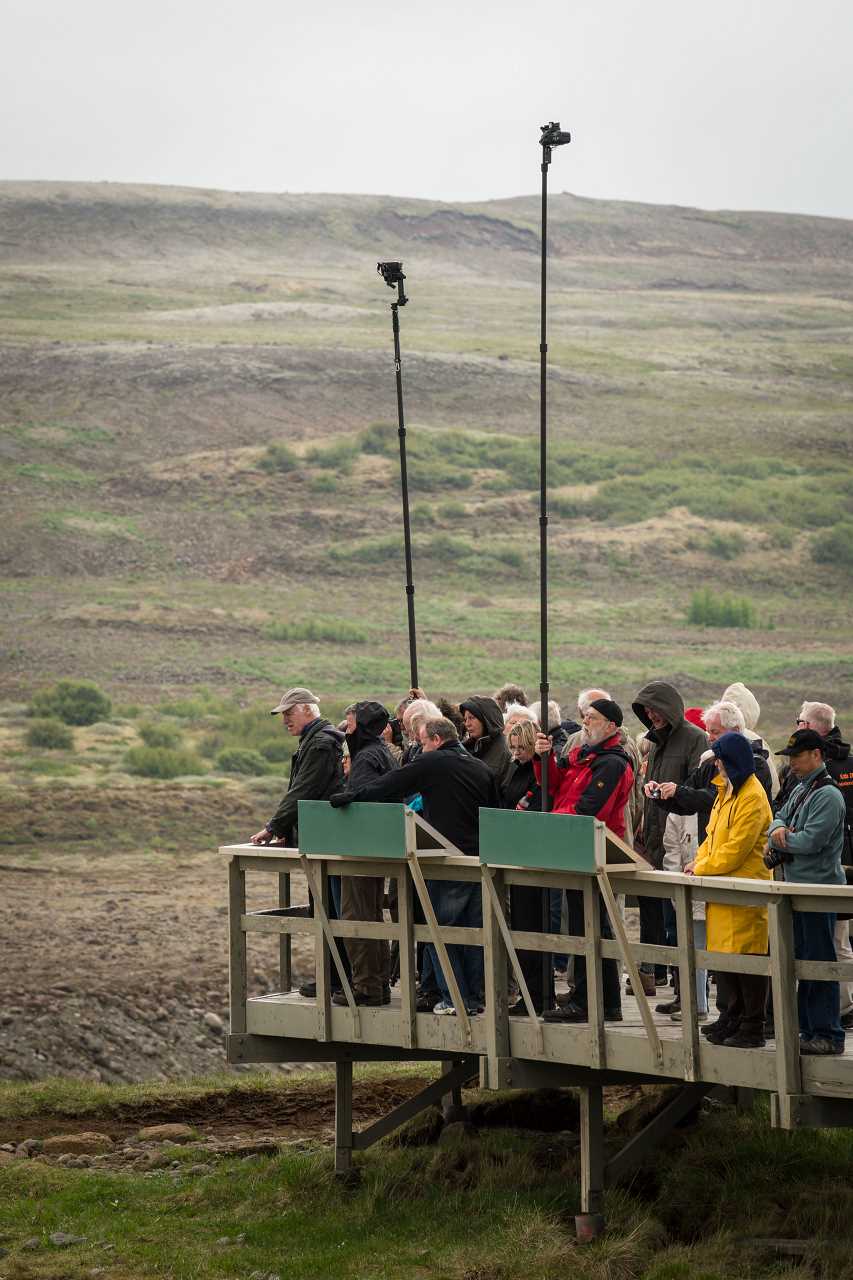
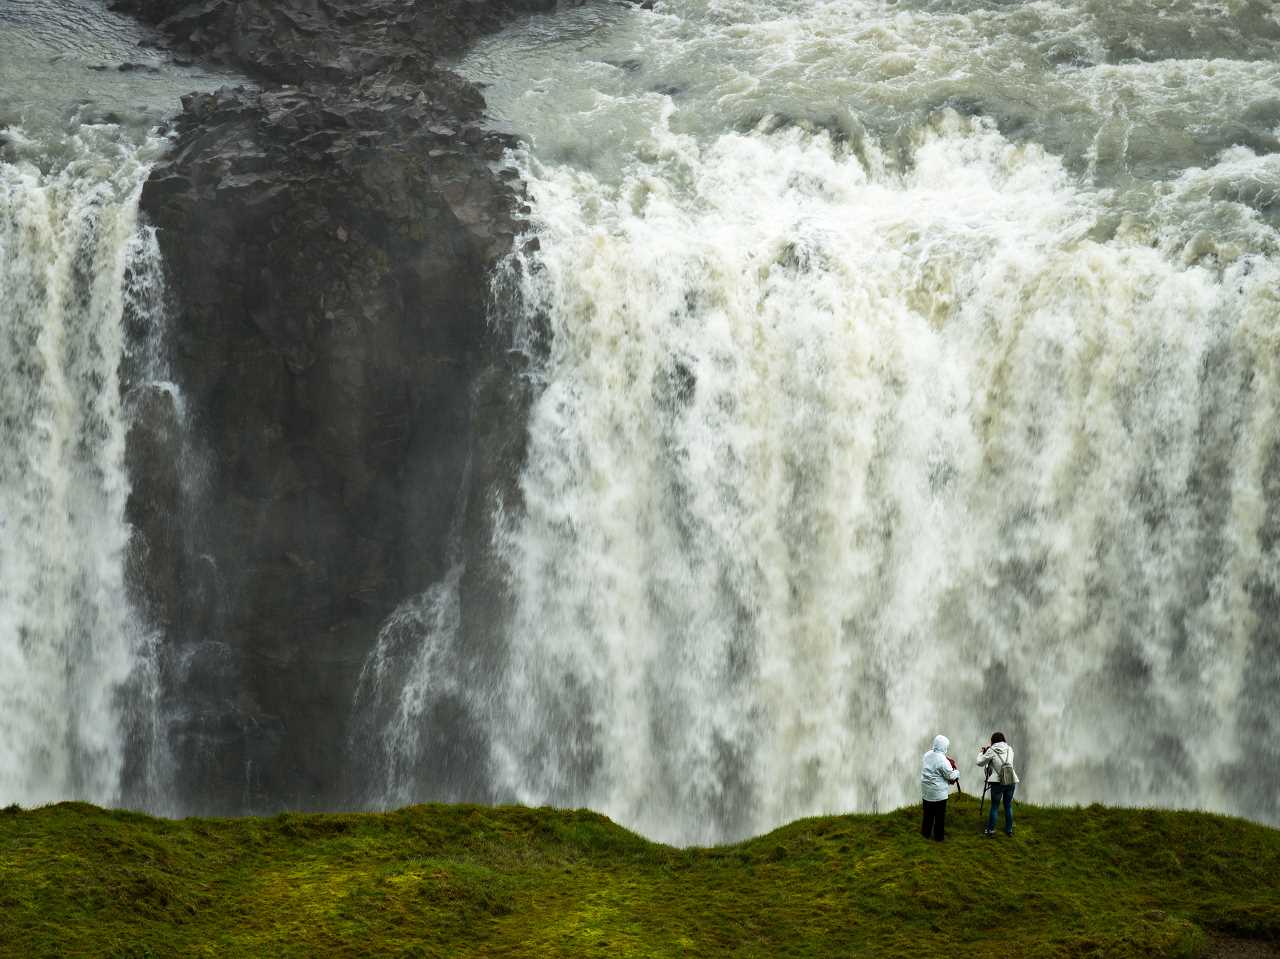
This gallery shows some images from our trip to Gullfoss and the thermal area near Geysir. We also met again some panographers from this years IVRPA-meeting.
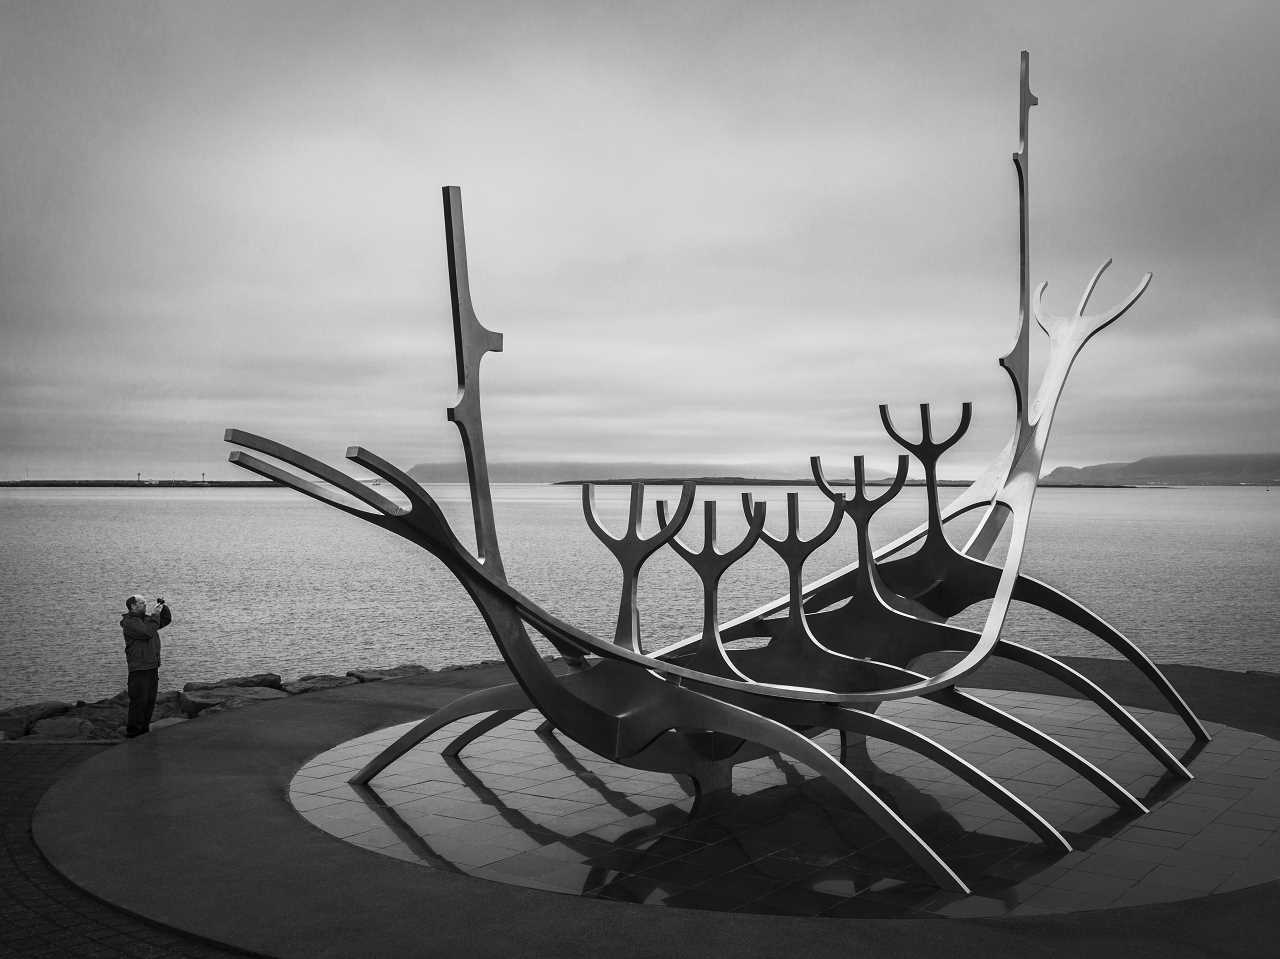
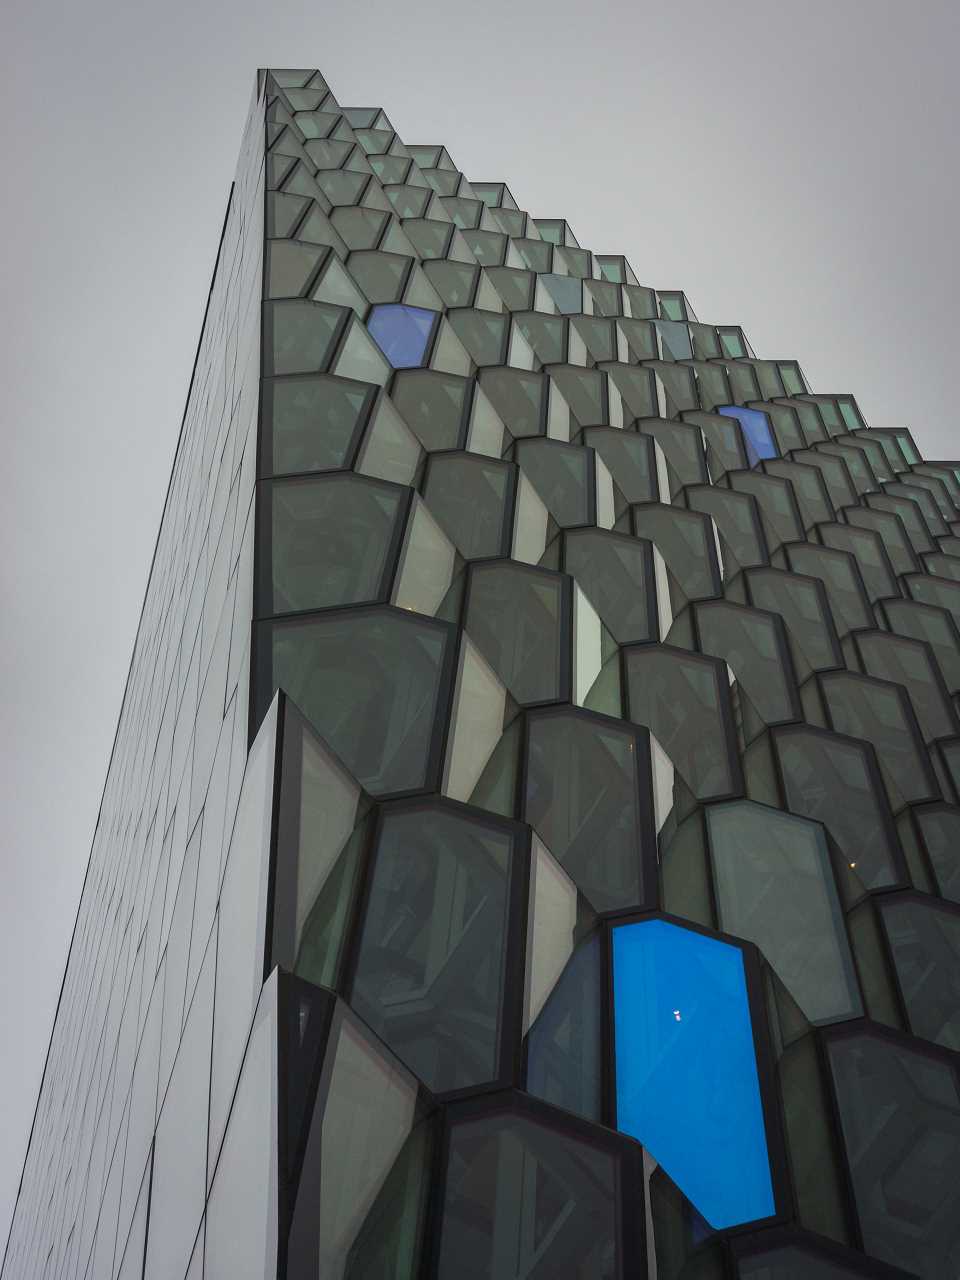
This gallery shows some images from our day in Kevlavík and Reykjavík.
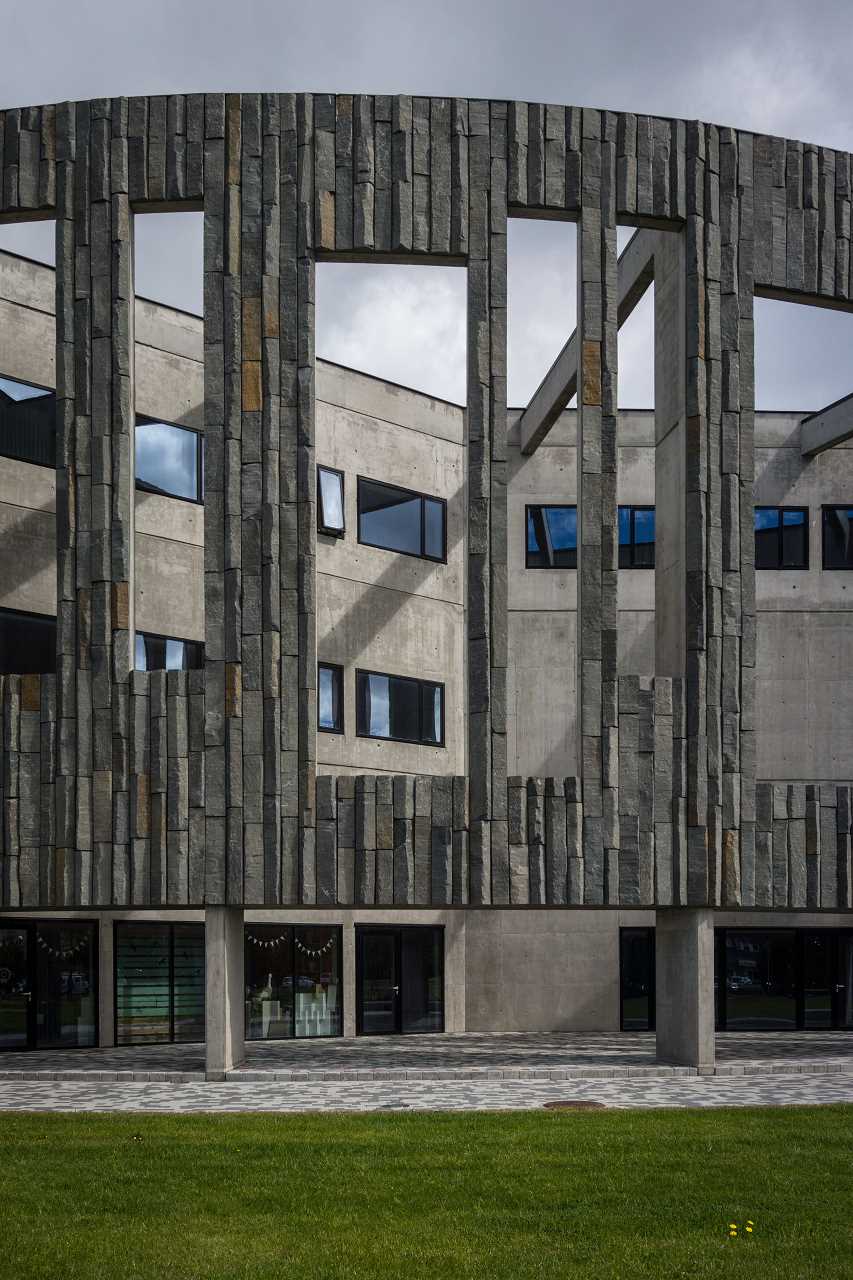
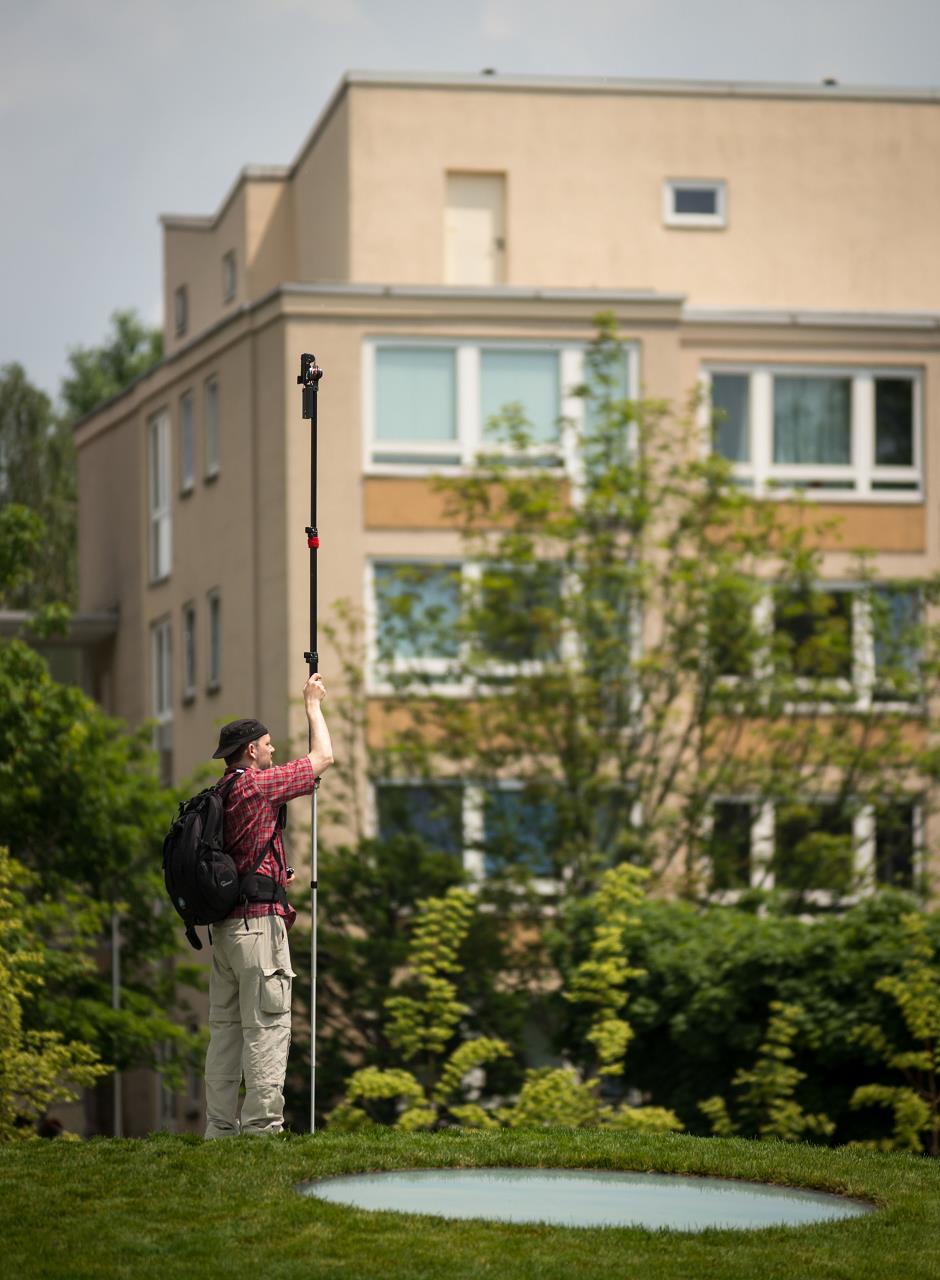
This image shows a behind-the-scenes impression of PanoTwin Markus shooting the courtyard of Städel Museum in Frankfurt/M.
 Show on map
Kipon manufactures an adapter which enables you to mount any lens with a Nikon F-mount to your Sony NEX camera. Additionally the adapter can be tilted in any direction. Tilting in this context means, that the lens is pivoted out of the optical axis of the lens.
The two following images illustrate this concept. In the first image the lens was tilted to the right (from the photographers point of view). In the second image the lens was tilted to the left (from the photographers point of view).")
")
You can use a tilted lens to orient the plane of focus of your optical system in special ways. Normally you use a tilting lens so that the plane of focus is oriented in a way which maximizes the visually sharp areas of your image. Theodor Scheimpflug was the first person who described these facts and therefore the priciple is called the Scheimpflug principle.
But in the following example I tilted the lens in order to orient the plane of focus in a way which minimized the sharp areas of the image. As this looks nearly identical to a very shallow depth of field, the observer mostly gets the impression, that he is only looking on a photographed mock-up of a landscape rather than a real landscape.
In order to get this image, the lens was tilted and the camera was pointed down. Back at home, the vertical lines of the buildings were brought back to vertical alignment. In other words I tilted in the real world and shifted in the digital world…
Markus already wrote two articles about controlling the NEX-5 with a wireless remote control. The first article presented the code and the schematics. In the second article he wrote about the final ‘product’, a boxed version of his Arduino.
Inspired by his design I tried to reduce the size. Therefore I didn’t implement the infrared receiver part and I also used a Arduino Nano instead of a regular Arduino. And I also used a smaller radio receiver. I finally had these components.


The next image shows a detailed view of the guts inside the box. With all the connecting cables and the two circuit boards there is not much space left.

The next images are showing the final setup. The trigger is attached to the camera. The controler box is connected to the trigger. The radio transmitter is ready to fire.


The following image shows a detail of the mounted trigger on the Sony NEX-7. I used some florist wire to attach the circuit board to the connector of the hand strap. On the other side the circuit board is glued to an hotshoe adapter which connects to the hotshoe of the camera.
")
And finally some images of the complete panorama setup, including a custom made lens bracket (in fact it’s a simple pipe clamp from the hardware store), a Novoflex Alpha- to E-Mount adapter and a Sigma 8mm/4.0 fisheye. For panoramic photography this setup is used on top of a double-monopod construction.
The weigtht of the shown setup is 1145 g (2 lb 8 oz). My old setup (Sony Alpha 900 with shaved Sigma 10mm/2.8) has 1710 g (3 lb 12 oz). In both cases this includes camera, lens, adapter, bracket, trigger, controller box, batteries and memory card.
Both setups delivers equirectangulars with the same size (10.000 x 5.000) and with both setups I shoot 4 around and mostly no up and no down shot.
")
")
")
")
")
And here is the new setup in action.

Click here to view some panoramic images which were taken with this setup.