Difference between Samyang 7.5mm, Samyang 8mm and Minolta 16mm on a full frame sensor camera

The following three images illustrate the three fish eye lenses on Sony cameras with a full frame size sensor (for example the Sony ILCE-7). To get these kind of images on a full frame sized sensor you have to shave the lenshood of the Samyang lenses.

Difference between Samyang 7.5mm and Samyang 8mm on an APS-C sensor camera

The following two images illustrate the two fish eye lenses on Sony cameras with an APS-C size sensor (for example the Sony ILCE-6000 or the Sony ILCE-QX1). To get these kind of images on an APS-C sized sensor you have to shave the lenshood of the Samyang 7.5mm.

Panorama setup with Sony ILCE-QX1 and Samyang 7.5/3.5 fisheye lens

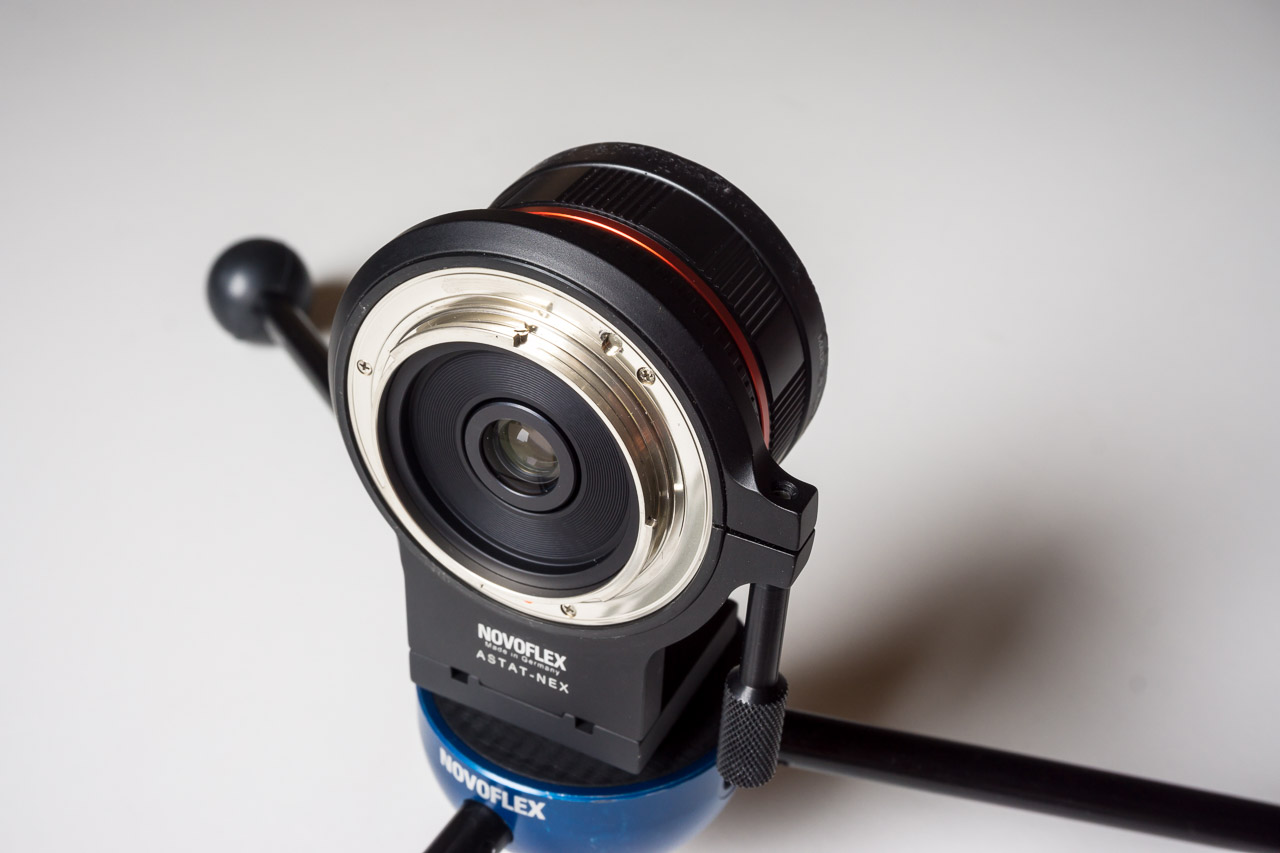
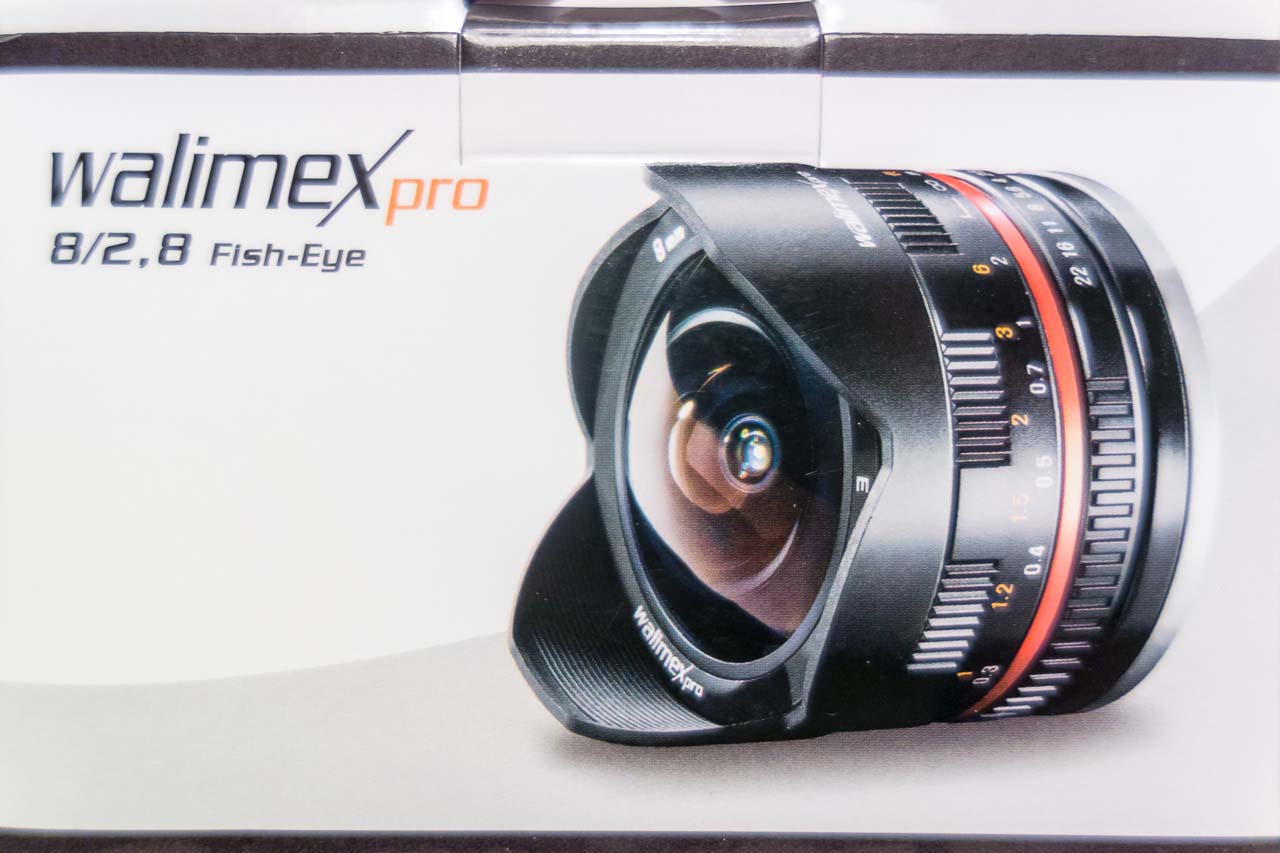
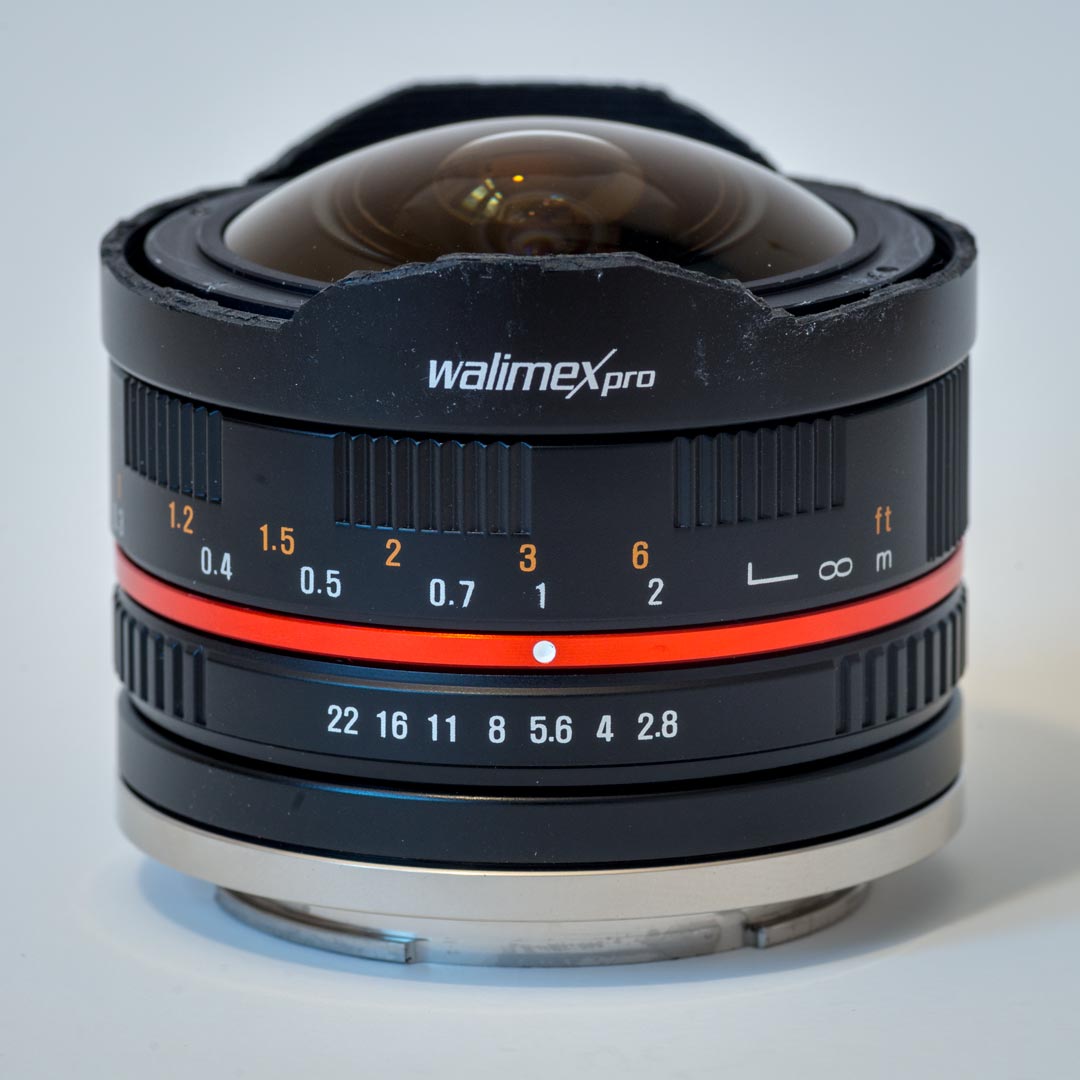
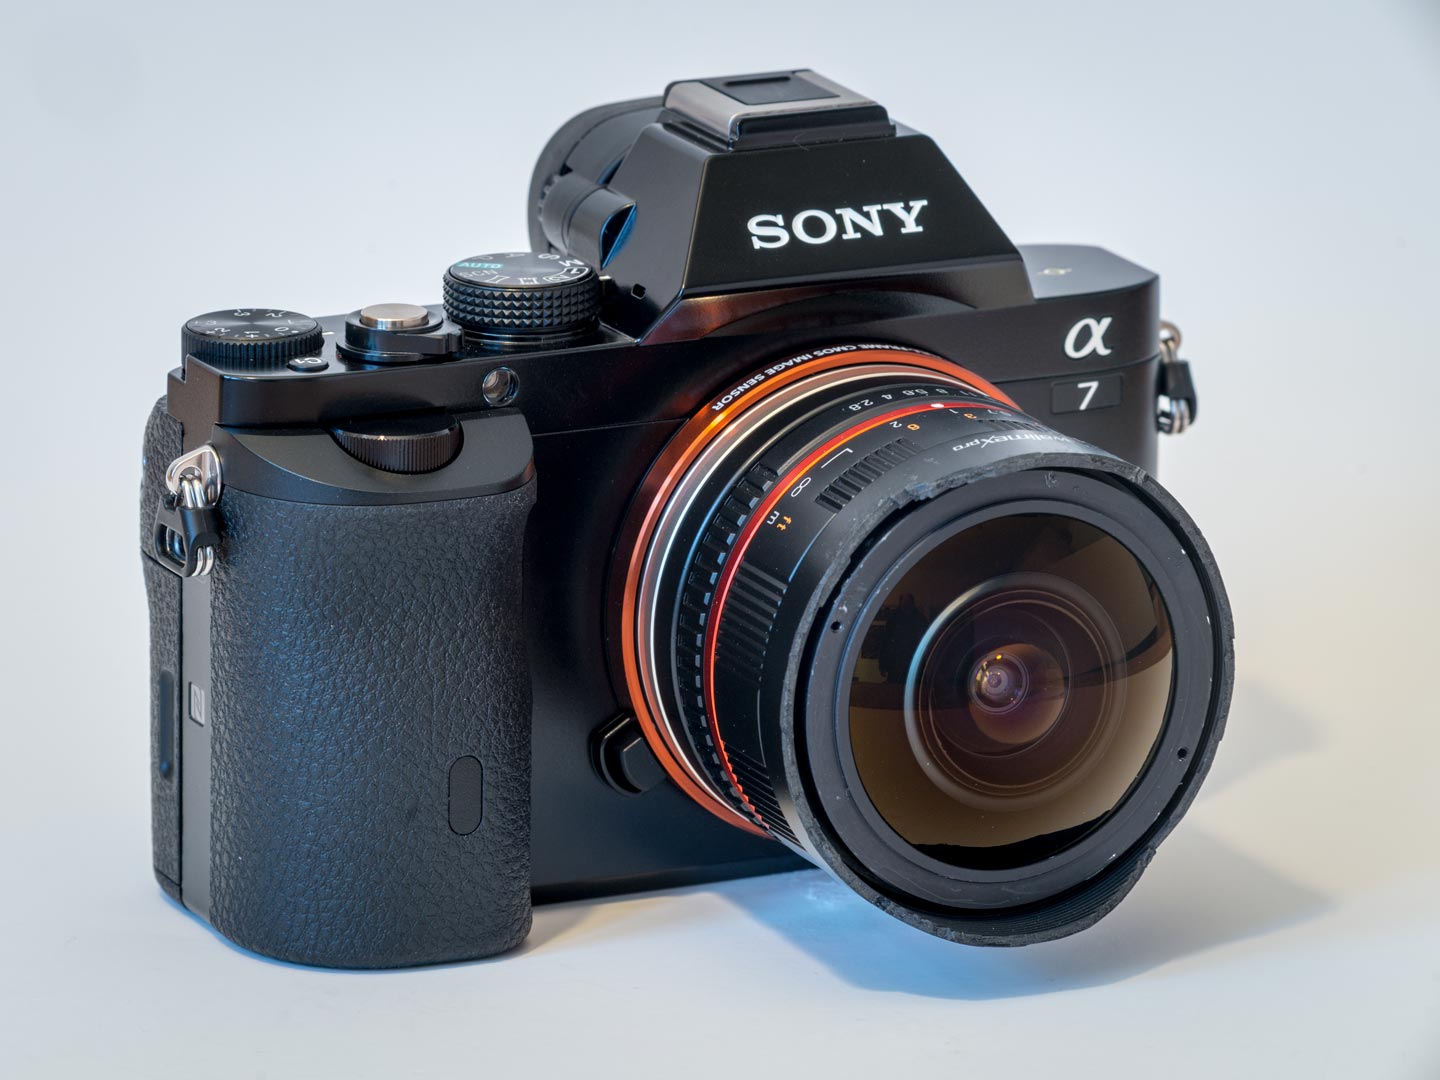
In search of a small and lightweight spherical panorama setup I’ve seen a Walimex Pro 7.5/3.5 fisheye lens for micro 4/3 mounted via an adapter to a Sony camera with E-mount and APS-C sized sensor. The lens is originally manufactured under the name of Samyang 7.5mm F3.5 Fish-eye Lens and was also available under the name of Bower or Rokinon.

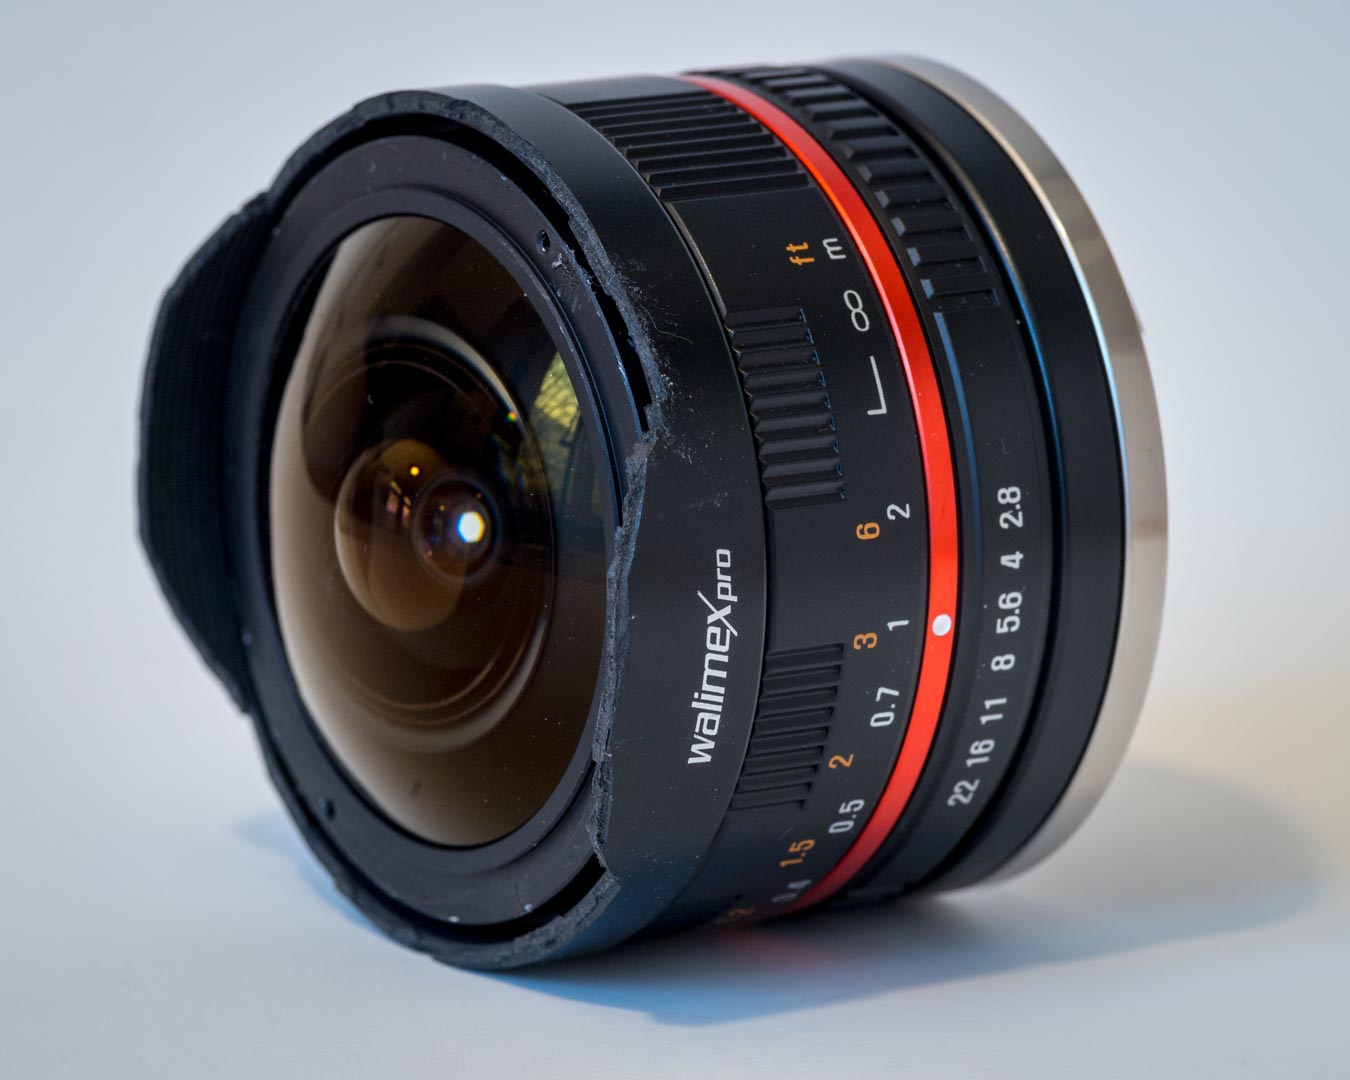
The problem however is, that it is not so easy to find an adapter to mount the lens to the Sony E-mount. I found one at Photokina at a Chinese booth and bought it. It did not fit perfectly, but reasonable enough to make it work after some tinkering around with some sandpaper. To be able to focus to infinity on my E-mount camera a distance ring in the lens had to be removed.

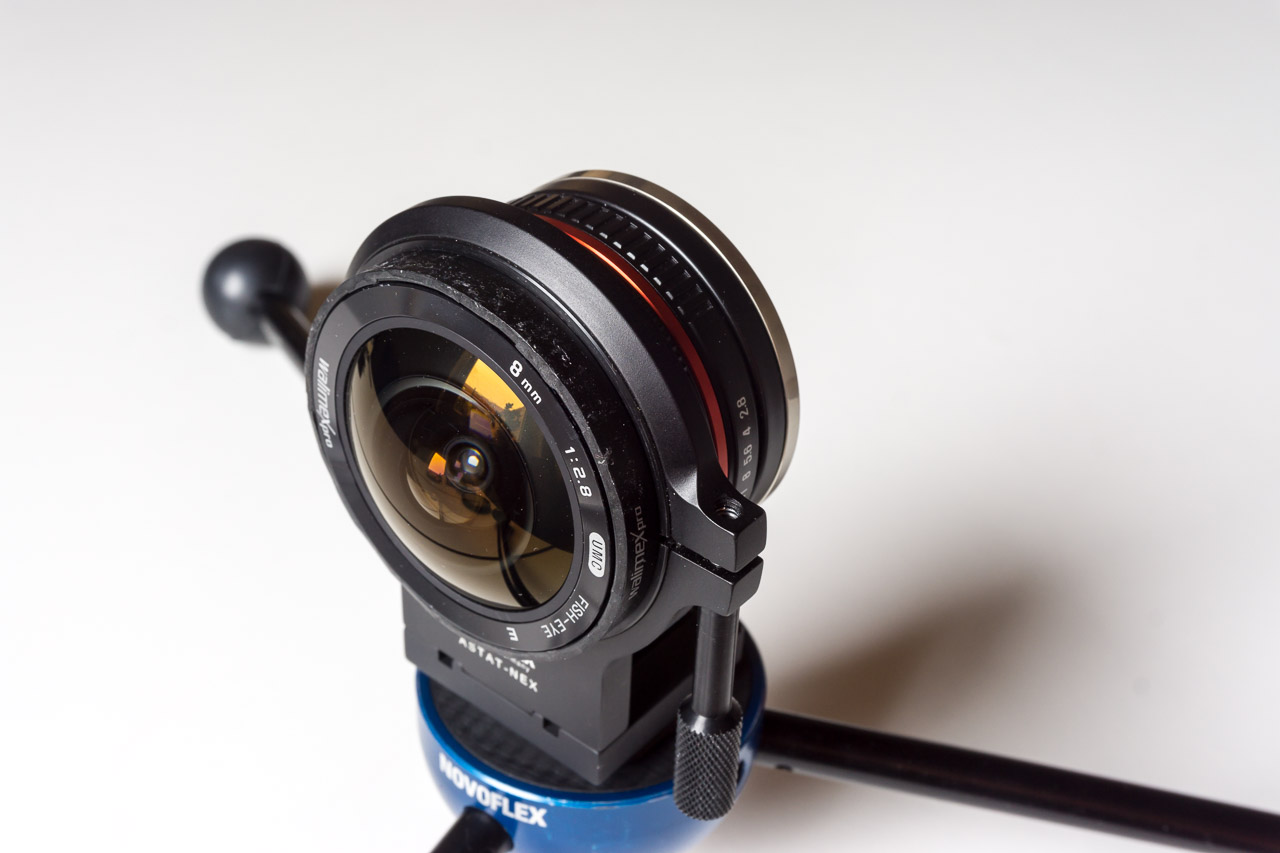
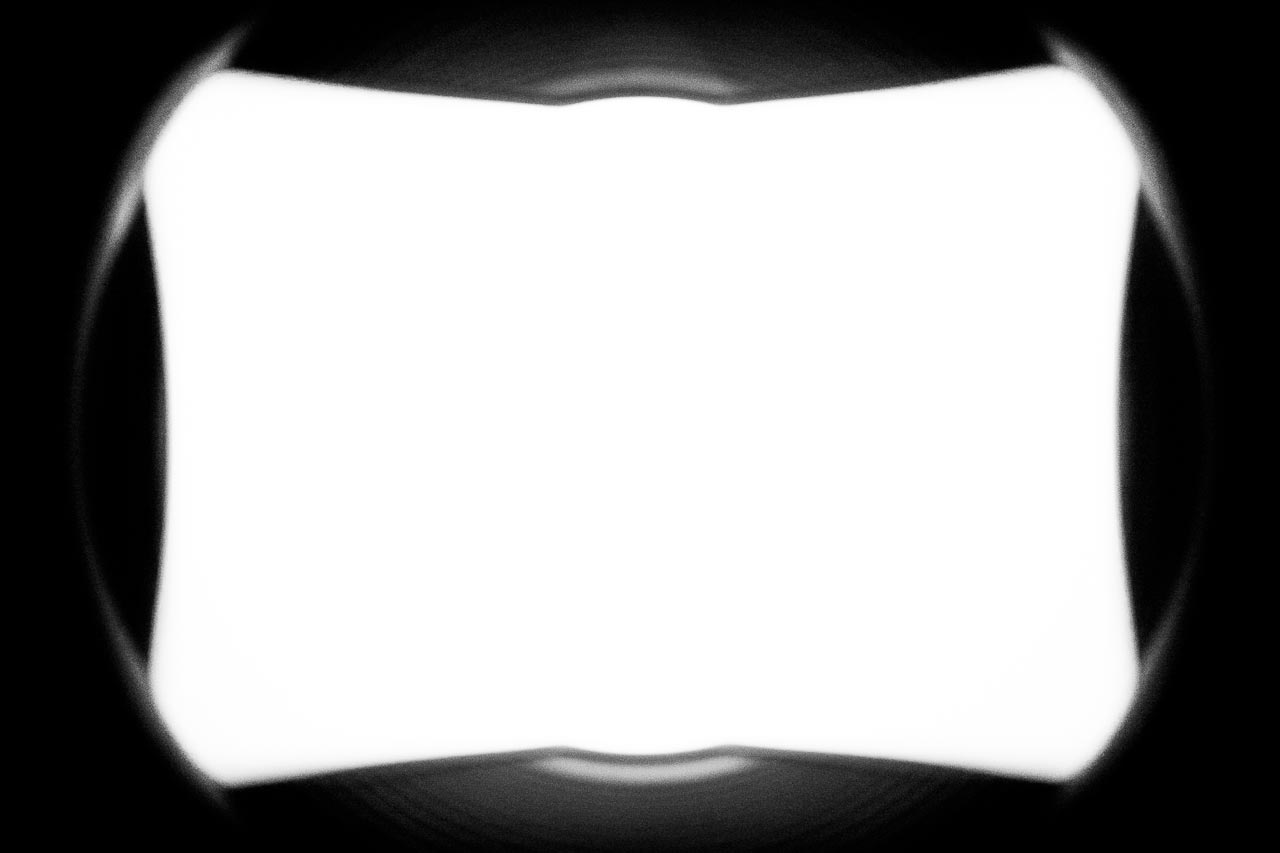
To get the most out of such an setup you also have to shave the lenshood. The effect is shown in another article.

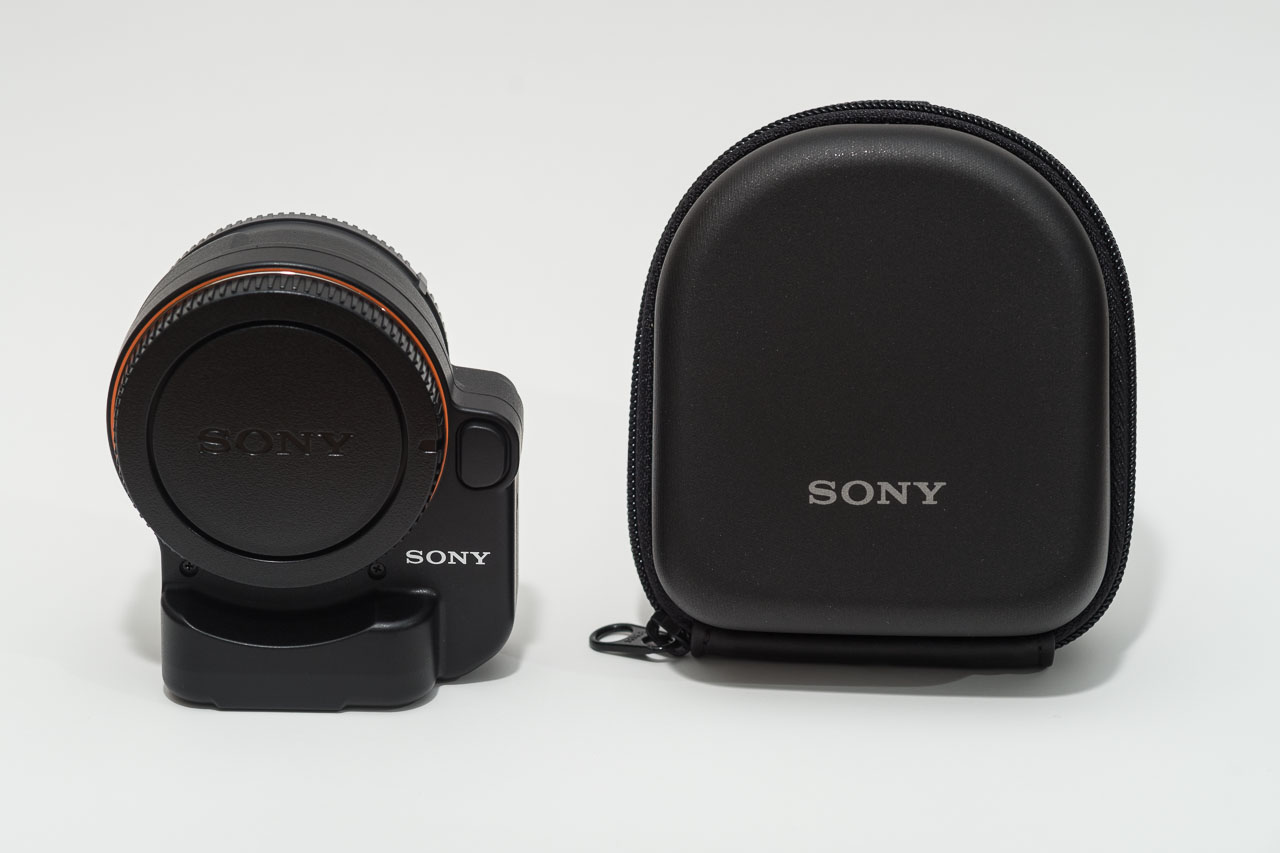
A short while ago the Sony ILCE camera lineup was expanded with the Sony ILCE-QX1. Currently this is the smallest camera of the Sony ILCE camera lineup. As it has no viewfinder or monitor by itself, the settings and the heading are usually controlled with an app on a smartphone.

Before I purchased the camera as a base for a new panorama setup I checked that the camera meets the following requirements:

  1. Trigger via Sonys Multi-USB connector (works)
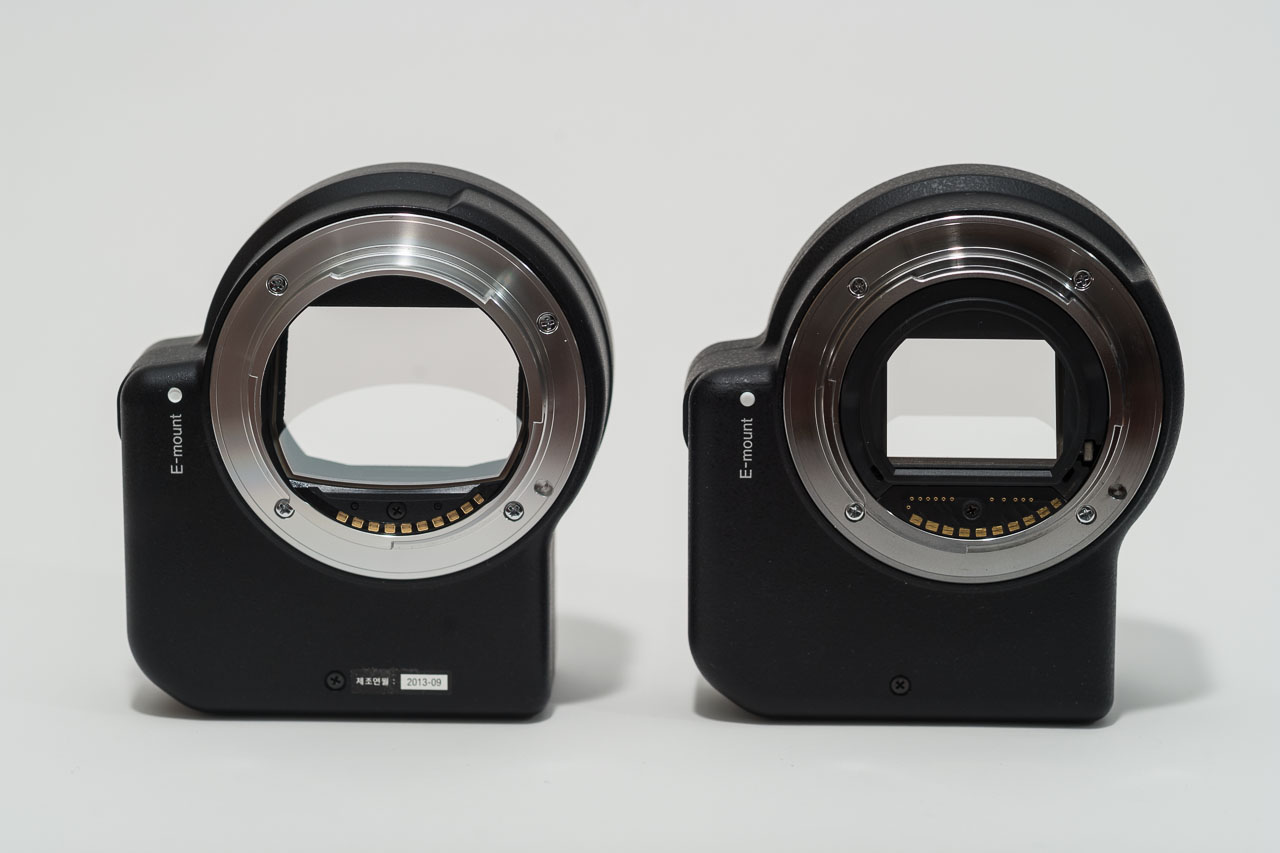
  2. Accept manual lenses without electrical contacts (works)
  3. Remember the last settings after the camera is turned on again (works)
  4. Capture in RAW (works, but you can’t disable the accompanying JPEG)
  5. Capture images local if no smartphone is connected via WLAN (works)
  6. Manual mode (can be simulated with shutter priority on the camera and a manual lens, because then the aperture can be set with the lens)

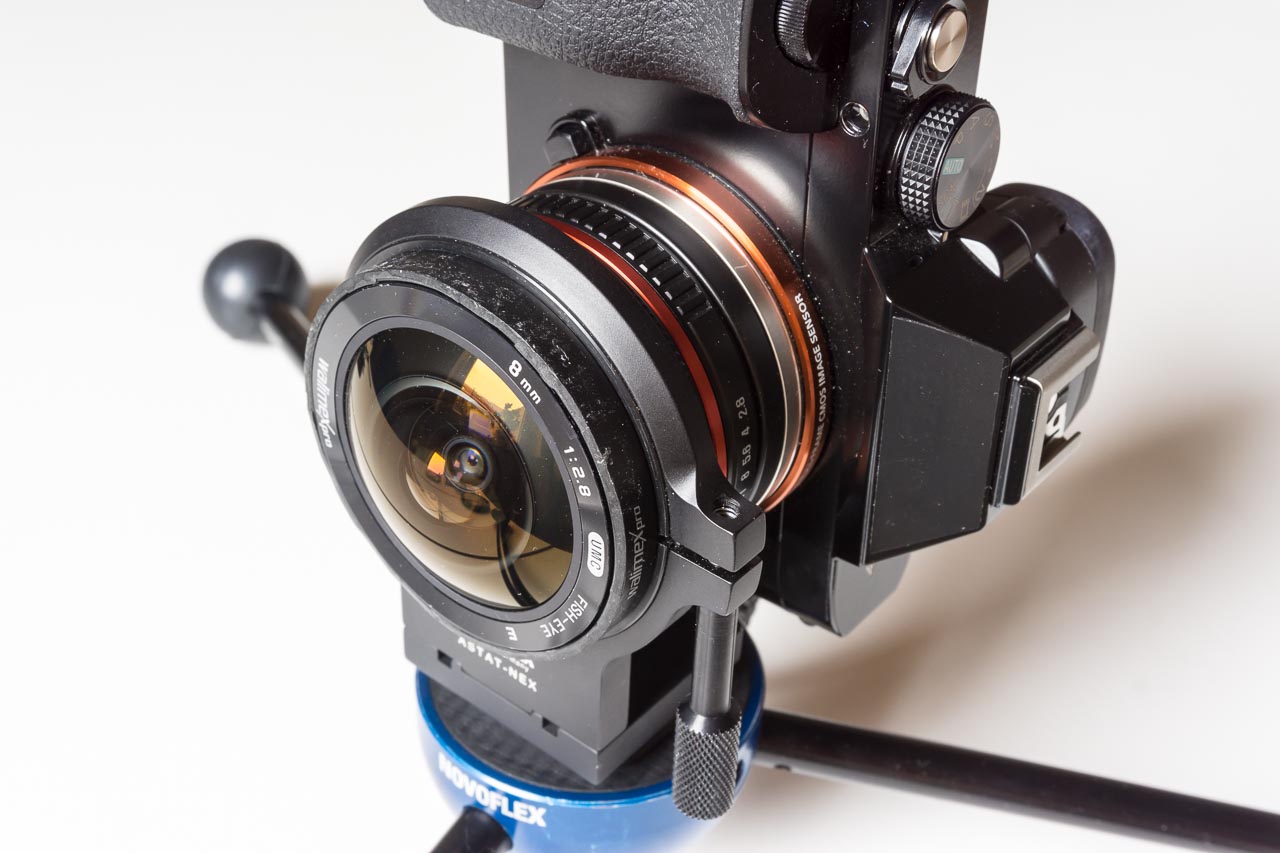
With these requirements fullfilled I purchased the camera and use it as a base for the following panorama setup:

Sony ILCE-QX1 with shaved Walimex Pro 7.5/3.5 fisheye lens
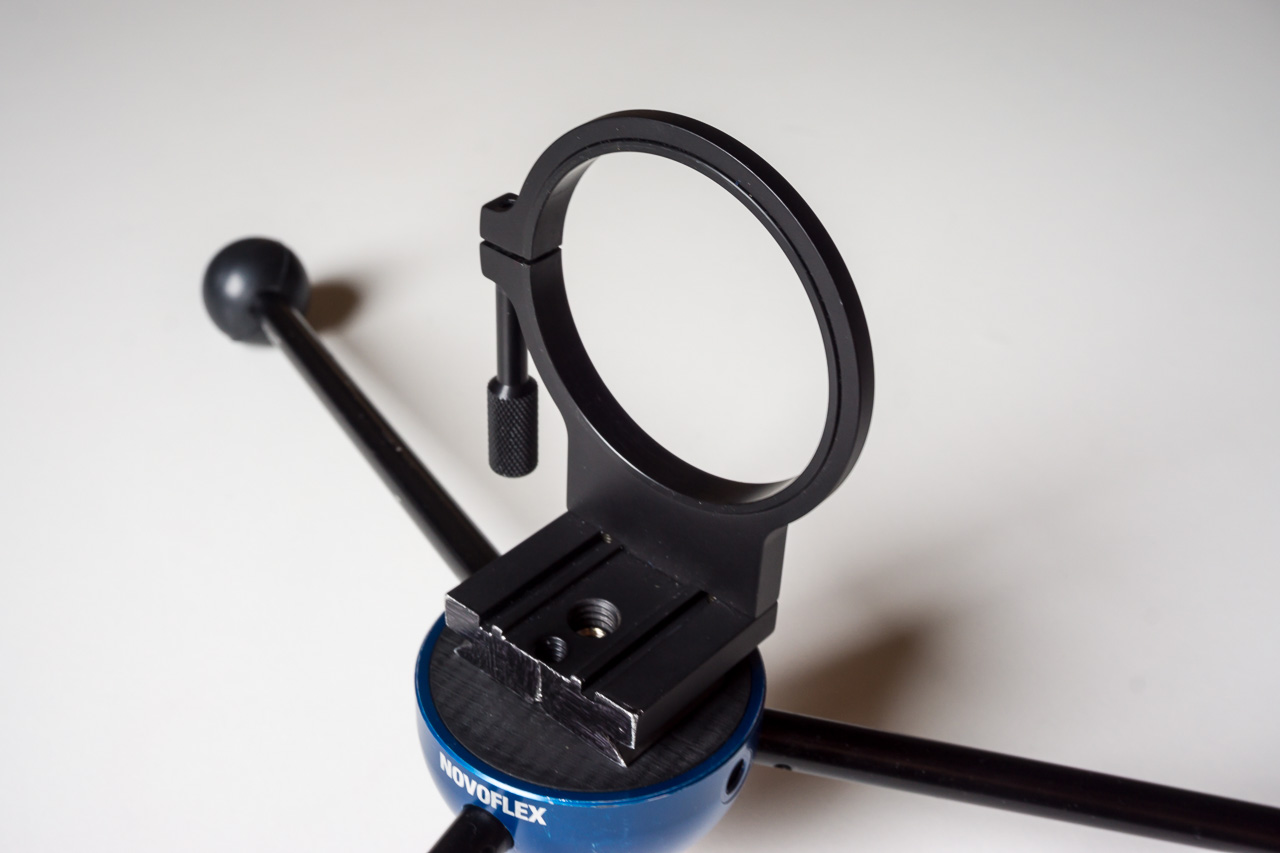
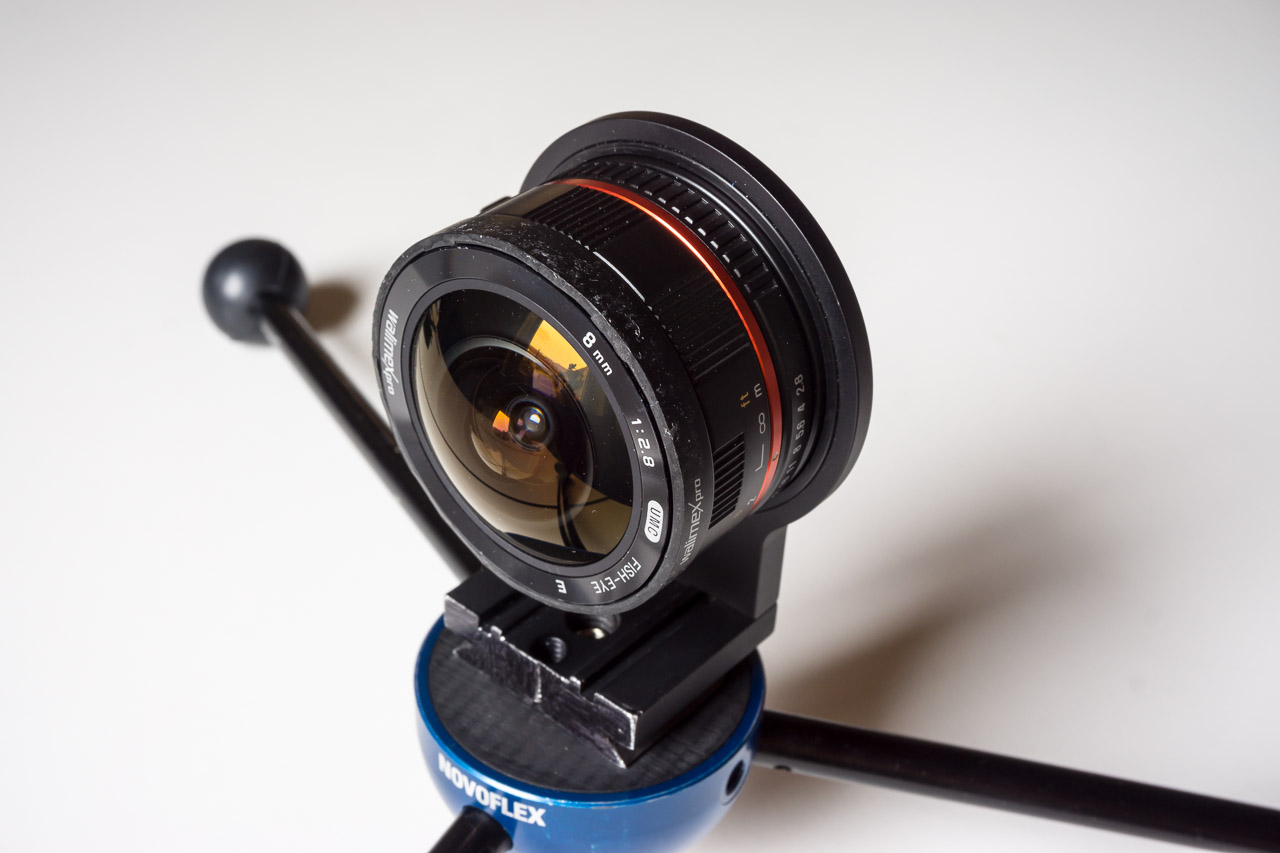
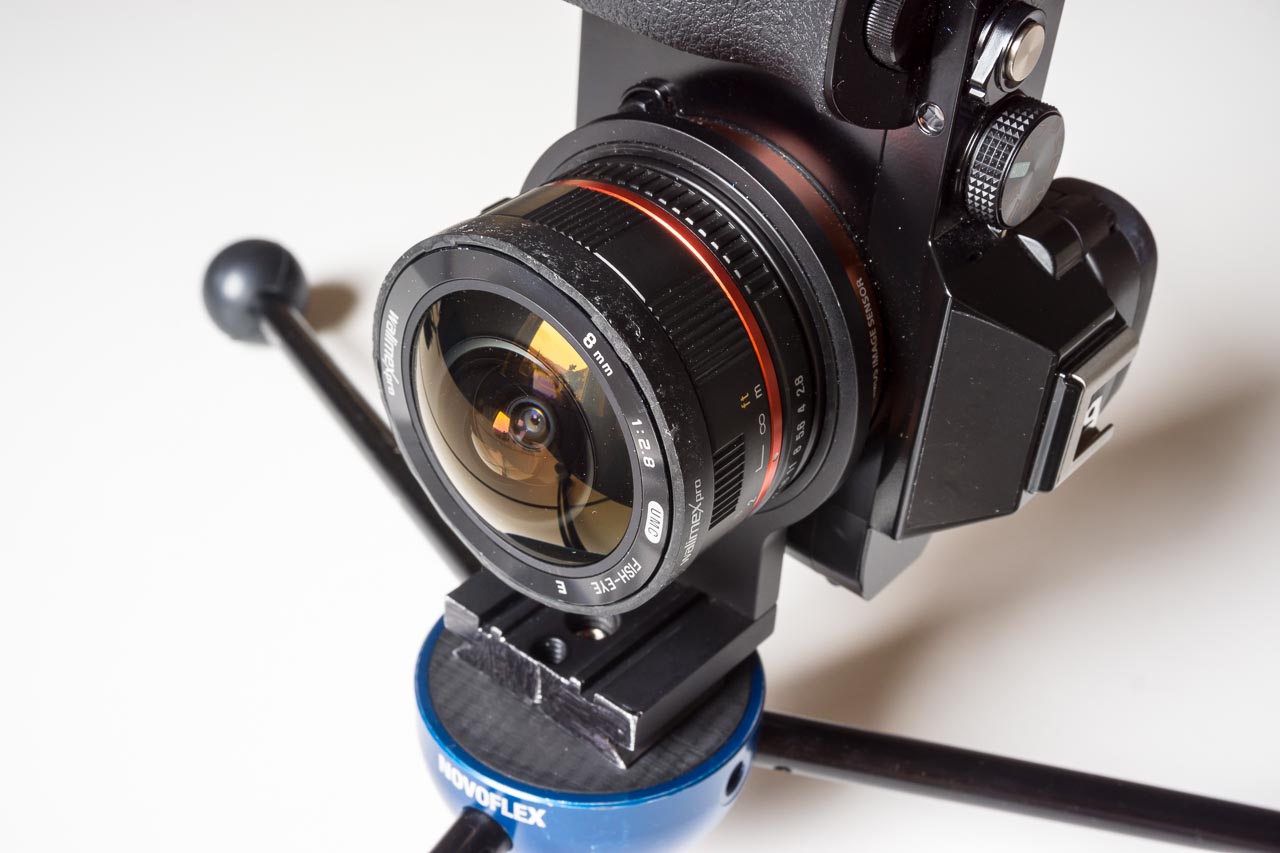
The image shows the shaved lens, the Sony ILCE-QX1 itself, a modified radio remote control and a L-bracket to mount the whole setup on a pole.

The current shooting sequence looks like this

  1. Check the distance scale on the lens and adjust if required (usually I only adjust if there are important objects closer than one meter from the sensor)
  2. Turn the camera on
  3. Activate WLAN and the app on the smartphone (it then connects automatically to the camera)
  4. Check the exposure by turning the lens in every direction
  5. Adjust the exposure with the app (change the shutter speed if required)
  6. Deactivate the app and WLAN on the smartphone (just to save battery)
  7. Take the images of the panorama with the radio remote control
  8. Put the lens cap on the lens and take an additional image (seperator image between panorama series)
  9. Turn the camera off

While importing the images I ignore the JPEG versions of the panorama sets and the RAW version of the seperator images.

You may find finished panoramas shot with this camera marked with the tag Sony ILCE-QX1.

Mounting the Walimex 8mm Fish Eye with the Novoflex ASTAT-NEX

The Novoflex ASTAT-NEX is usually used to mount any of the different Novoflex adapters to a tripod. However the diameter of the ring fits the Walimex 8mm perfectly. The following images illustrate the mounting with the Sony ILCE-7. I only made a small change to the ASTAT-NEX adapter: I removed a little piece using a hand saw to improve the mounting options. With the small part sawed off I can mount the lens both ways round. Both options allow it to change the aperture and the distance on the lens! Depending on my setup (pole, high pole or table top) I use one or the other option.

I called the first option Reverse in the image series below.

Walimex 8mm on ASTAT-NEX Reverse No Lens
Walimex 8mm on ASTAT-NEX Reverse Front
Walimex 8mm on ASTAT-NEX Reverse Front Camera
Walimex 8mm on ASTAT-NEX Reverse Back

The following images show the normal mounting option you can use when you do not want to saw a small part from your ASTAT-NEX adapter.

Walimex 8mm on ASTAT-NEX No Lens
Walimex 8mm on ASTAT-NEX Lens
Walimex 8mm on ASTAT-NEX Lens Camera

Comparing image crops of Sony LA-EA2 and Sony LA-EA4 on Sony ILCE-7 (with Sony SAL70200G @ 200mm)

Today I did some tests with the two lens adapters Sony LA-EA2 and Sony LA-EA4, which can be used to adapt a lens with a Sony A-mount to a camera with an Sony E-mount. In another article I already compared looks and weigth of the two adapters. In this article I focus on the different image crops when you use the two adapters on a full frame camera with E-mount. I used a Sony ILCE-7 for my tests. On a Sony ILCE-7r the crops are the same, but you get a higher pixel count.

I only tested the Sony 70-200/2.8 (SAL70200G) at 200mm. I used the lens collar of the lens to attach it to a tripod. The lens, the tripod and the subject were not moved after that.

The first image shows the result when using the LA-EA4. The resulting image is the full resolution of the sensor.

Image when using the SAL70200G with LA-EA4 on a Sony ILCE-7 (@ 200mm)

For the second image I only exchanged the LA-EA4 with the older LA-EA2. For this image I used the following configuration of the camera: Menu → Custom Settings (gear icon) → 5 → APS-C Size Capture → Off. You can clearly see the shading of the LA-EA2 on the sensor. The maximum manual crop is marked with the green rectangle.

Image when using the SAL70200G with LA-EA2 on a Sony ILCE-7 (@ 200mm, maximum crop)

For the next image I only changed one setting in the camera: Menu → Custom Settings (gear icon) → 5 → APS-C Size Capture → On. The resulting image showed an even larger crop than the second image but no shading of the adapter. In postprocessing I superpositioned the two images to be able to mark the camera crop in the second image. This is the result.

Image when using the SAL70200G with LA-EA2 on a Sony ILCE-7 (@ 200mm, camera crop)

In the last image I used the first taken picture and marked the three different crops. The red marker is the LA-EA4, the green marker is the LA-EA2 with maximum manual crop and the blue marker is LA-EA2 with cropping enabled in camera.

Comparison of image crops when using LA-EA2 and LA-EA4 in a Sony ILCE-7

The maximum manual crop (which is equivalent to the unshaded area of the sensor) will differ when you use a different lens. And it also differs with different focal lengths of a zoom lens. But this needs some more testing.

Images of shaved Samyang (Bower, Rokinon, Walimex) 8mm fisheye lens attached to Sony A7 (ILCE-7)

In the last article I showed the resulting images on the sensor at the different stages of shaving the Samyang (Bower, Rokinon, Walimex) 8mm/2.8 UMC fisheye lens.

The following picture shows one side of the box of the Walimex version of the lens. It also shows the lens hood in its original state.

The Box of the Walimex 8mm Fisheye

The following images show the lens with already shaved lens hood.

Walimex 8mm/2.8 Fisheye with shaved lens hood

The last image shows the lens attached to a Sony ILCE-7.

Walimex 8mm/2.8 Fisheye with shaved lens hood on Sony ILCE-7

Shaving the lens hood of the Samyang (Bower, Rokinon, Walimex) 8mm fisheye lens for usage on the Sony E-mount with full-frame sensors

The Samyang 8mm/2.8 UMC II fisheye lens is available for several camera mounts (Canon M, Fujifilm X, Samsung NX and Sony E). It is designed as a full frame fisheye which covers 180° from corner to corner on these aforementioned mounts with their respective sensor sizes. But since the introduction of the Sony cameras with E-mount and full frame sensor there is an interesting new option for panoramic photographers.

In all the featured examples of this post I just took a picture of a white piece of paper bended around the lens which I converted to a black and white image afterwards.

If you mount the lens in its original state on a Sony ILCE-7 (or ILCE-7r) then you get an image which looks something like this.

Samyang 8mm/2.8 UMC Fisheye on Sony ILCE-7 (original lens hood)

You can clearly see, that the lens hood shades a good part of the image. Which is of course a bad thing if we want to shoot a spherical with this lens.

In the next example I therefore used a side cutter to remove the plastic lens hood on the longer side of the sensor.

Samyang 8mm/2.8 UMC Fisheye on Sony ILCE-7 (lens hood of long side shaved)

And in the final example I removed as much of the lens hood as I could. This is the final resulting image.

Samyang 8mm/2.8 UMC Fisheye on Sony ILCE-7 (lens hood completely shaved)

In this state the lens covers approximately 190° on the long side of the sensor. With three or four images easily covering the full sphere the final equirectangular is 10000 pixels by 5000 pixels in size on a Sony ILCE-7.

You can already find a daylight, blue hour and indoor example from Markus which were all shot with a shaved version of the lens and a Sony ILCE-7.

Additional remark

The shown images were produced with an Samyang 8mm/2.8 UMC II fisheye lens on a SONY ILCE camera with a full frame sensor. You can gat a nearly identical result if you use the Samyang 7mm/3.5 UMC fisheye lens with a SONY ILCE camera with APS-C sized sensor and an micro 4/3 to E-mount adapter.

Voigtländer Super Wide Heliar 15mm/4.5 attached to Sony A7 (ILCE-7) via Novoflex NEX/LEM

In a recent article I described, why the E-mount of the Sony ILCE-7 is so interesting for people with legacy lenses and how to configure your Sony ILCE-7 to assist when taking pictures with these lenses. In another article I also described, how to get rid of the magenta cast in the corners when you are using ultra wide lenses on the cameras which incorporate the Sony E-mount.

And here is another example of a legacy ultra wide lens adapted to the E-mount.

Voigtländer Super Wide Heliar 15mm/4.5 attached to Sony A7 (ILCE-7) via Novoflex NEX/LEM

Originally this lens was constructed for the M39 screw-mount of early Leica cameras. So you could either use an Novoflex NEX/LEI adapter or you use an M-Bayonet Adapter and the Novoflex NEX/LEM adapter. Depending on your other lenses one of this options should suit your needs. Personally I use the second option and I don’t have any problems while focusing.

If you’d like to read an intensive review of the lens then take a look at this page.

Voigtländer Ultra Wide Heliar 12mm/5.6 attached to Sony A7 (ILCE-7) via Novoflex NEX/LEM

The lens mount of the Sony NEX camera system is called E-mount. The E stands for Eighteen, as the flange focal distance of the Sony NEX camera series is exactly eighteen millimeters. Most interchangeable lens systems use a longer flange focal distance and therefore you can adapt nearly every available lens to the E-mount of the Sony NEX camera system.

In this case I used the NEX/LEM adapter from Novoflex to adapt an Voigtländer Ultra Wide Heliar 12mm/5.6 to a Sony A7 (ILCE-7). As this camera incorporates a full frame sensor this setup equals to a focal length of 12mm.

Voigtländer Ultra Wide Heliar 12mm/5.6 attached to Sony A7 (ILCE-7) via Novoflex NEX/LEM

You must be aware that this combination only allows manual control. But the Sony A7 (ILCE-7) camera assists in the use of manual lenses if the camera is proper configured:

  1. Make sure you enable the shooting without a lens: Menu → Custom Settings (gear icon) → 3 → Release w/o Lens → Enable
  2. Set the Focus Magnification Time using Menu → Custom Settings (gear icon) → 1 → Focus Magnif. Time → No Limit
    You can choose between No Limit — 2 Sec — 5 Sec.
  3. Set the Peaking Level using Menu → Custom Settings (gear icon) → 2 → Peaking Level → Mid
    You can choose between Low — Mid — High.
  4. Set the Peaking Level using Menu → Custom Settings (gear icon) → 2 → Peaking Color → Yellow
    You can choose between Yellow — Red — White.

Switch your camera to A- Mode (aperture priority) and use the Focus Magnifier function to get a perfectly sharp picture even when shooting a fast lens wide open. The default configuration of the camera assigns the Focus Magnifier function to button C1 (Custom Button 1). You can reassign the function using Menu → Custom Settings (gear icon) → 6 → Custom Key Settings.

Comparing Sony LA-EA2 and Sony LA-EA4

Today I received my Sony adapter LA-EA4 and did a quick comparison with the older version LA-EA2. Both adapters add a translucent mirror to a NEX series camera and are built for the Alpha lens lineup. But the newer version LA-EA4 can also be used on the two new mirrorless full-frame sensor cameras with interchangeable lenses from Sony (the Sony A7r and Sony A7). The older version is only suitable for the Sony NEX series with APS-C sized sensors.

There is only a slight difference in weight (Sony LA-EA2 is 200g, the Sony LA-EA4 is 160g). Another difference is of course the size of the translucent mirror. The difference can easily be seen in the product shots. The speed of the autofocus seems to be the same (but I did no scientific test on that).

Both adapters work with the old “screwdriver” type autofocus lenses (Minolta 28-70/2.8 tested) and with the new SSM type autofocus lenses (Sony 70-200/2.8 tested). I did not test any SAM lenses. Both adapters work with my NEX-5 and also with the NEX-7.

With the NEX-5 I could only select a specific autofocus point with the old adapter. With the NEX-7 I could select a specific autofocus point with both adapters.

Sony LA-EA4 box
Sony LA-EA4 box
Sony LA-EA4 and casing
Sony LA-EA4 (left) and Sony LA-EA2 (right)
QR Code Business Card